After learning about editing RAW image files in the week 7 session, I had a practice with some test shots I had taken in preparation for my photojournalism project – about the rewilding efforts taking place in Nottinghamshire. I used Snapseed to edit the photos, the desktop version of the application has the functionality to edit RAW image files.


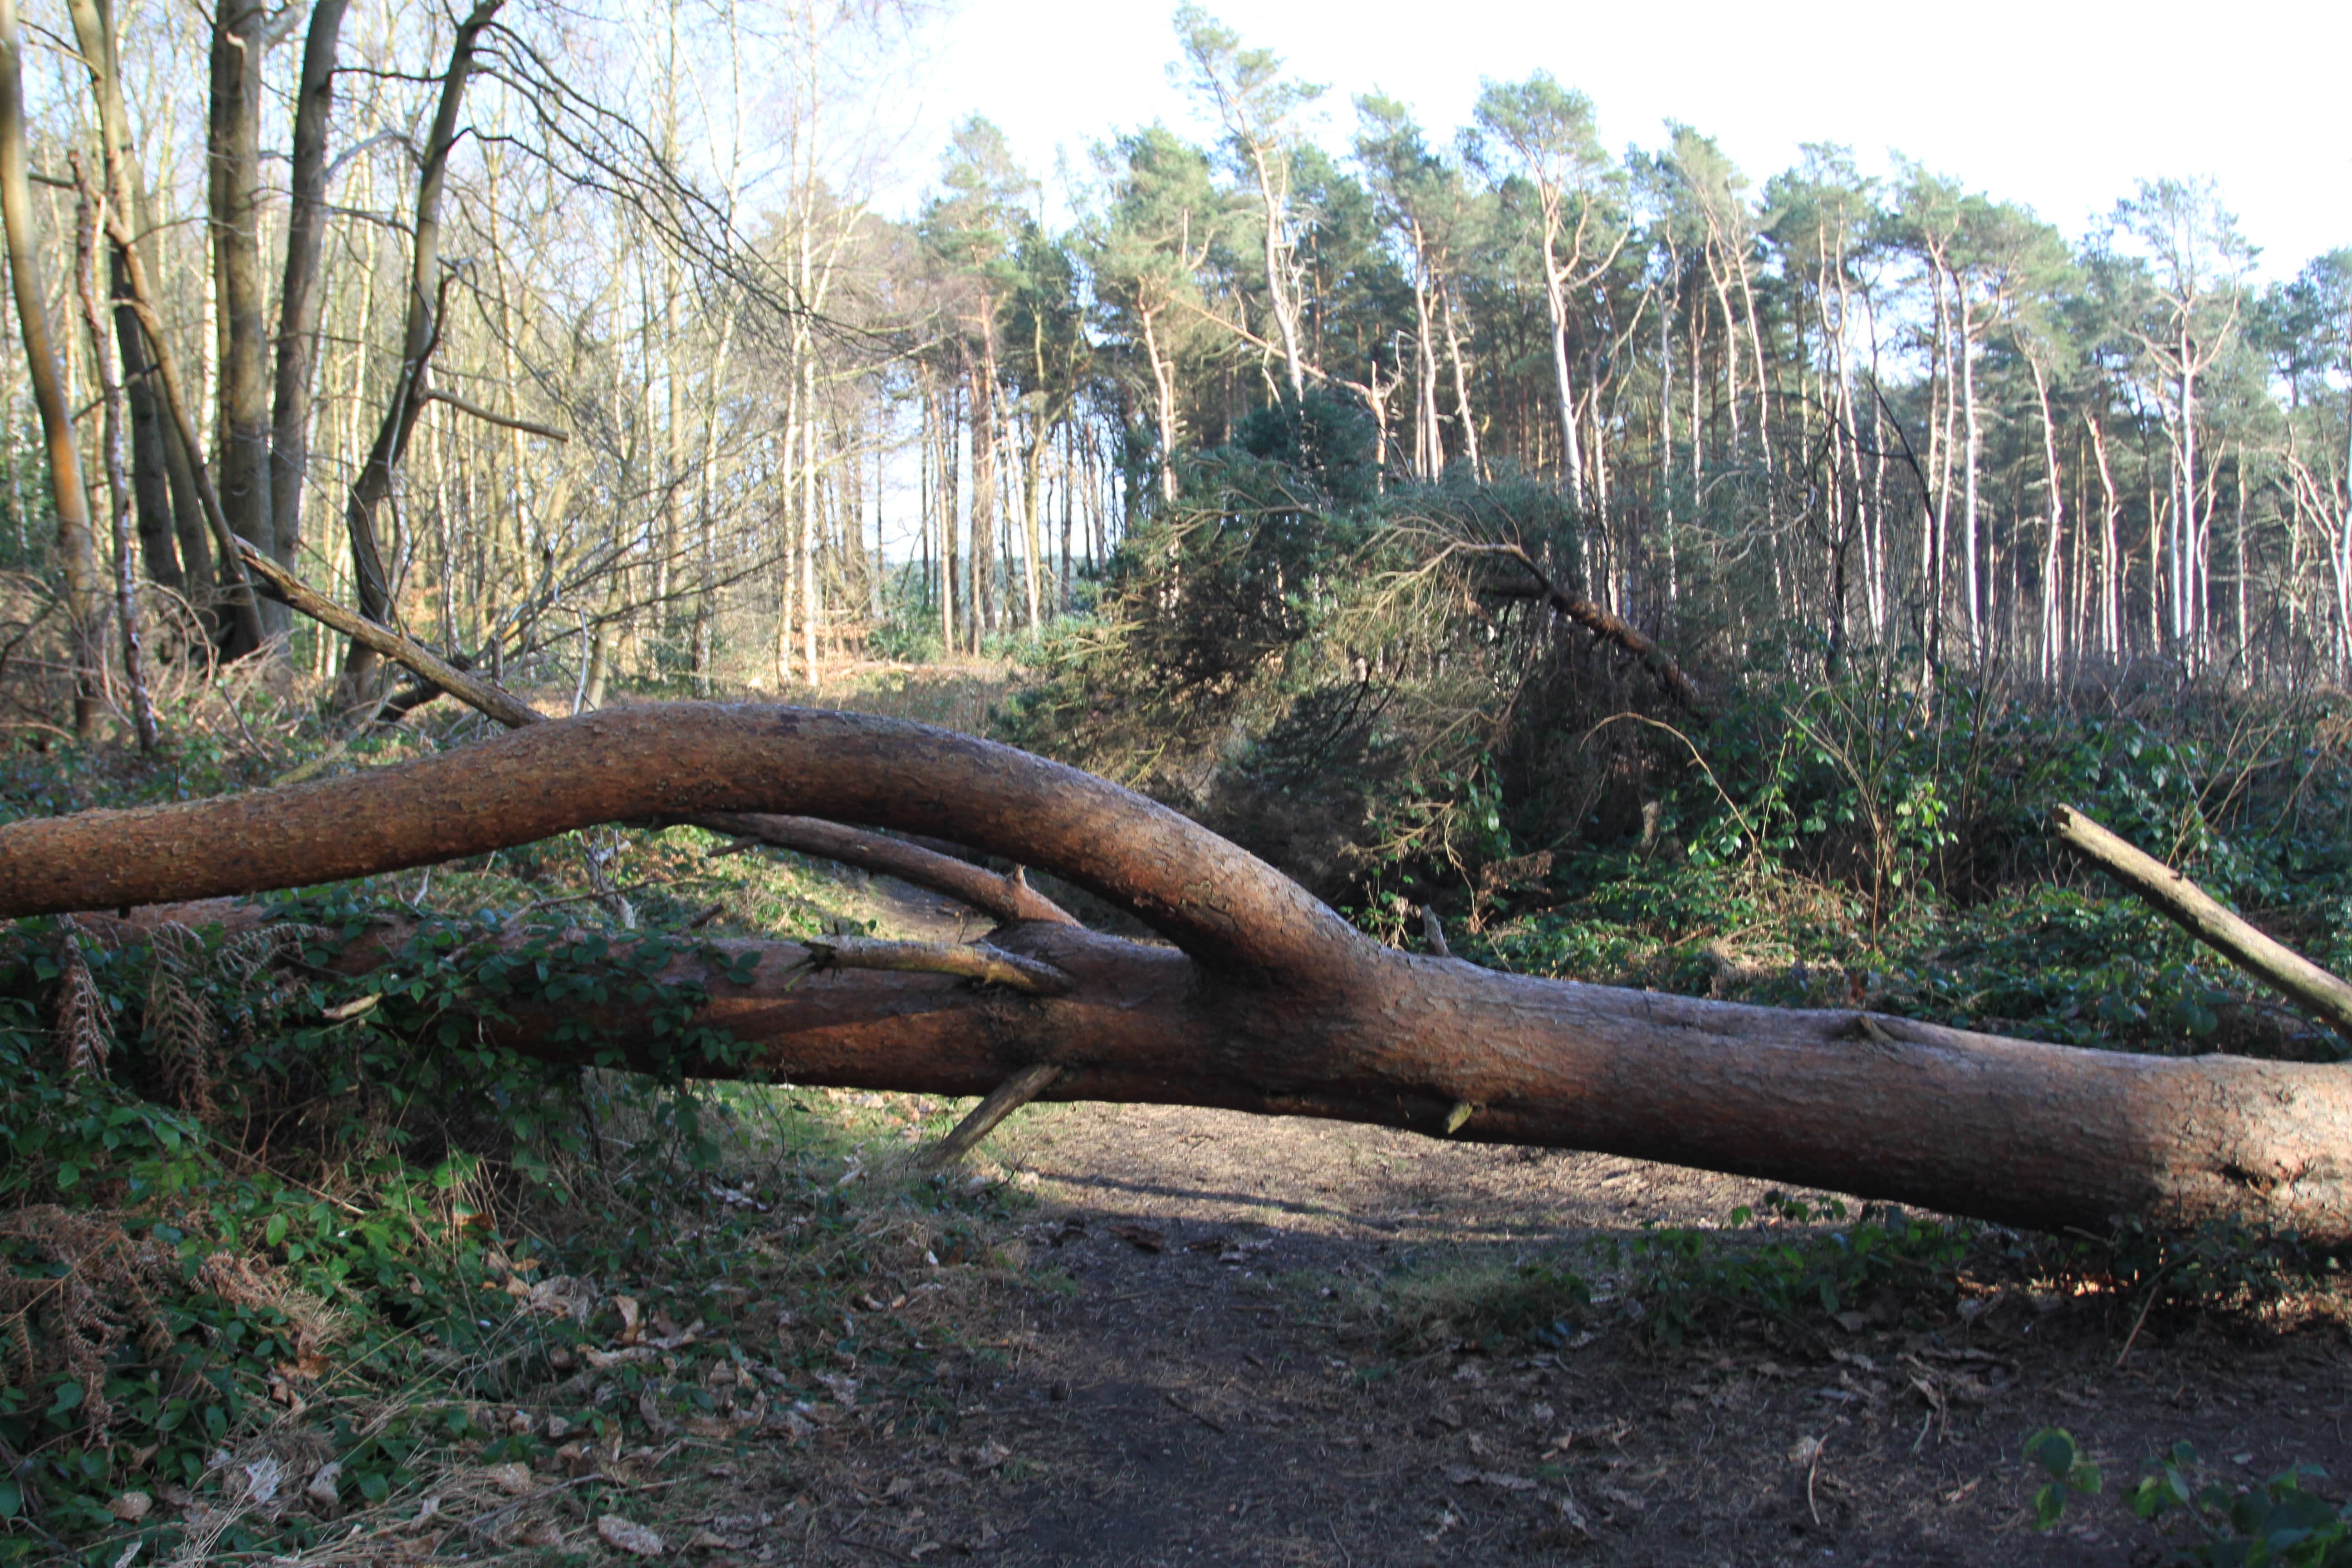
In this first example, my RAW image was slightly out of focus. However, in the editing process I sharpened the image, which fixed this issue. I also raised the exposure and saturation, consequently bringing the colours out slightly more. Finally, I cropped the photo to the optimal 16:9 aspect ratio and scaled the resolution down to 1920×1080 – something I aim to do with each landscape photo I take.

The second example had the same problem of being slightly out of focus. Using Snapseed, I edited the image in a similar fashion to the first example, while also raising the highlights.

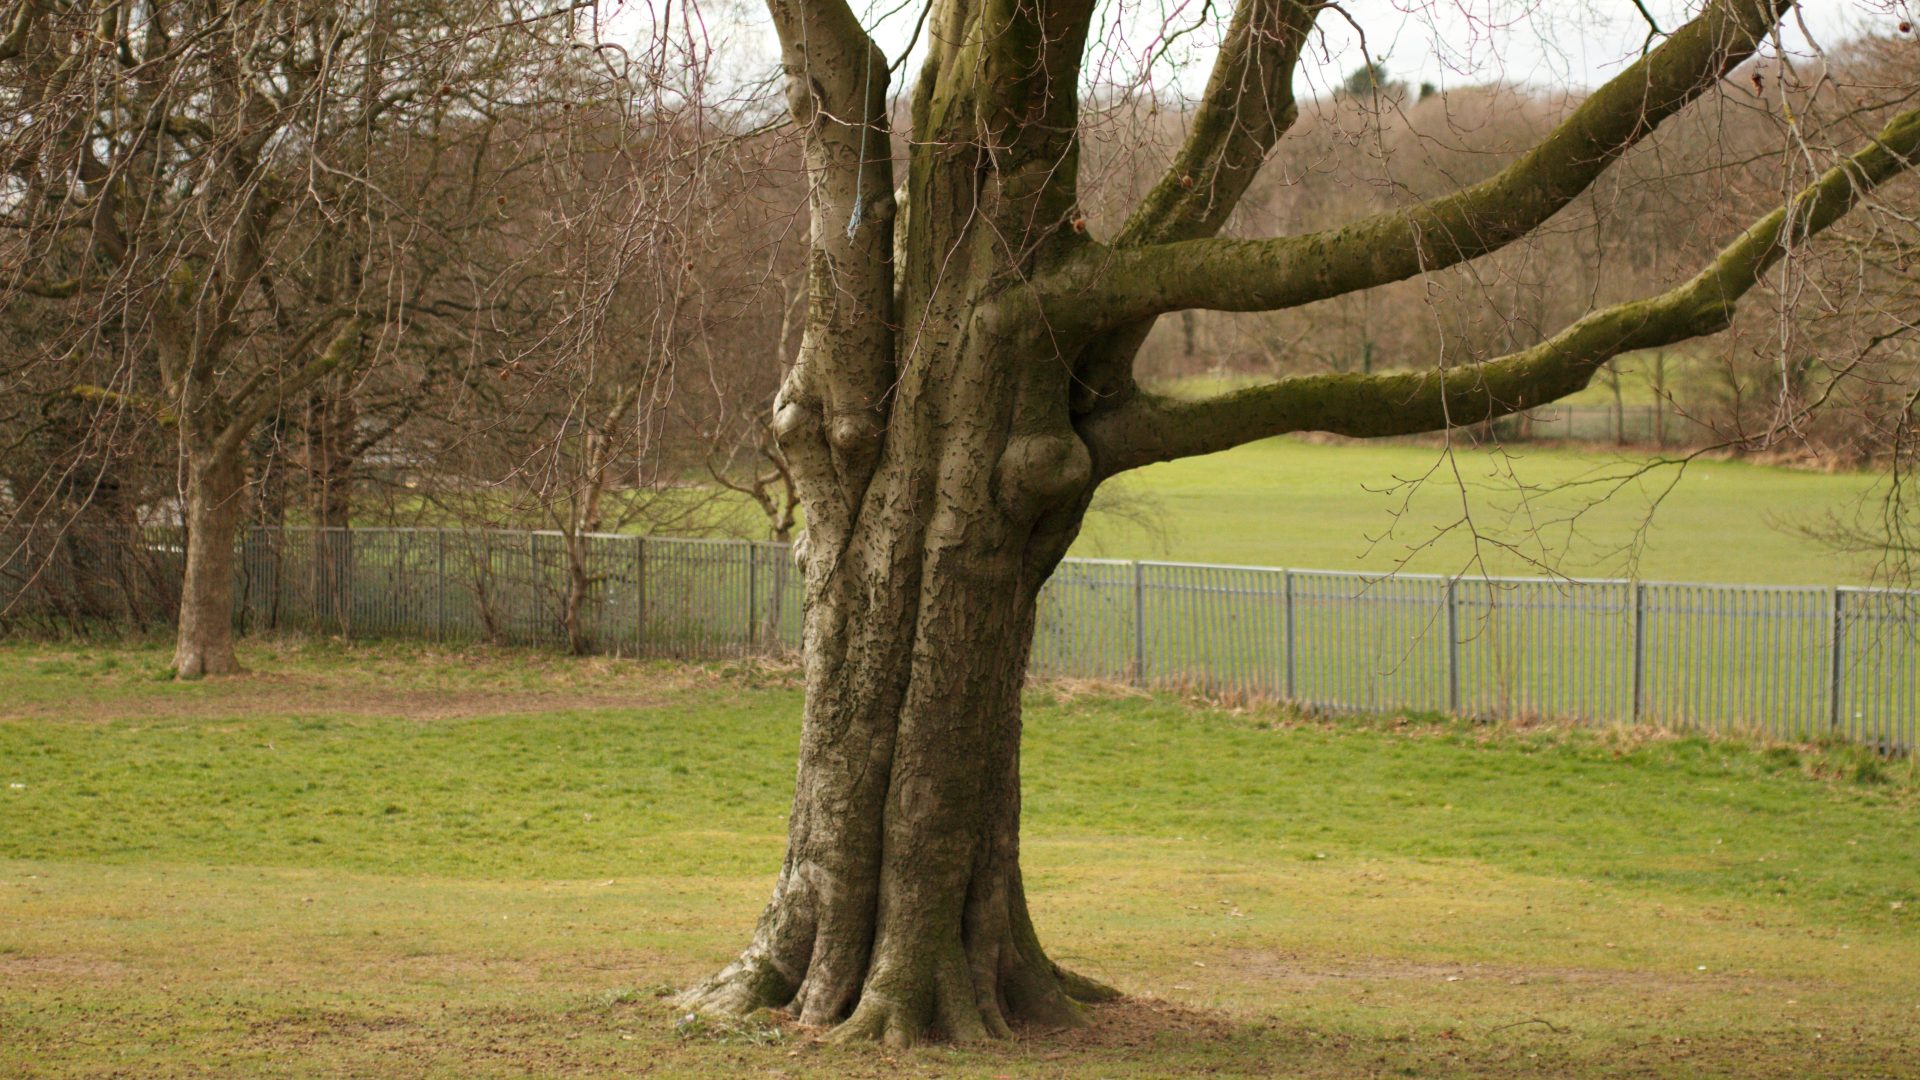
In this final example, the white balance was slightly off – something I was able to correct in the post-production process. The focus was better here, as I had improved at using the camera, so I did not need to sharpen the image. Through editing these test shots with software like Snapseed and Photoshop, I can identify the mistakes I am making, which will help prevent me from making them again in the future.

You must be logged in to post a comment.