

During this task I tried to find a location where there was good lighting and a background that could really show off the difference in the F-Stop images. When getting the first photo the F-Stop was adjusted to F1.6 so more light was coming in but you can see Ellis is really the focus but looks more like he’s been photoshopped in there. With the background being more a blur than in focus it shows how the depth of field is changed.
The second photo was a mid F- Stop at 7.1 the picture was definitely becoming clearer but not completely in focus and crisp. It starts to bring the background more into the image and isn’t so much in contrast to Ellis but rather adds to the image. On a phone the aperture is fixed at around f/2. But because the phone sensor is so small, phones still have quite a deep depth of field.
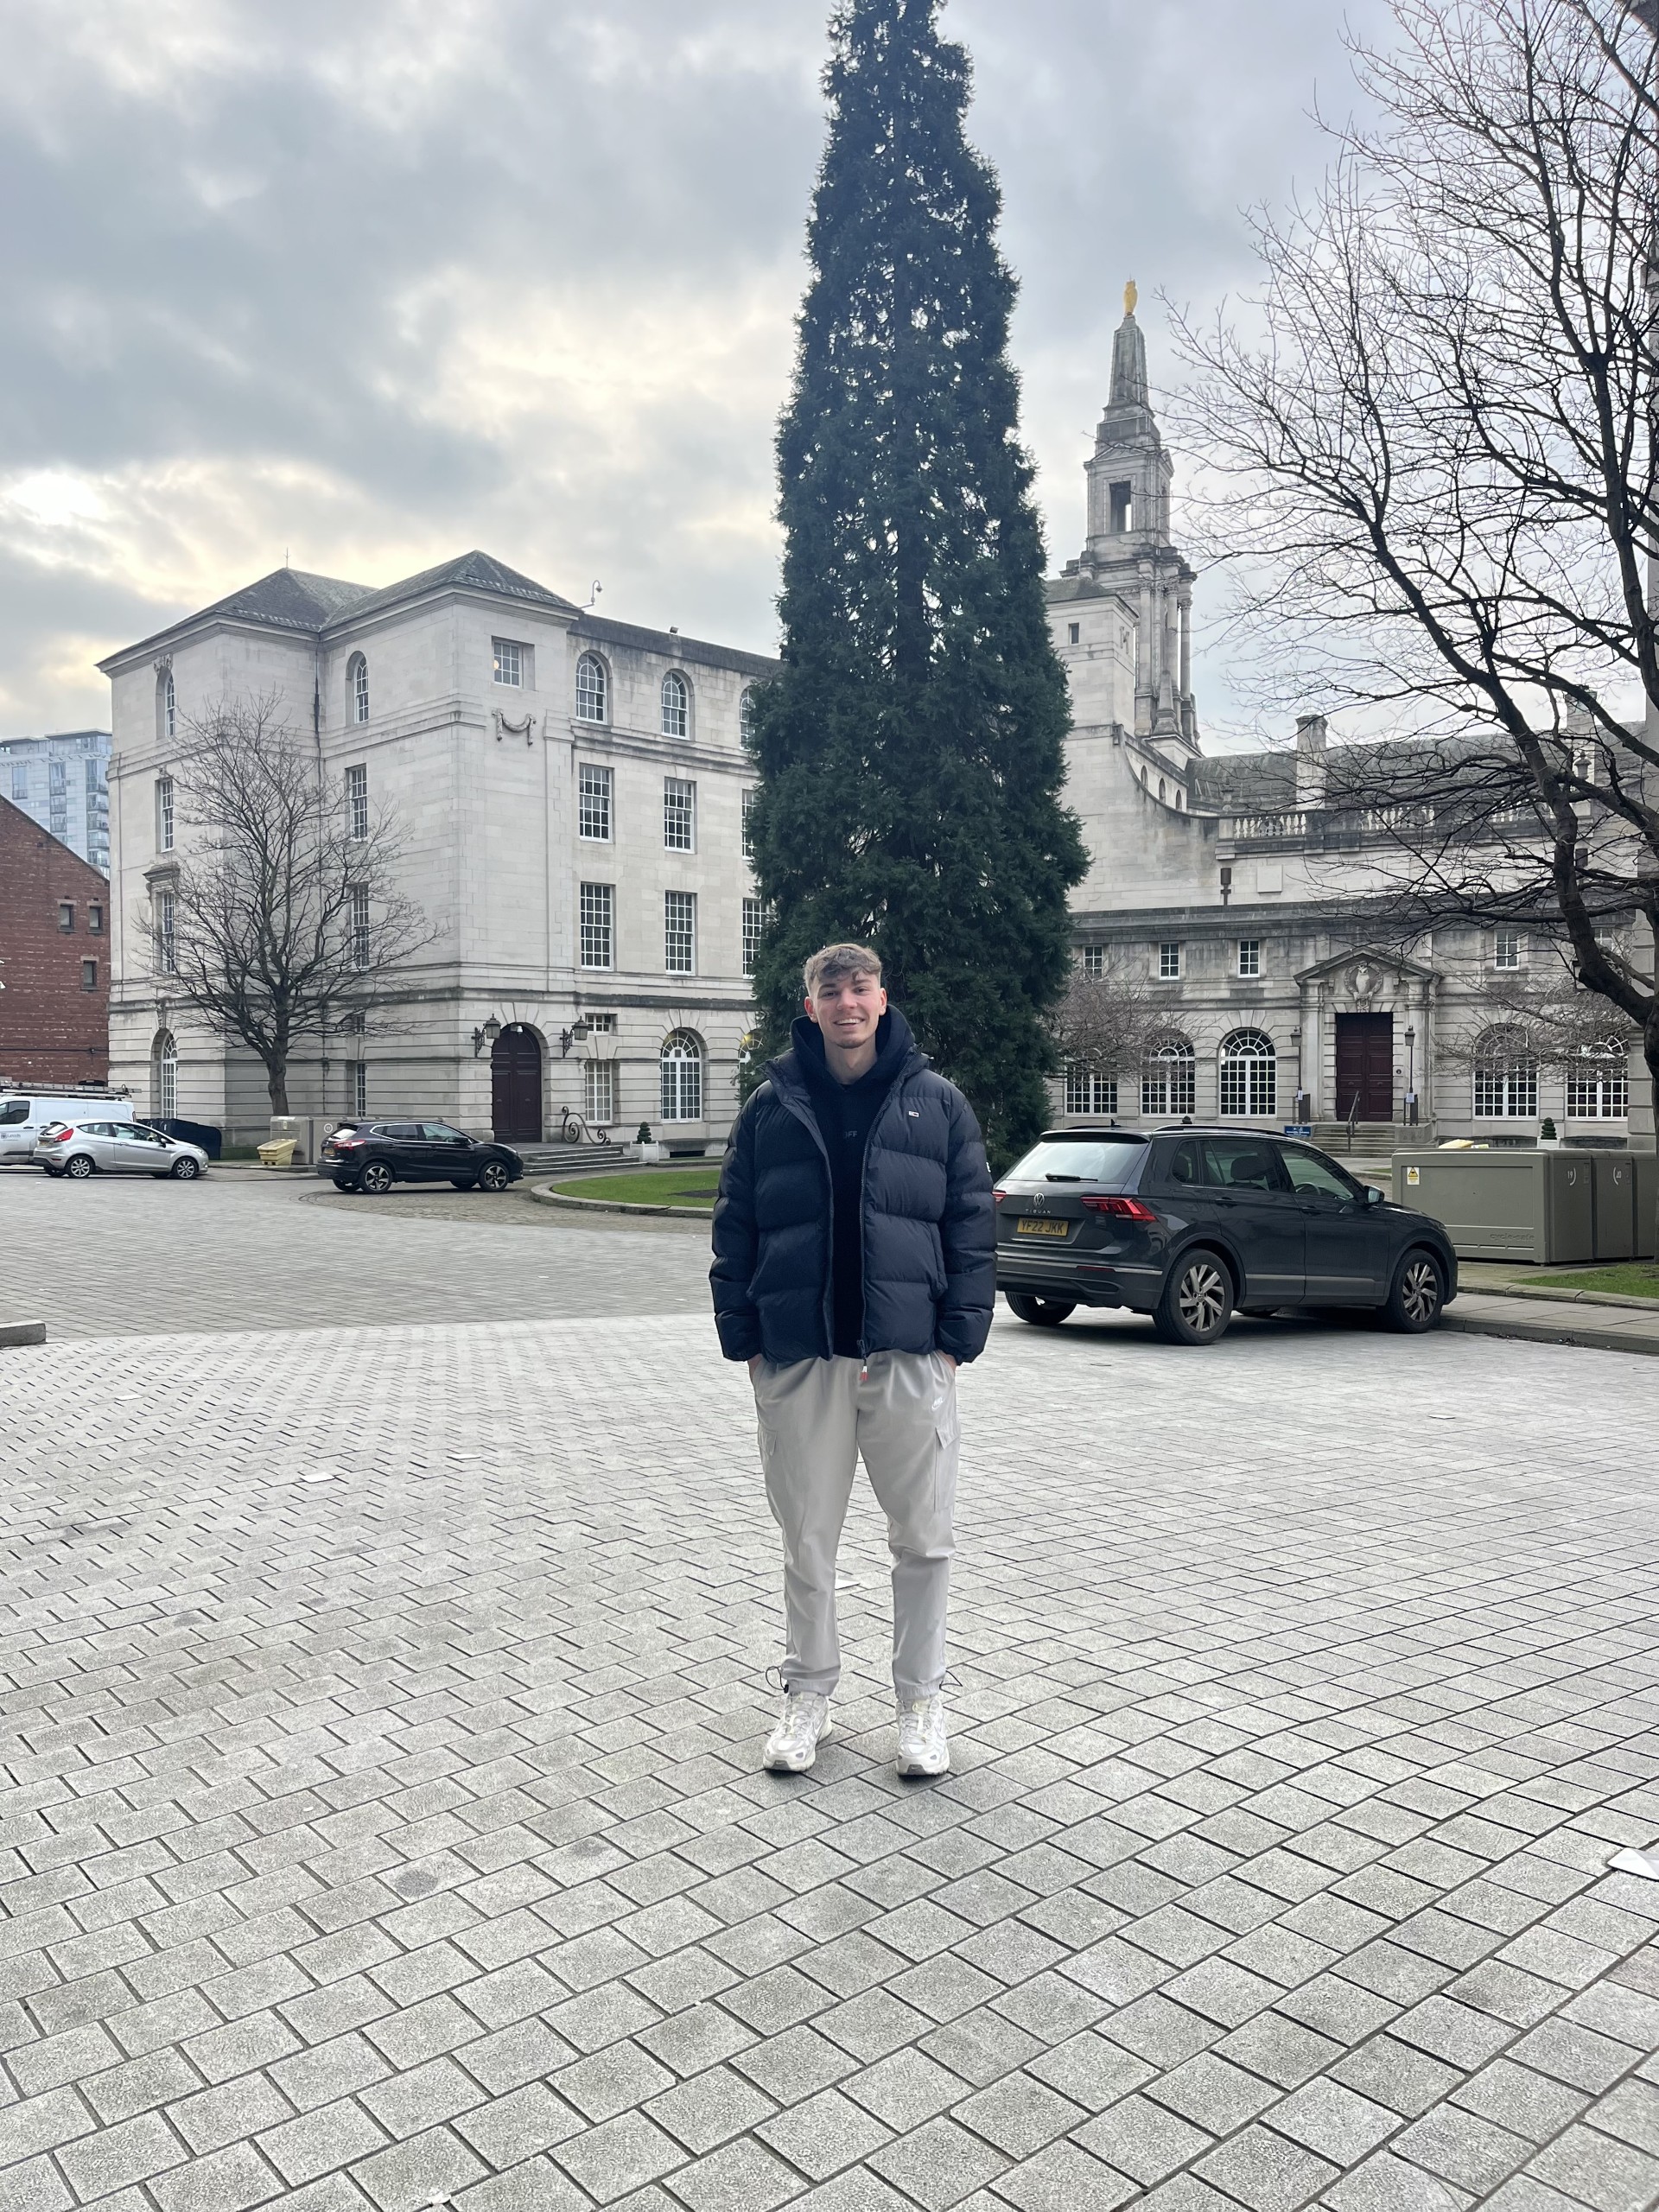
With the depth of field in the last image being very deep and the aperture very small it begins to bring the full image into full focus. Because of the F-Stop being so high less light is let in definitely results in a clearer picture than the lowest F-point but I think a median between mid-high aperture would create the clearest photo.
Extra Task


For this extra credit task, I had to try and take a photo where the object (coffee cup) was the focus and the background was blurred and then do the opposite where the background is the focus of the picture. For the first picture I used a long depth of field and smaller aperture (a higher F-number). For the second shot I used a shallow depth of field and larger aperture.

You must be logged in to post a comment.