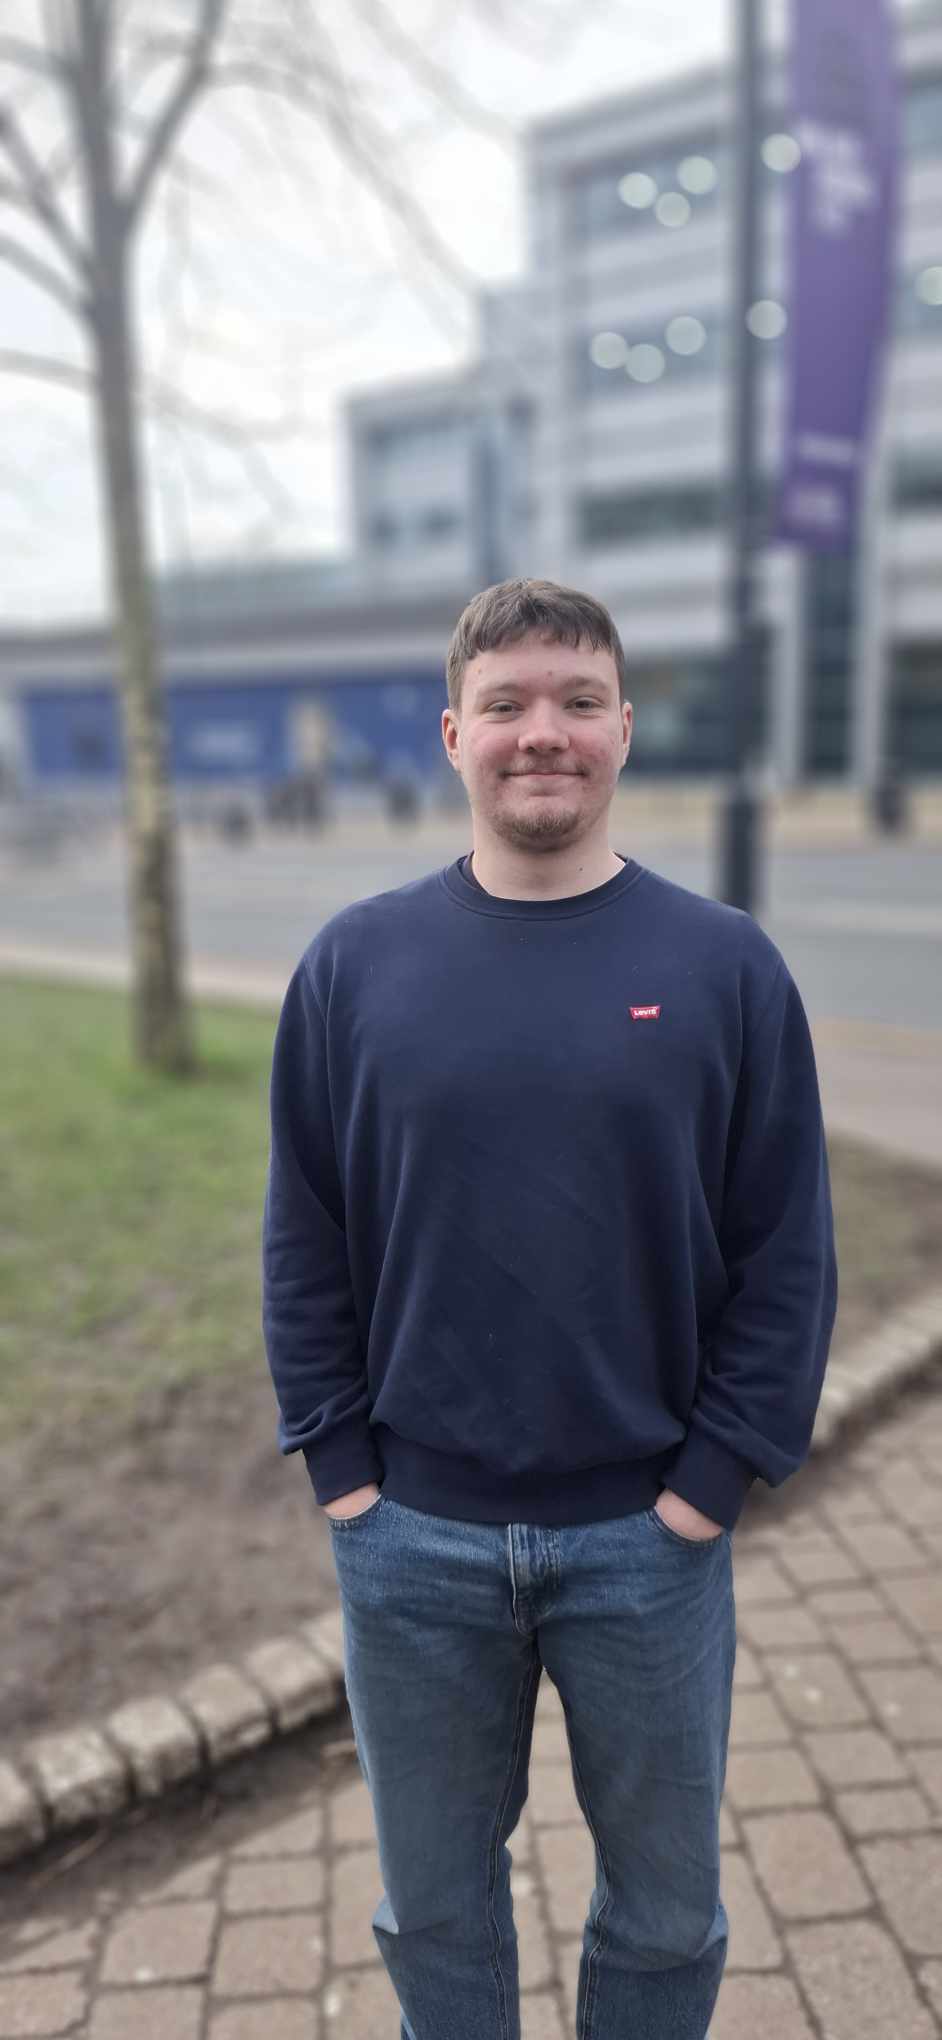
Whilst this weeks workshop was intended to be used with an Iphone camera I only had access to my own phone and Samsung camera, and whilst the settings were a fair bit different to the ones being explained during the workshop, portrait mode was still available as well as different levels of strength for focus on the camera. My first image displays a classmate in full focus with all of the background of the University building in the background. The aim of the image was just to capture his full body as the main focus. I think the results came out quite well, considering his whole body is in focus and the entire background is blurry. On a professional camera this would be an example of using a low f-setting allowing for more light and creates a narrower focus or a ‘shallow’ depth of field.
The second image that I took demonstrated the use of a completely opposite f-setting, using a higher f-setting. This image, unlike the first one, attempts to capture the university in the background as well as the student in front of it. The purple Leeds Beckett flag and logo flies in the background, and the image is taken from further away to make the student less of a focus in the picture, instead making him one small piece of the image, including the other students walking by in the background. I think the image went well, however in hindsight if I was to do it again I would wait until there were no passing cars and would also try and include the Rob Burrow image in the background too.

The final image, was probably the trickiest to take. I tried to use an f-setting that was in the middle of the previous two, and perhaps it was a consequence of using a phone camera, but the image turned out very similar to the first one. Whilst the background is less blurry the focus of the image remains similar to the first picture, but just to less effect. Whilst some of the immediate background (the pavement/curb) is not as blurry I would not use this setting again.

Finally, to finish off this task I attempted to take an extra two images of 3 objects standing on a flat surface to further demonstrate the effects of different f-settings.
The first image below, attempts to show all 3 images in a sharper focus using the highest f-setting to try and capture all 3 images in a sharper focus. The image was fairly successful showing the contrast of 3 different items in a high quality focus, however the front image writing remained fairly hard to read in comparison to the image furthest away.
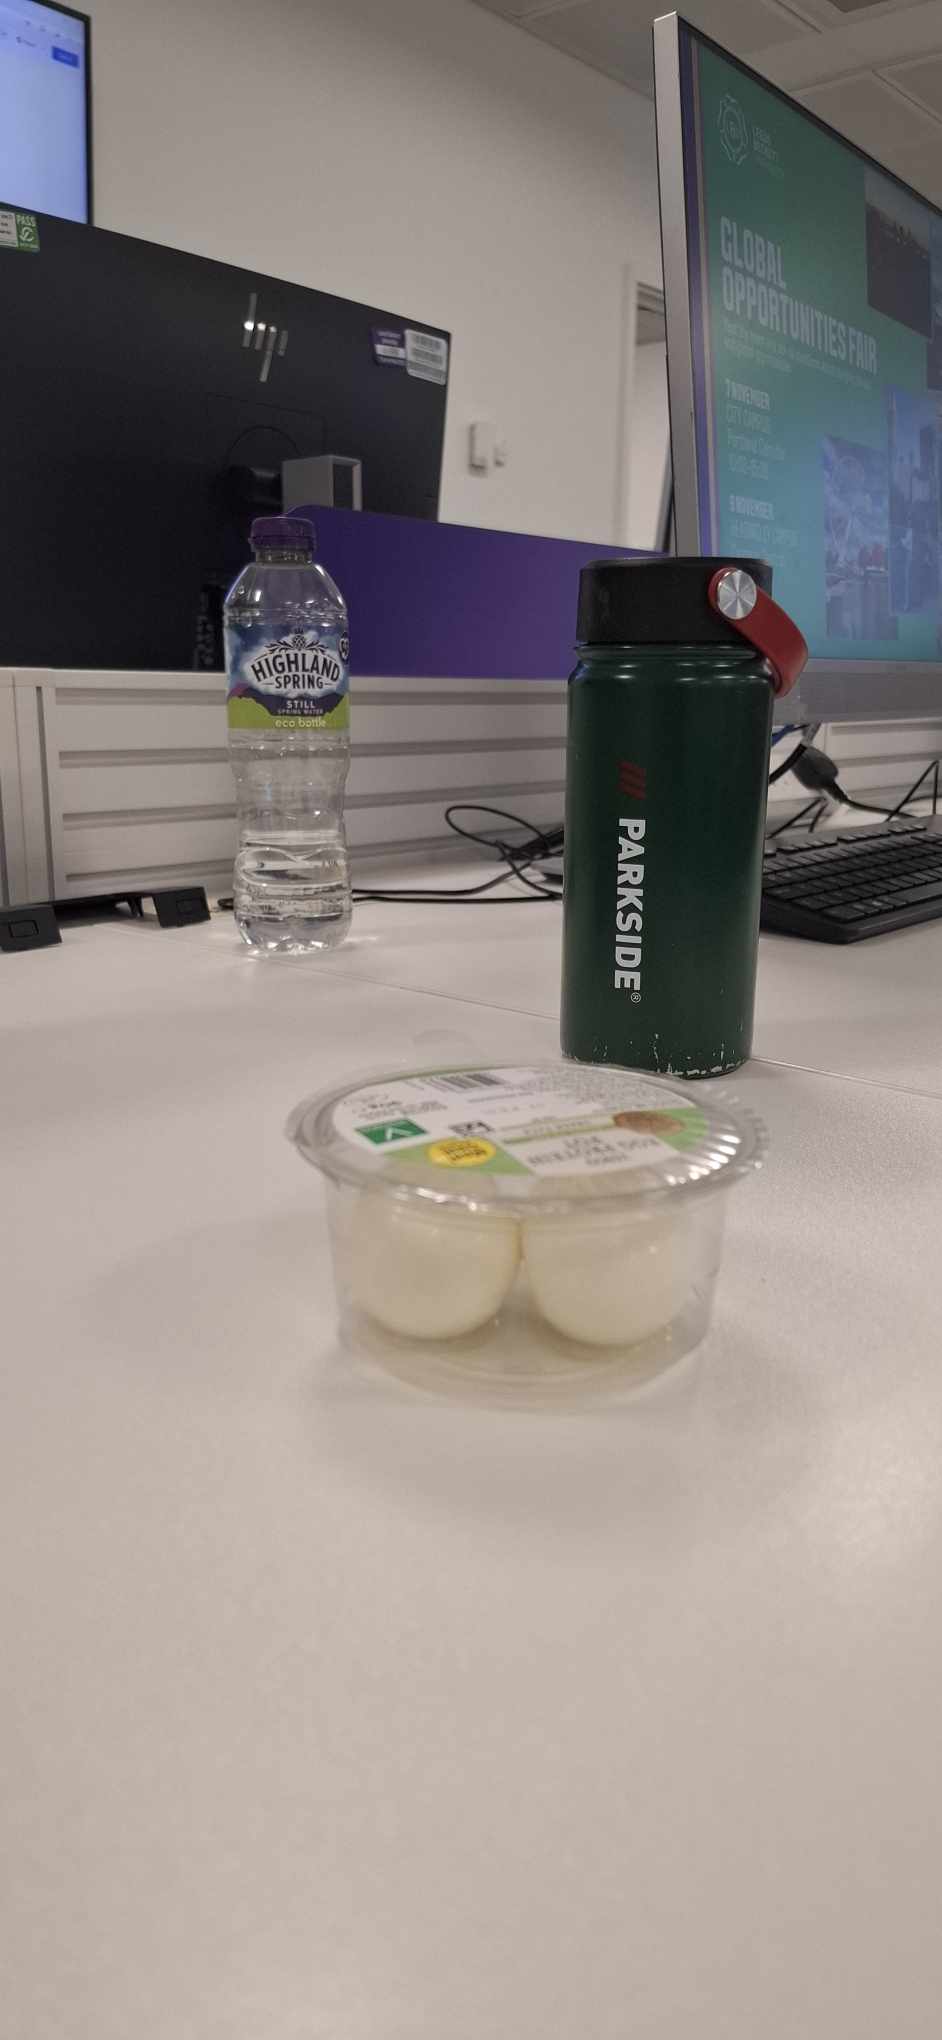
The second image (below) takes an image where instead only the front item is in focus using a low f-setting. Interestingly now, despite the item at the front facing the wrong way, every single word is readable unlike the first image, and now the two items further back are impossible to read. An interesting observation, that the front object is now in a much clearer focus.


You must be logged in to post a comment.