
Above is my first original image that I took and then chose to use as my ‘practice’ for editing using adobe photoshop. I decided to use this photo for two main reasons. The first being that it was taken in portrait mode and would then require editing down into landscape for online use. The second reason being that the flash was turned on so I wanted to play around with manipulating the image to make it turn out in a darker way.

The second image as shown above, has been cropped to fit an appropriate ratio, despite their being white border, and to edit this image I have used the curves adjustment layer on Adobe photoshop to reveal a darker tone to the background and focus of the image which I think highlights more detail in the shoe itself, (the writing and mesh at the front of the shoe in particular). I also played around with the ‘levels’ setting and managed to stop the base of the shoe (dark green area) from becoming too dark and then becoming irrelevant in the image.

The second image I selected was mainly because it was relevant to the course and was one I took of another student last week when learning more in depth about shutter speeds. The image itself was not a great image to edit considering the bright lights and reflection around the hallway it was taken.
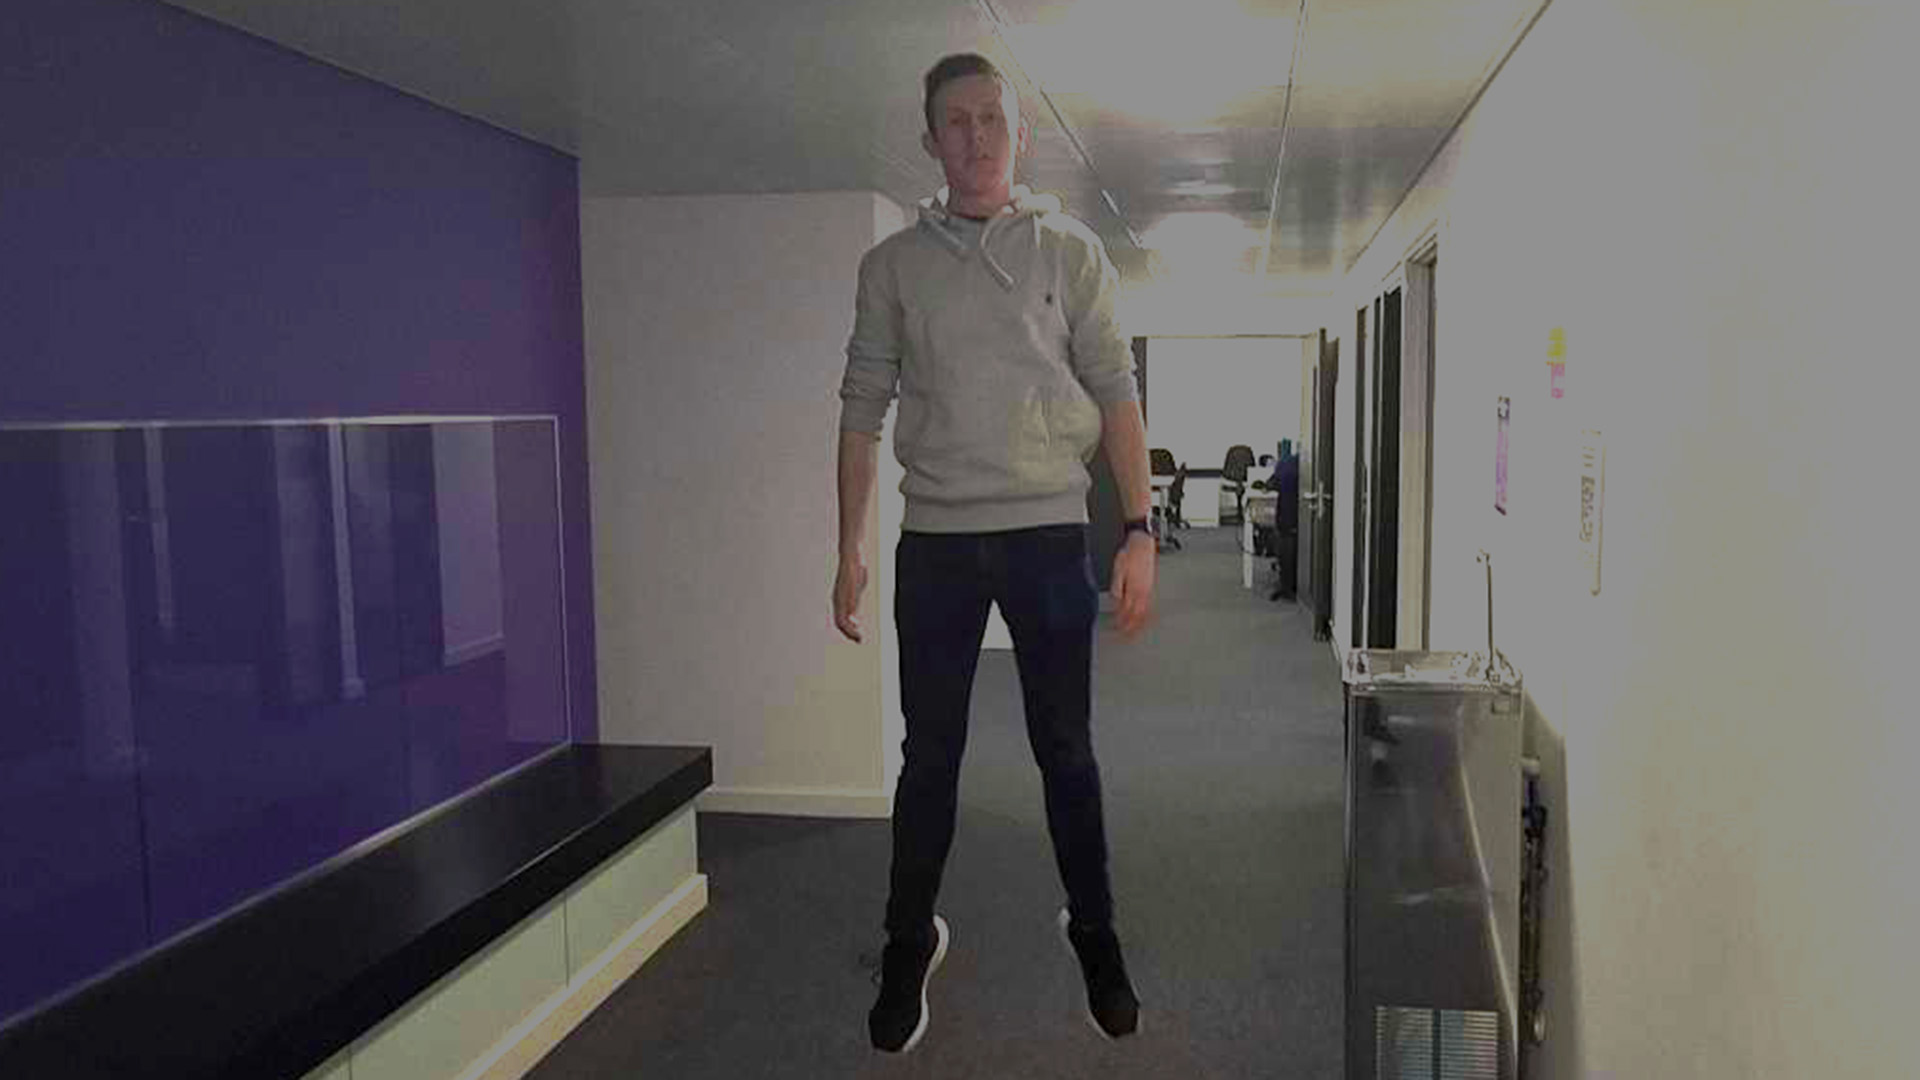
The image above is the edited version. Whilst I was aware that the image didn’t have too much that could have been done to it in the first place, my focus on this image was less to ‘improve’ the image and more to experiment with the effects of different adjustment layers on photoshop. The main layer I used was the ‘curves’ setting and my aim was to attempt to cancel out each light at the top of the hallway individually, using the ‘light spikes’ in the curves setting. It had relative success.

You must be logged in to post a comment.