Here are the two images that I have chosen to edit, before using photoshop.
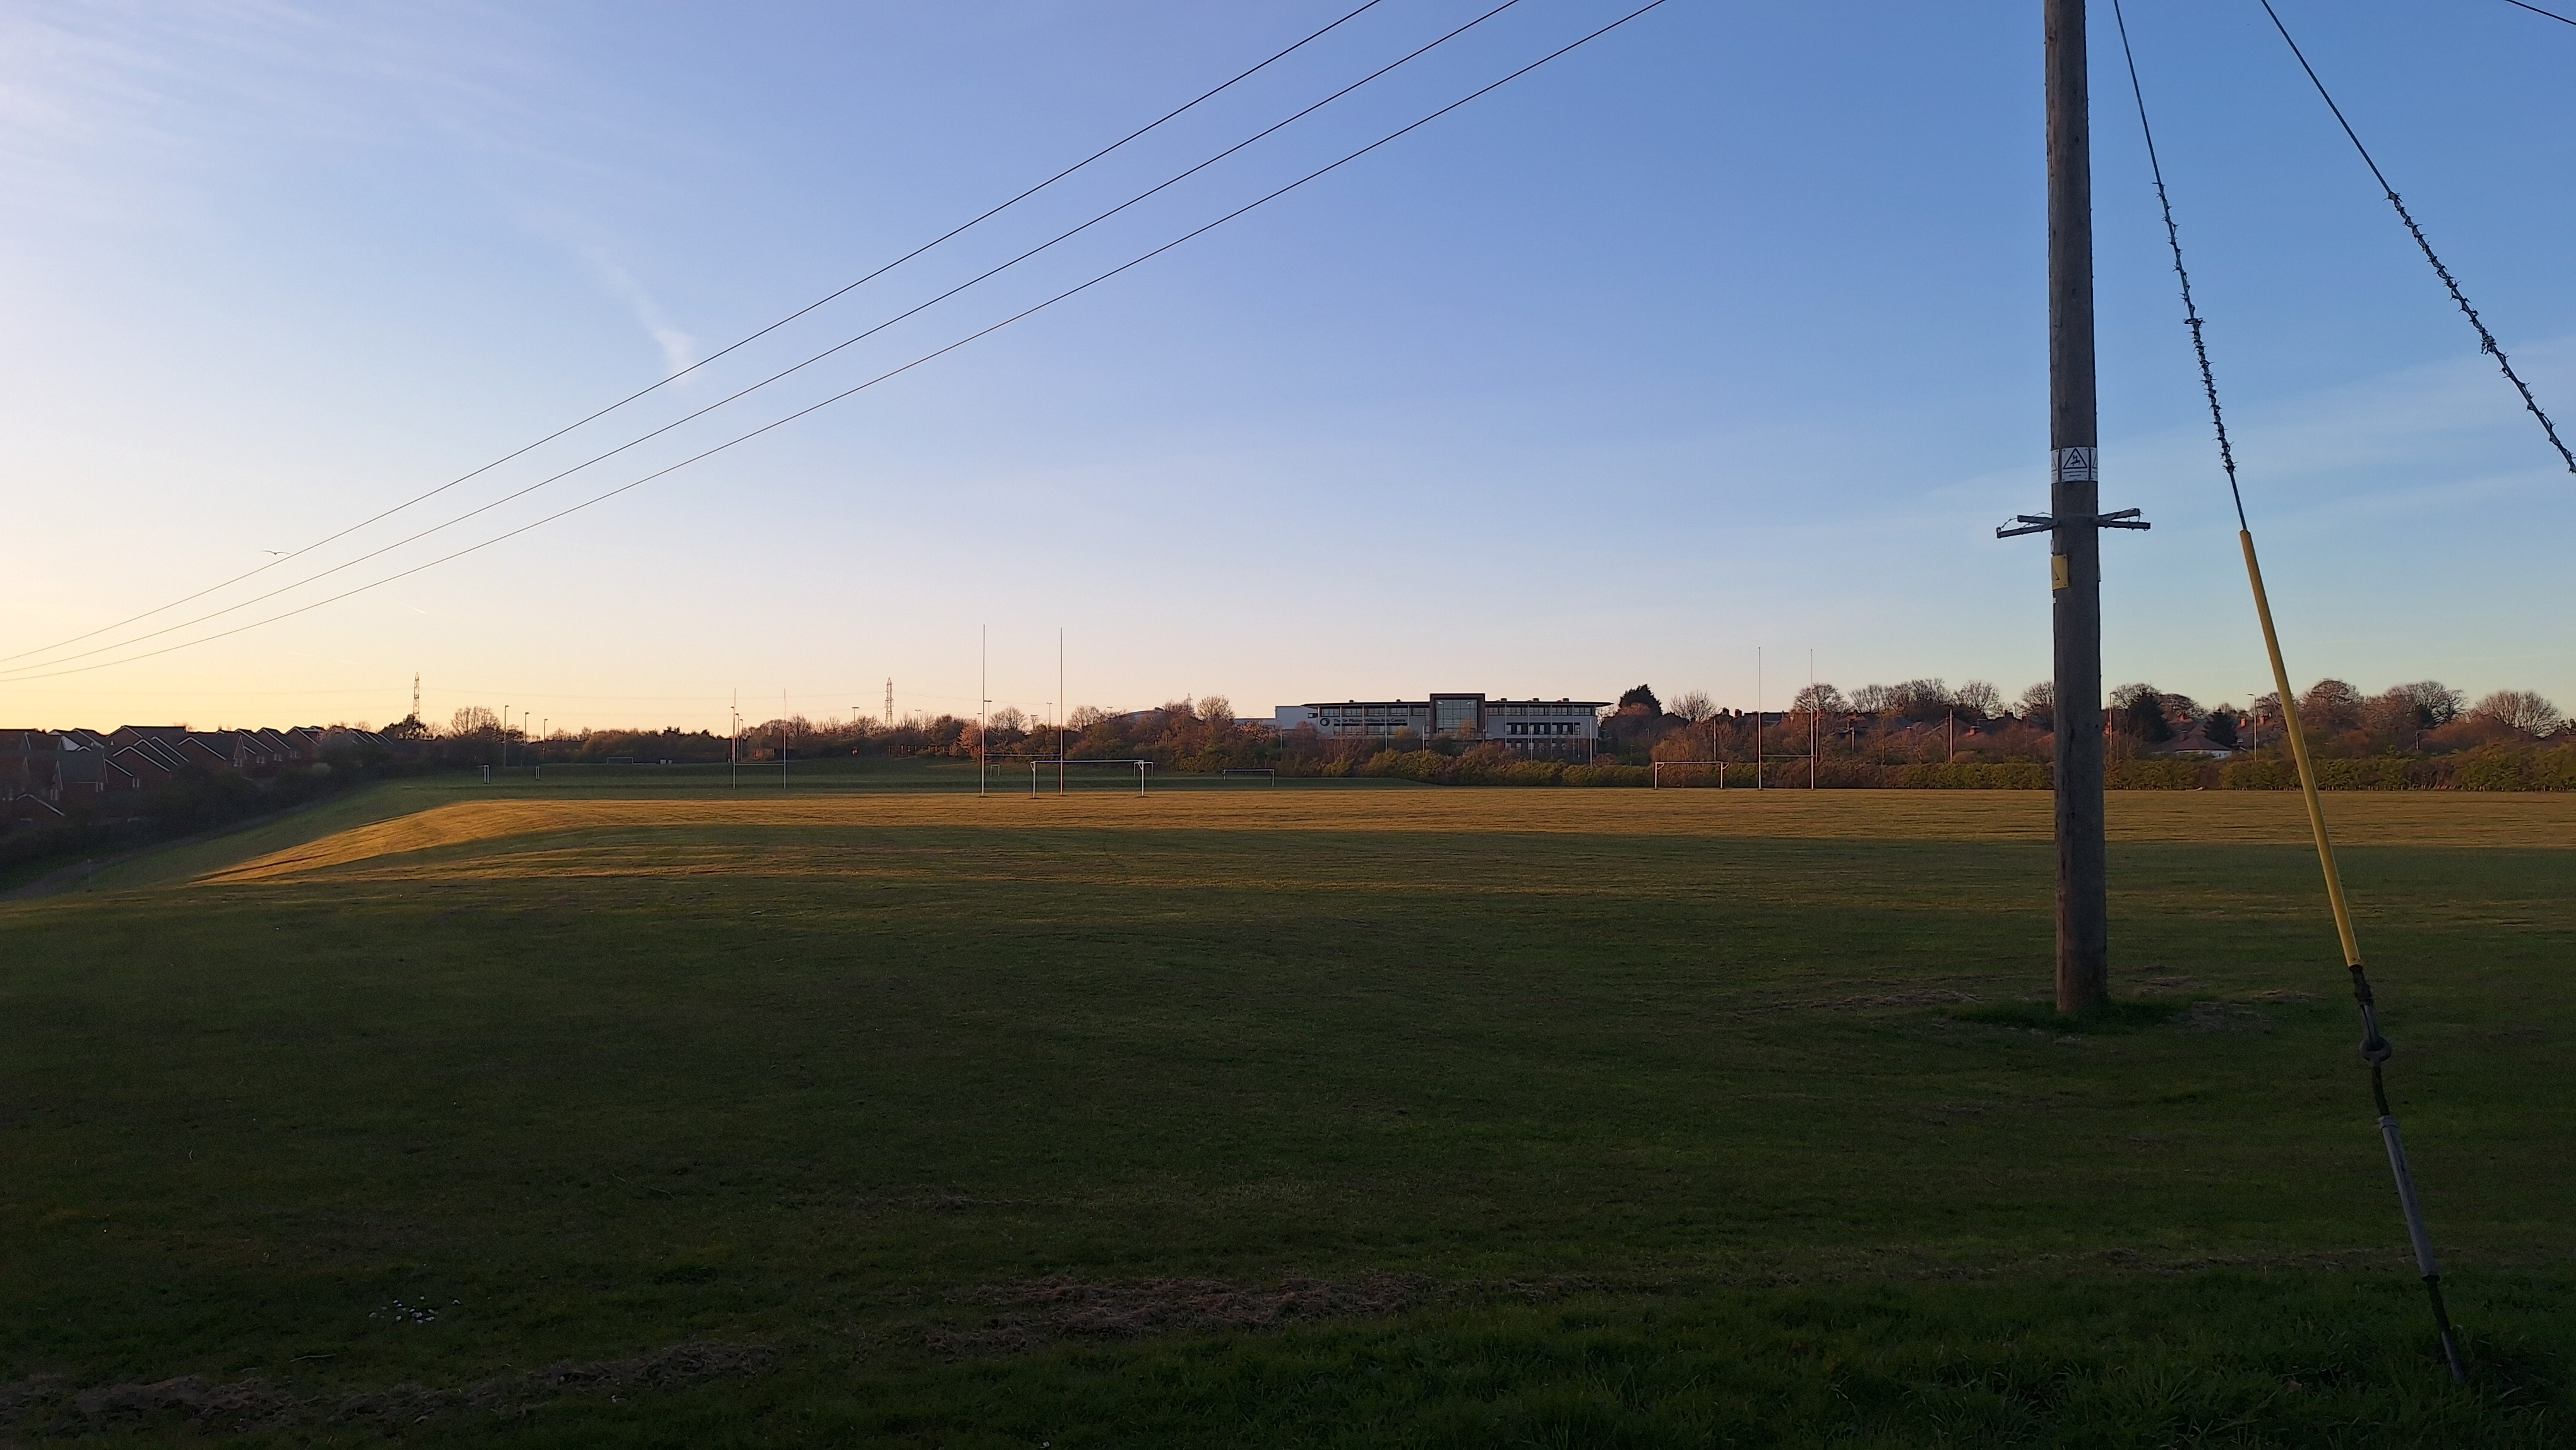
This is an image of my high school, during one of my bike rides. I like this photo, but it’s a little bit too dark, so I want to edit it to appear brighter.
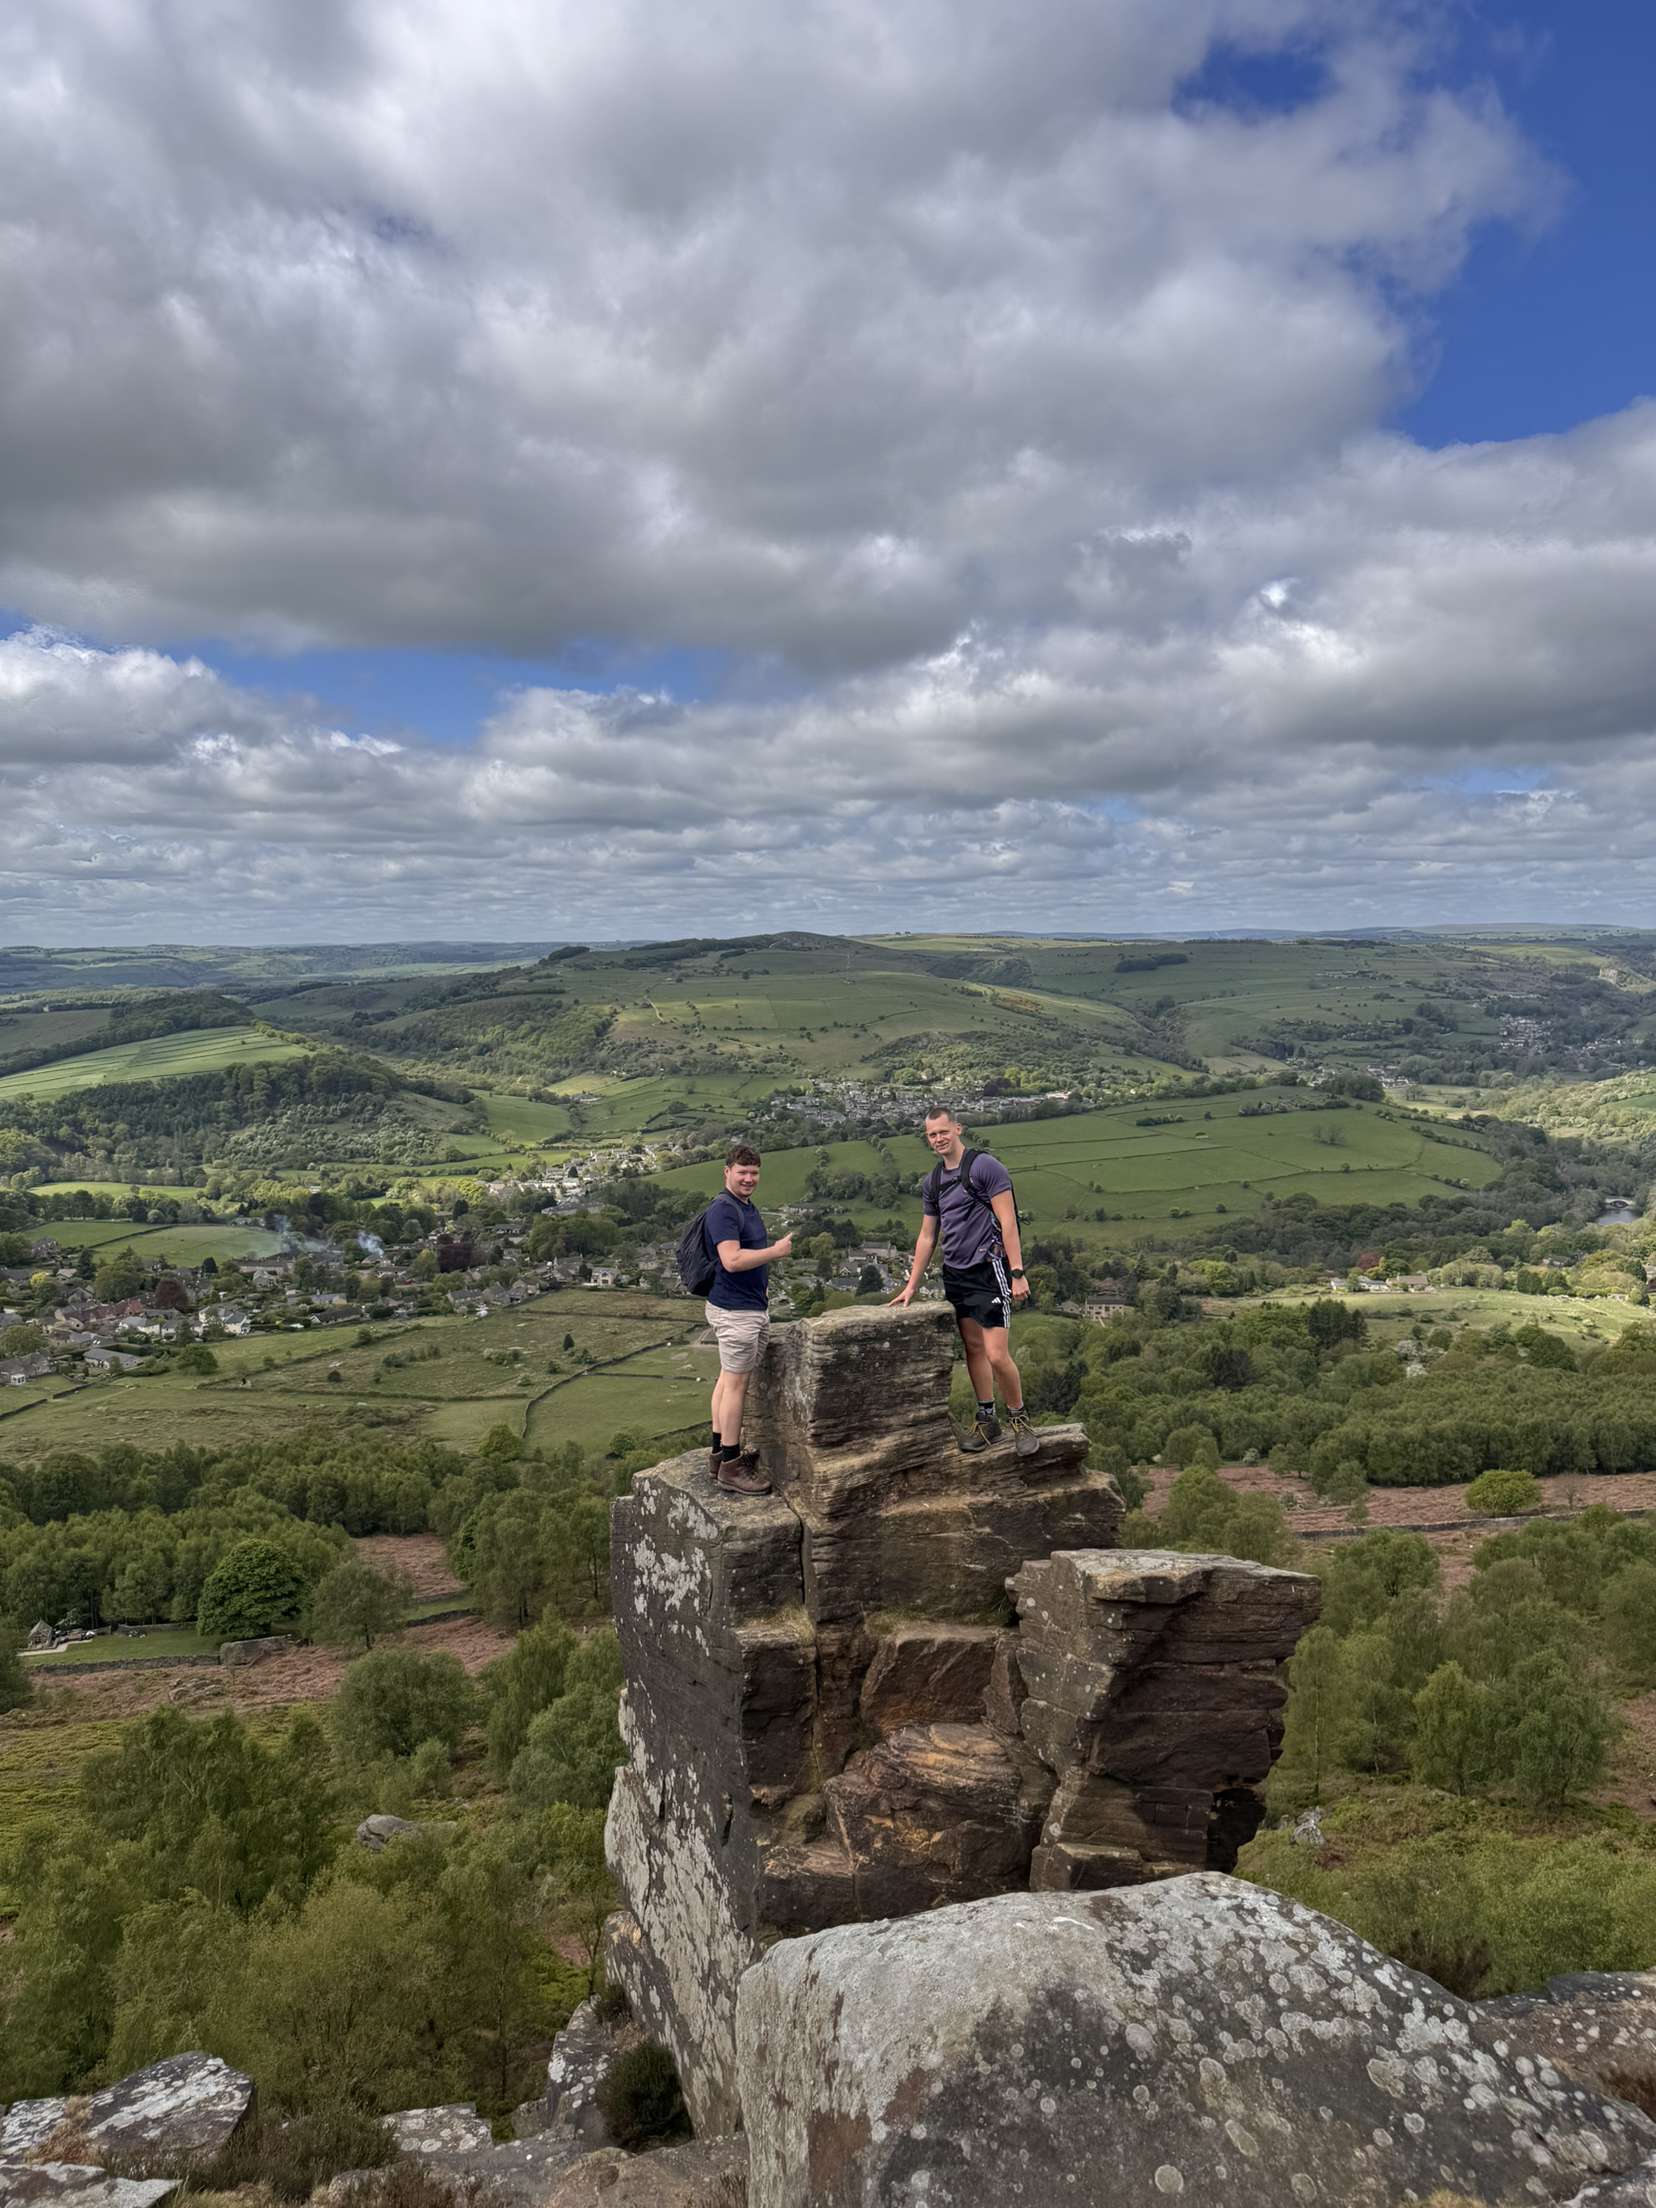
This is a photo of me and my friend, Tom on a small hike in Netherend. I love the photo, but I feel that we should be the focus of the image and not the background as such.

Thanks to the ‘Crop Tool’ on adobe photoshop, I now have an image where me and Tom are the focus of the image, without having to sacrifice the quality of the image at all. This has allowed me to appreciate just how good we look in the image, and also places more focus on how we got onto that rock formation in the first place. You can now clearly see the path we climbed to reach the top. I am quite happy with the brightness and colour of this image, so it was unnecessary to make any changes to this.
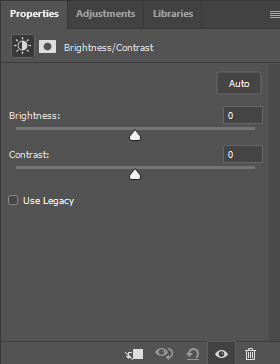
For the image of my High School, I utilised the ‘Adjustments’ section and selected ‘Brightness/contrast’.

I then increased the brightness of the image until I was satisfied with it.

And to polish it off, I added an extra +25 to the saturation of the image to further empahsise the beautiful golden colour of the setting sun on the field.
Once this was done, I saved the image as a copy, and this was the result.

Overall, I am much happier with this image. I particularly love the increased emphasis on the golden colour. You can also see a lot more of the grass right in front of the camera, giving me more of the image to look at. Instead of ignoring the dark parts of the image, I can appreciate the full thing. Thanks to photoshop, this image has been turned into a beautiful one, from one that was slightly disappointing.

You must be logged in to post a comment.