Week One:
This was our first class in our photojournalism module, and was a good chance to gain an understanding of what is expected of us over the next twelve weeks or so.
I have always enjoyed taking photos since I was young and have always edited them on my phone, and cared about how good they look, particularly when visiting new places, so I am quite looking forward to this module and gaining a good understanding of how to do this professionally.
For the task this week, we had to go out and find a story that we could pair with a couple of well taken photos, considering how they are framed and what is in the foreground and background. I found finding a good, interesting story a challenge so went with an easy option that was close to home.
For this reason, the story was not so adventurous, but I believe that my photos were framed well, as well as being aesthetically pleasing for an initial attempt.
Week Two:
In this week we learned all about the different types and subgenres of photojournalism. It was interesting to learn about each technique, from reportage to documentary photography.
We also learned about illustrative photography, which is: ‘Photography that illustrates journalism.’ It was interesting to learn about the process, and how the story has to become before the photos in this case, and then the photographer has to seek to take photos that will only help to tell the narrative of their story to the reader.
Documentary was the technique that interested me most, as it is all about capturing real life moments, with nothing being staged. I particularly enjoyed looking at social and candid photography, as there’s nothing more interesting than ordinary people. I think it resonates more with me, as it is realistic and I consider myself to be a realist.
Week Three:
This week we were taught about the importance of getting the basics right in photography, as a lot of us are brand new to the task, for example resizing and cropping an image correctly and accurately.
We were also taught about different formats of photos, such as JPEG, GIF or PNG files, the most common one being JPEG image files, probably because it is able to compress files into much smaller sizes than others, and is also compatible with all major web browsers.
Then we learned about why every photo that we publish must have a caption, in order to keep a strong narrative in a story, whilst also having an ALT text, which is read out loud for viewers who have not got use of their vision and acts as an audible description of an image.
We were then set three tasks covering the basics. First I had to take a portrait image and turn it into a landscape one, which was done successfully, simply by cropping the top half of the image and then resizing it. I then had to take an image and resize it to 1920 pixels in width. Finally, I had to convert an image into a JPEG file.
Week 4:
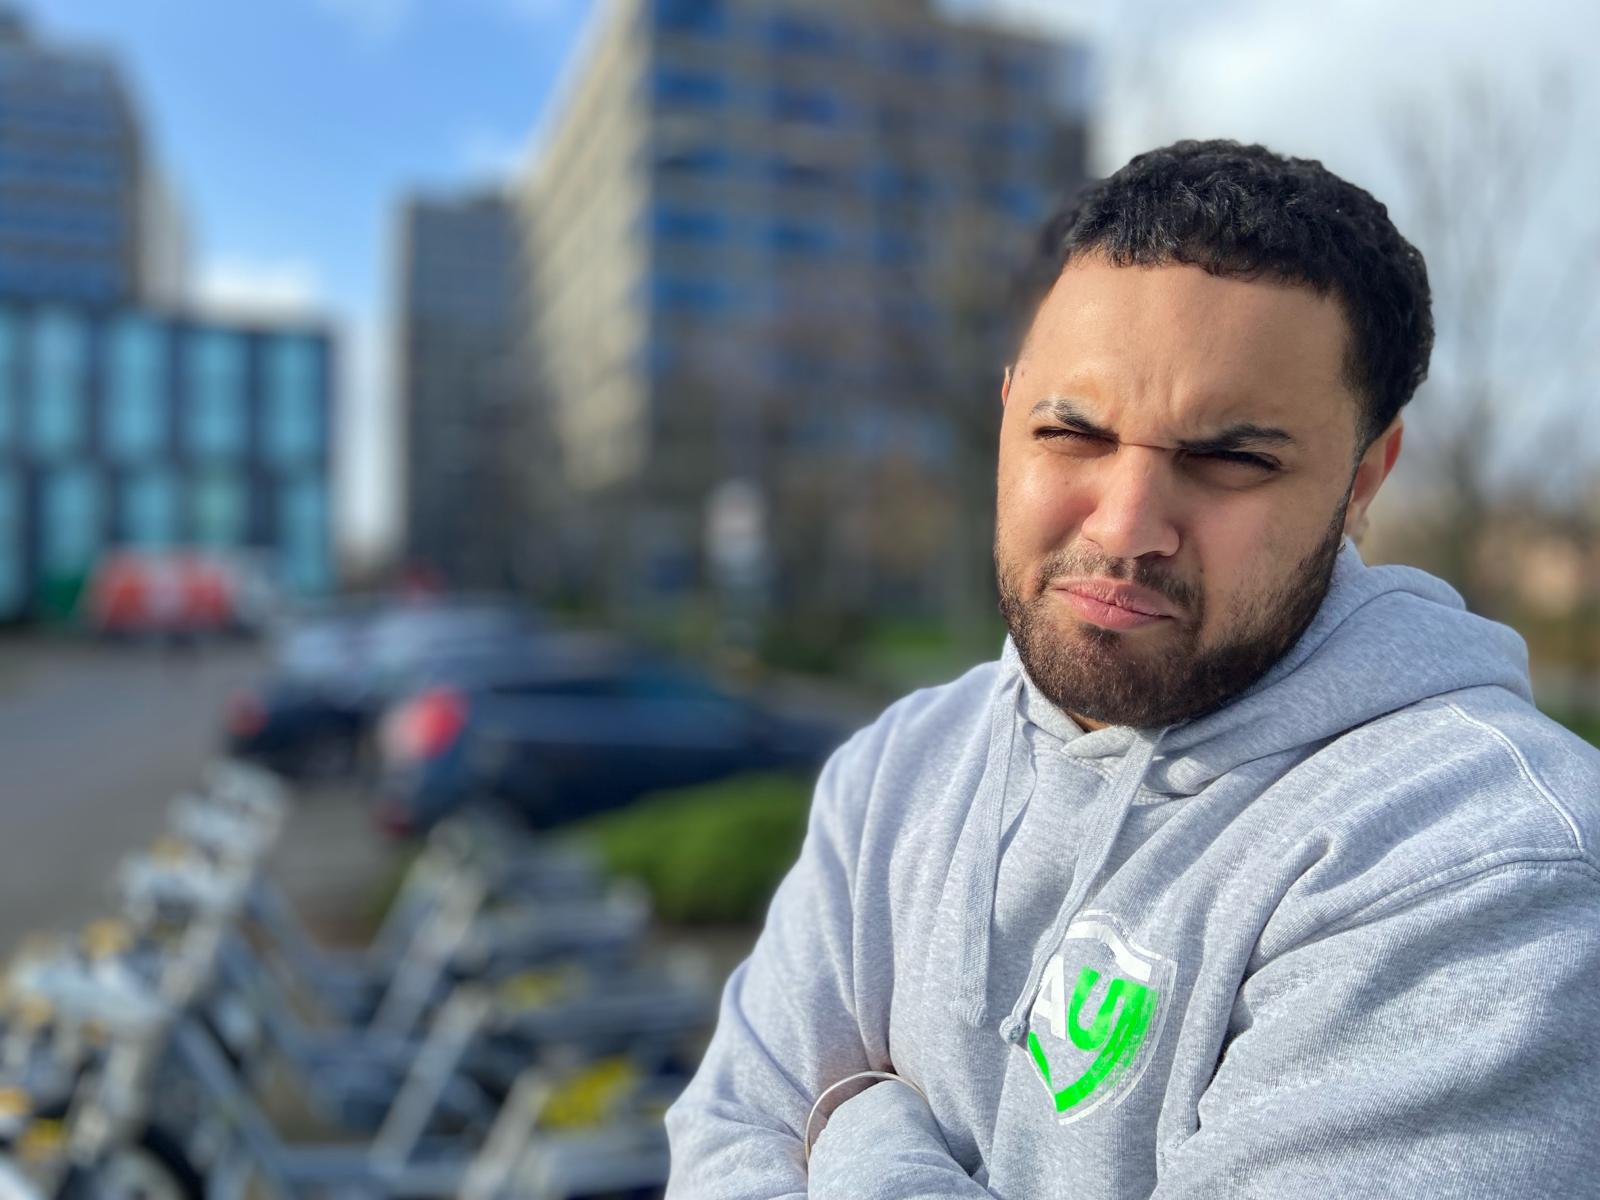
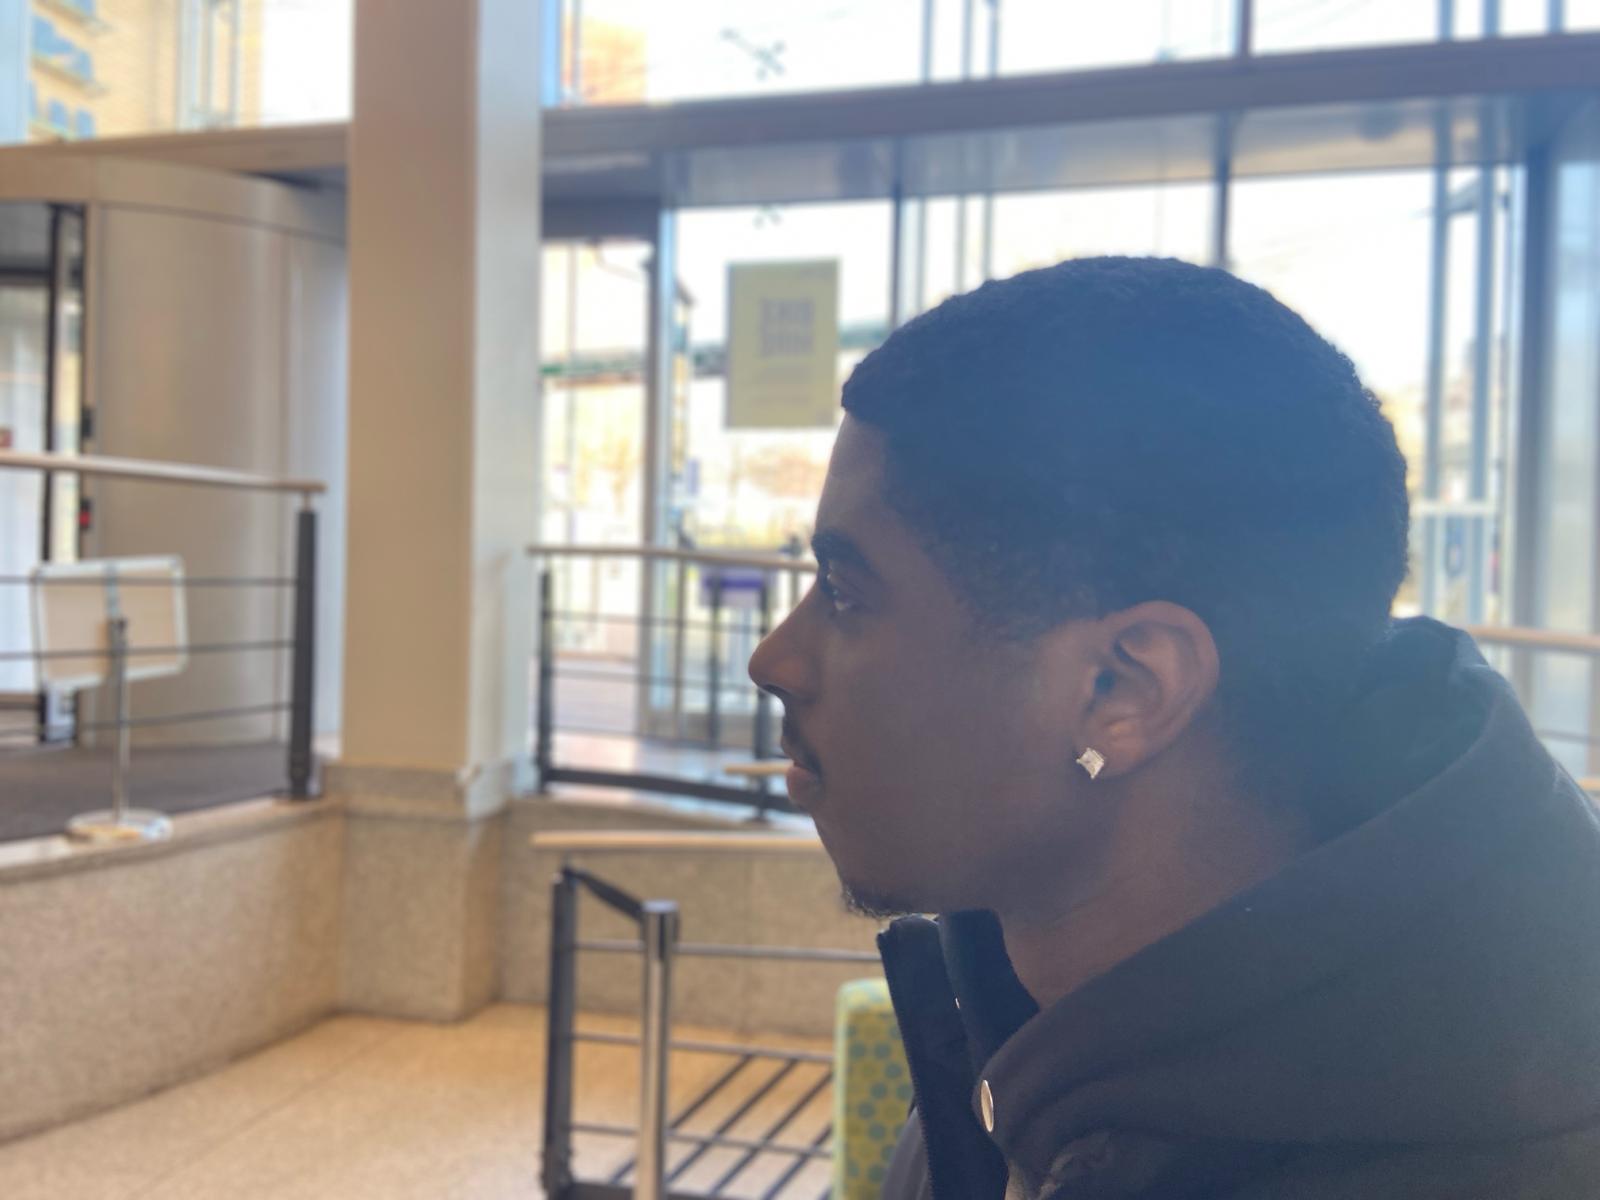
This week, we looked at focus, aperture and depth of field. I already knew and understood focusing quite well, due to my experience of shooting video; however, have had no experience of using F stop to vary my depth of view on a camera.
This was interesting, as I learned that it can make some ordinary photos look so much more appealing to the eye, simply by focusing more on the foreground of an image, and keeping the rest of the background out of focus. This is done with a low F stop. For example, when taking a photo of an individual athlete, you should use a low F stop, so the focus of the image is on the athlete, rather than the large crowd behind them.
We were set the task to go and take a range of photos with our peers both outdoors and indoors, experimenting with various uses of F stop. I found that you could get a deeper field of view outdoors, due to better lighting and more space.
Week 5:
In this weeks class we focused on ISO and shutter speed. I learned that ISO stands for International Standardisation Organisation, and the ISO number reflects how quickly the camera caught the image on film.
Taking photographs on using different shutter speed leads to different outcomes of images. For example, if you take a photo of high-speed vehicles using a low shutter speed, it will come out blurry. This can be used to create a blurry effect with moving objects, whilst having still elements of the image.
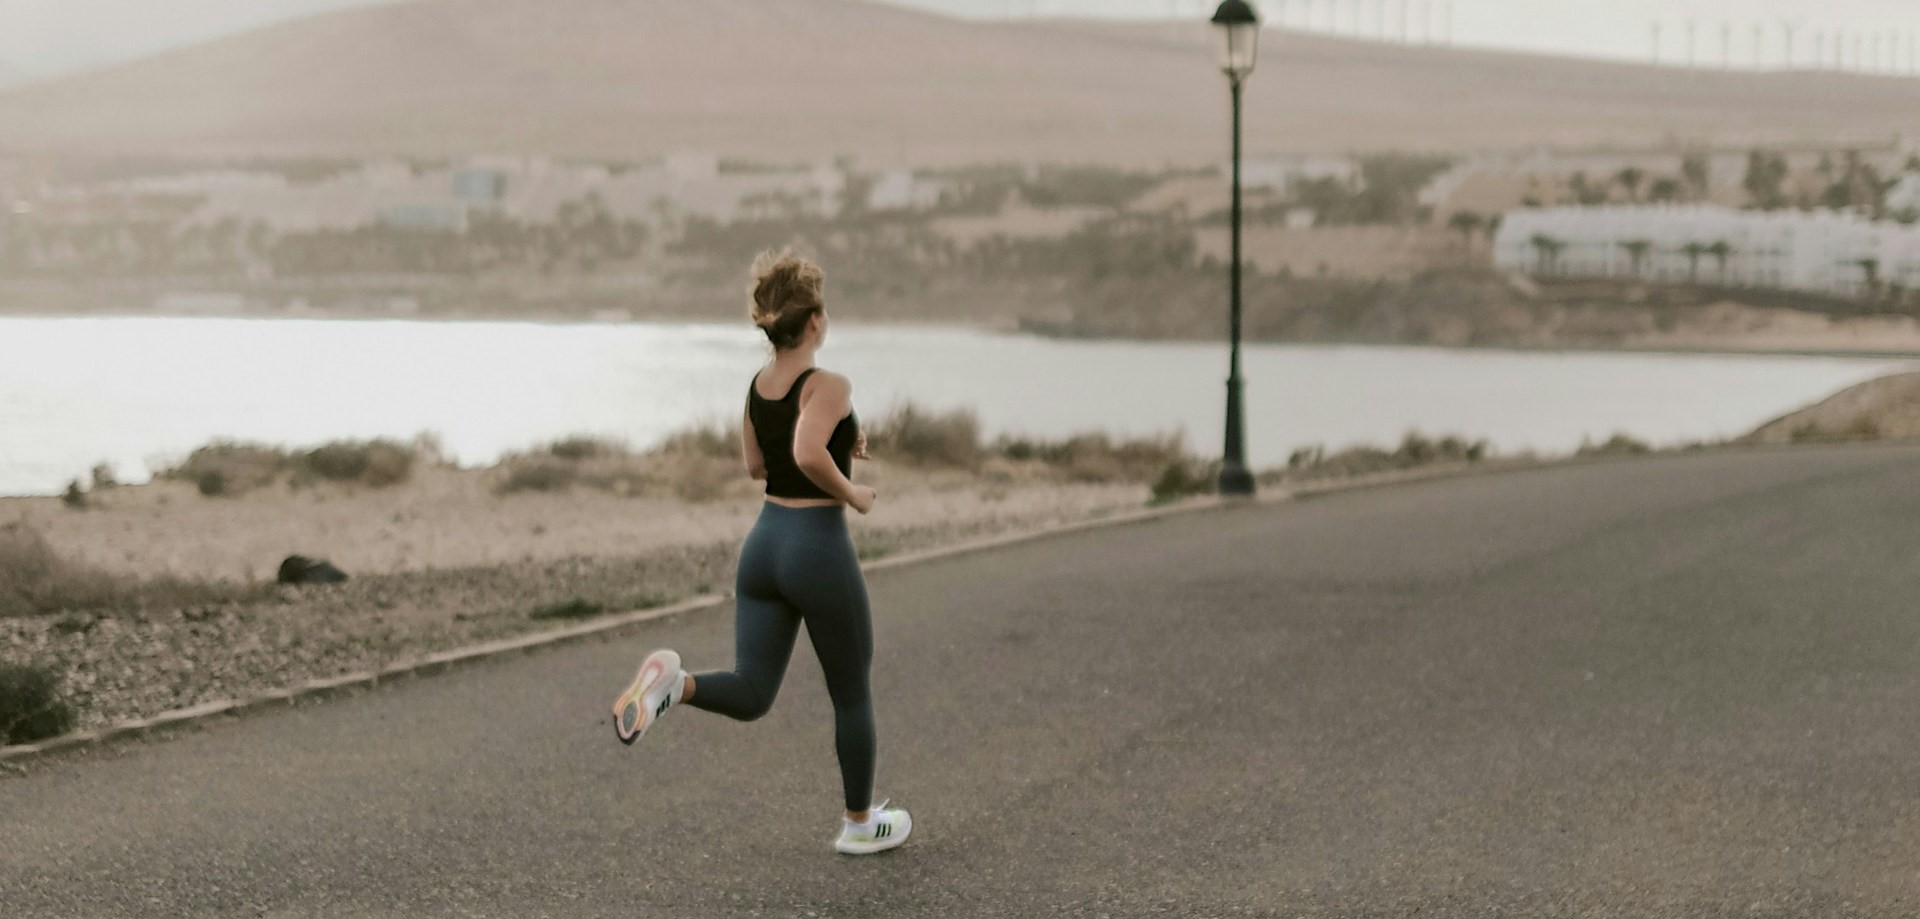
When using a fast shutter speed, you can effectively capture movement in a still image, with the image remaining clear. This is very useful to myself as a sports journalist, because I will be taking photographs of live sport, and athletes who are moving at high speeds. Keeping my camera settings on a high shutter speed will allow me to capture clear images of fast-paced movements.
For our task, I had to take photographs of someone jumping on a fast shutter speed. For this I had to use ‘Live photos’ on my phone. I had never understood the use of live photos, but now I know you can select a single frame as a still of the image, and it effectively acts as a fast shutter speed on an iPhone.
I also had to take a photo using a low shutter speed, without live photos on to try and create a blurry, slow shutter speed effect. I found it hard to get it to look like the examples that we have seen. This may be due to poor lighting.
Week 6:
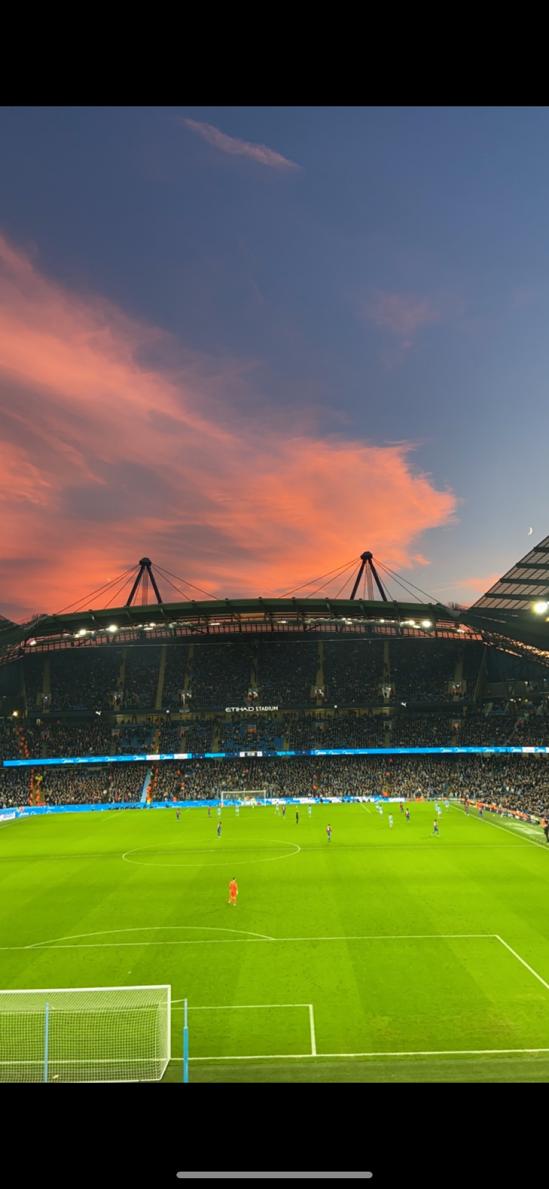
This week was online tutorials. I looked at the module so far, and went over what I learned. I started putting some thought into my project this week. I want to align it with my journalism project, so would like to relate it to football, and specifically non-league football. This is because it is more accessible, and you can get up close to the pitch to get good shots of a match. It is likely that I write a piece surrounding Farsley Celtic, at this point, as I have worked with the club before.
I also used this week to catch up on a couple of Workshop tasks that I needed to finish off, which involved taking a few more photos, in order to show my understanding of techniques and what we have learned.
Week 7:
This week’s class was all about colour correction and lighting, and the post production period of photography. We were informed about Snapseed, and taught how to use it for colour correction on photos.
Now, we are looking at the more technical side of photography, in post production, I am finding the module more challenging than at the beginning. I found the cropping a bit more challenging than I did with colouring, and editing the photos.
This week’s task was to edit a raw photo, and show a before and after and explain what changes were made to the photo. I enjoyed this task, as it was interesting to change different parts of the photo, and see what works and what does not. I think the ‘after’ photo looked good, and that I was successful in making the photo look better aesthetically.
Week 8:
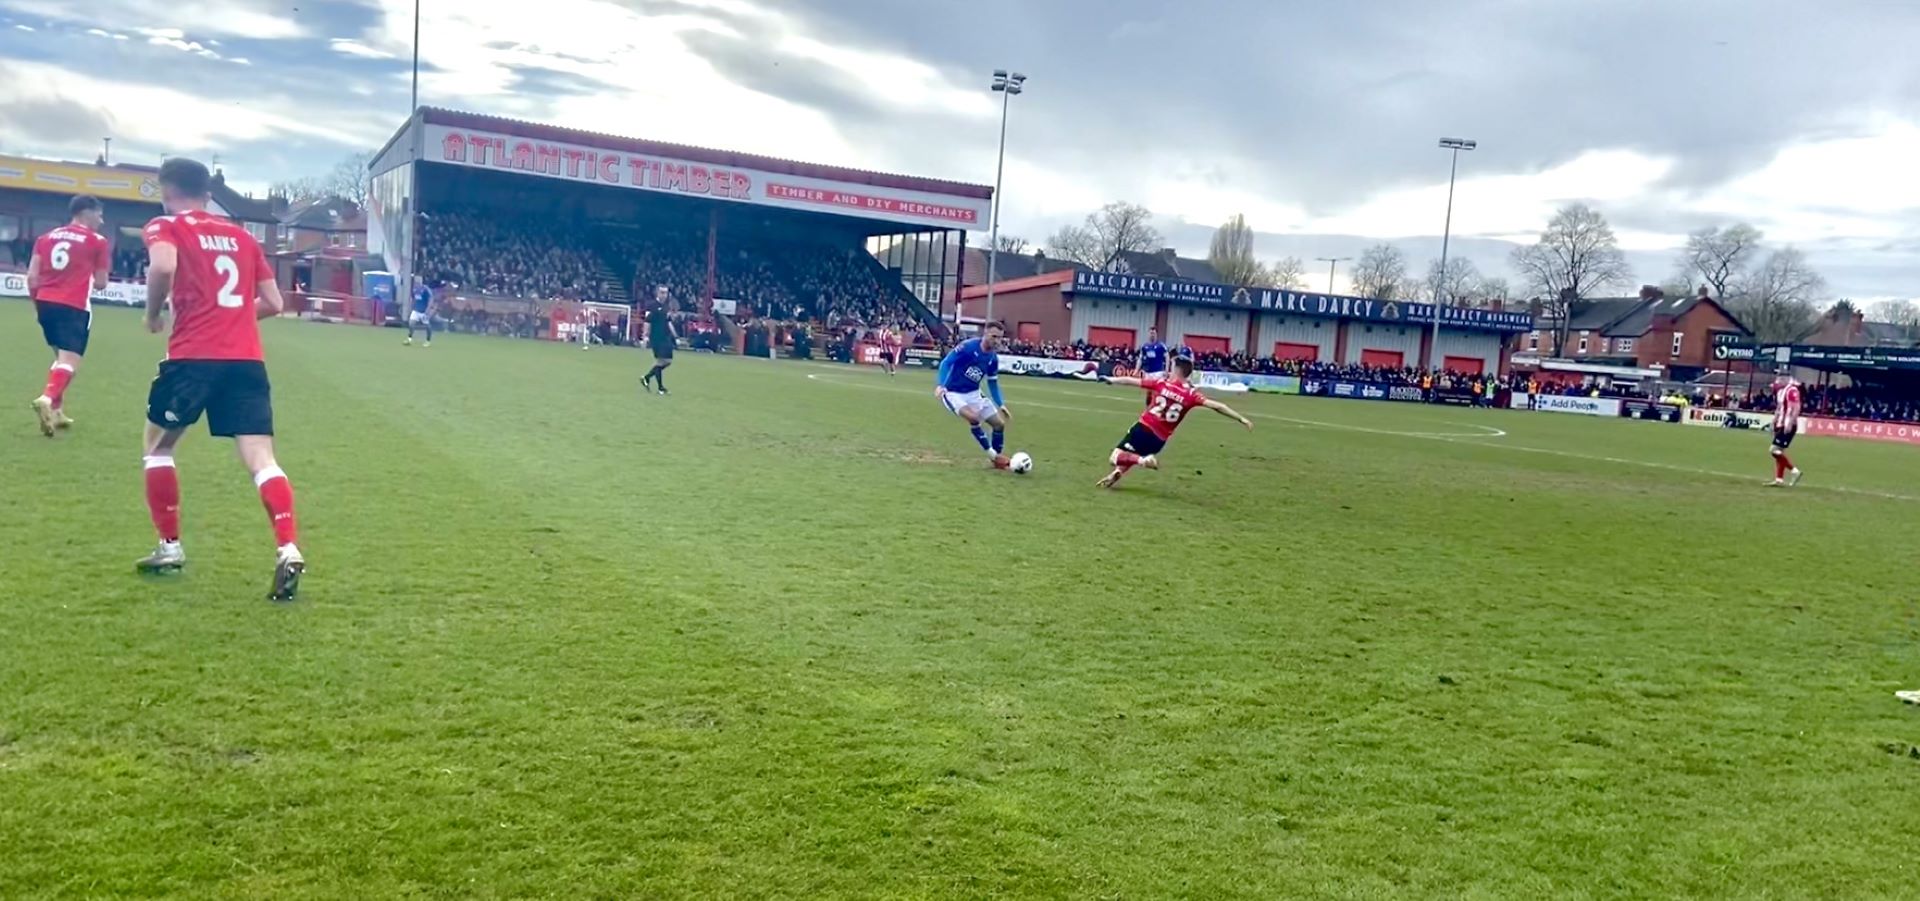
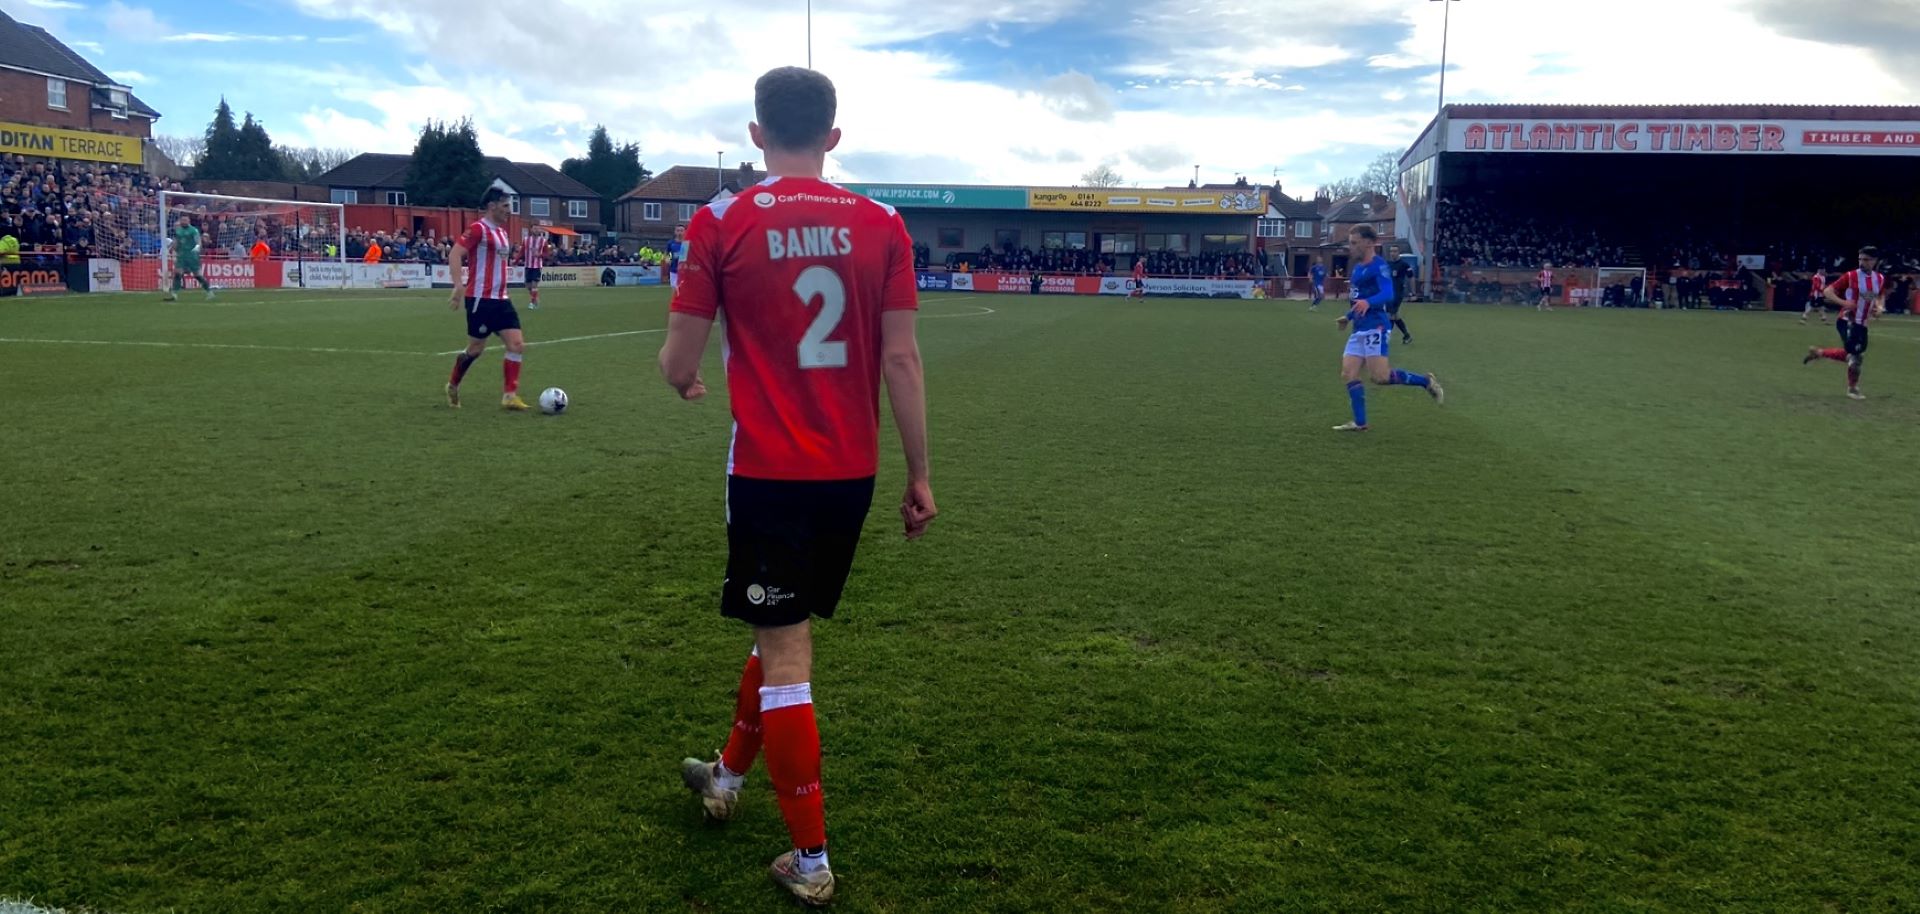
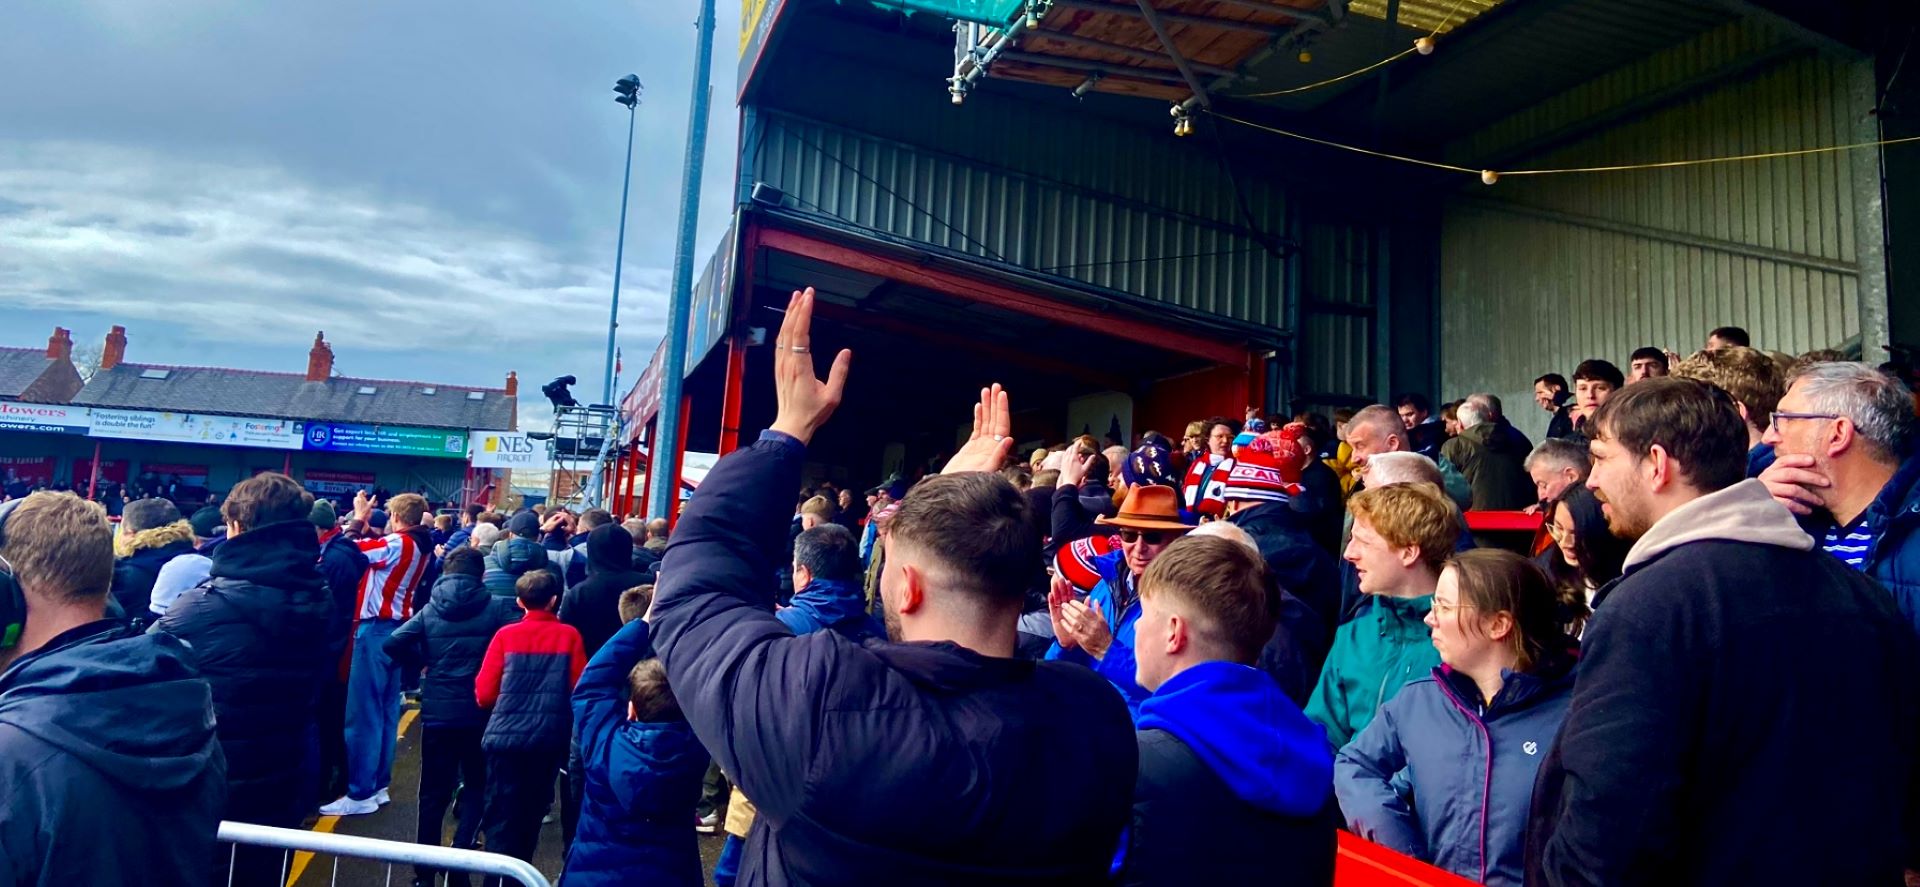
This week, I began to work on my project, by heading to Altrincham vs Oldham to take some photos for my article. I got as close to the pitch as I possibly could, and made sure to get good light. I took a wide range of photos, many of which I am sure will not be used, as a lot were blurry. However, I did struggle to get capture images with the camera quite as well as I was on my phone.
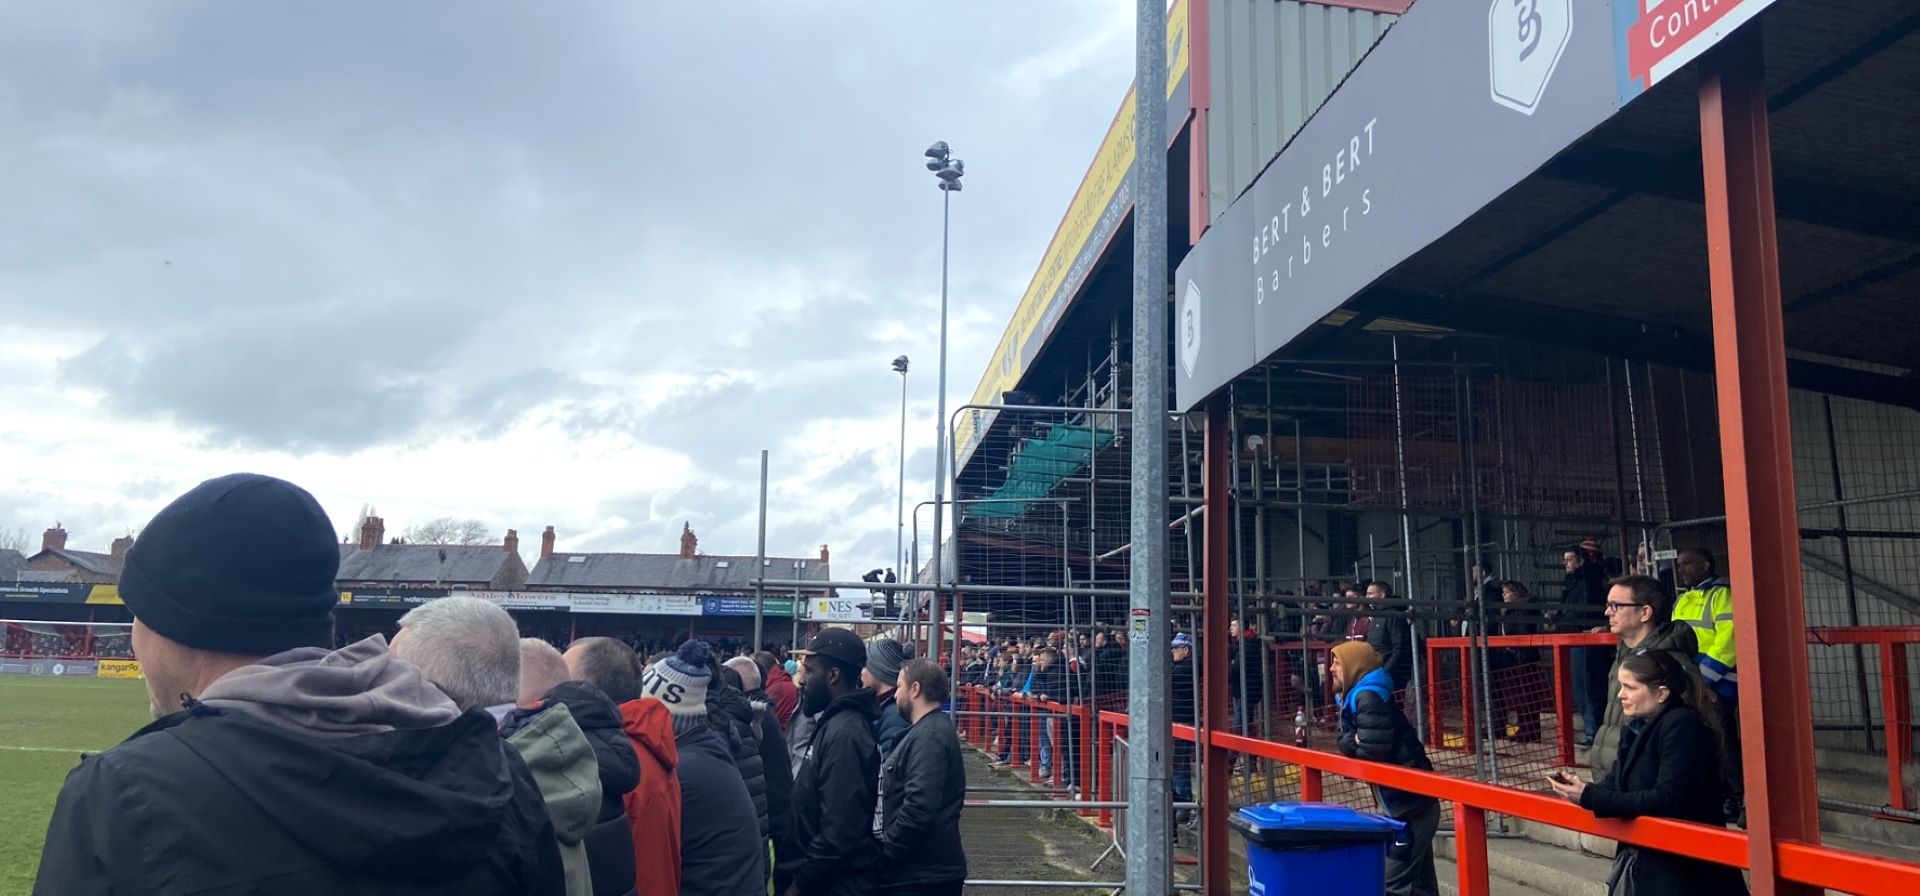
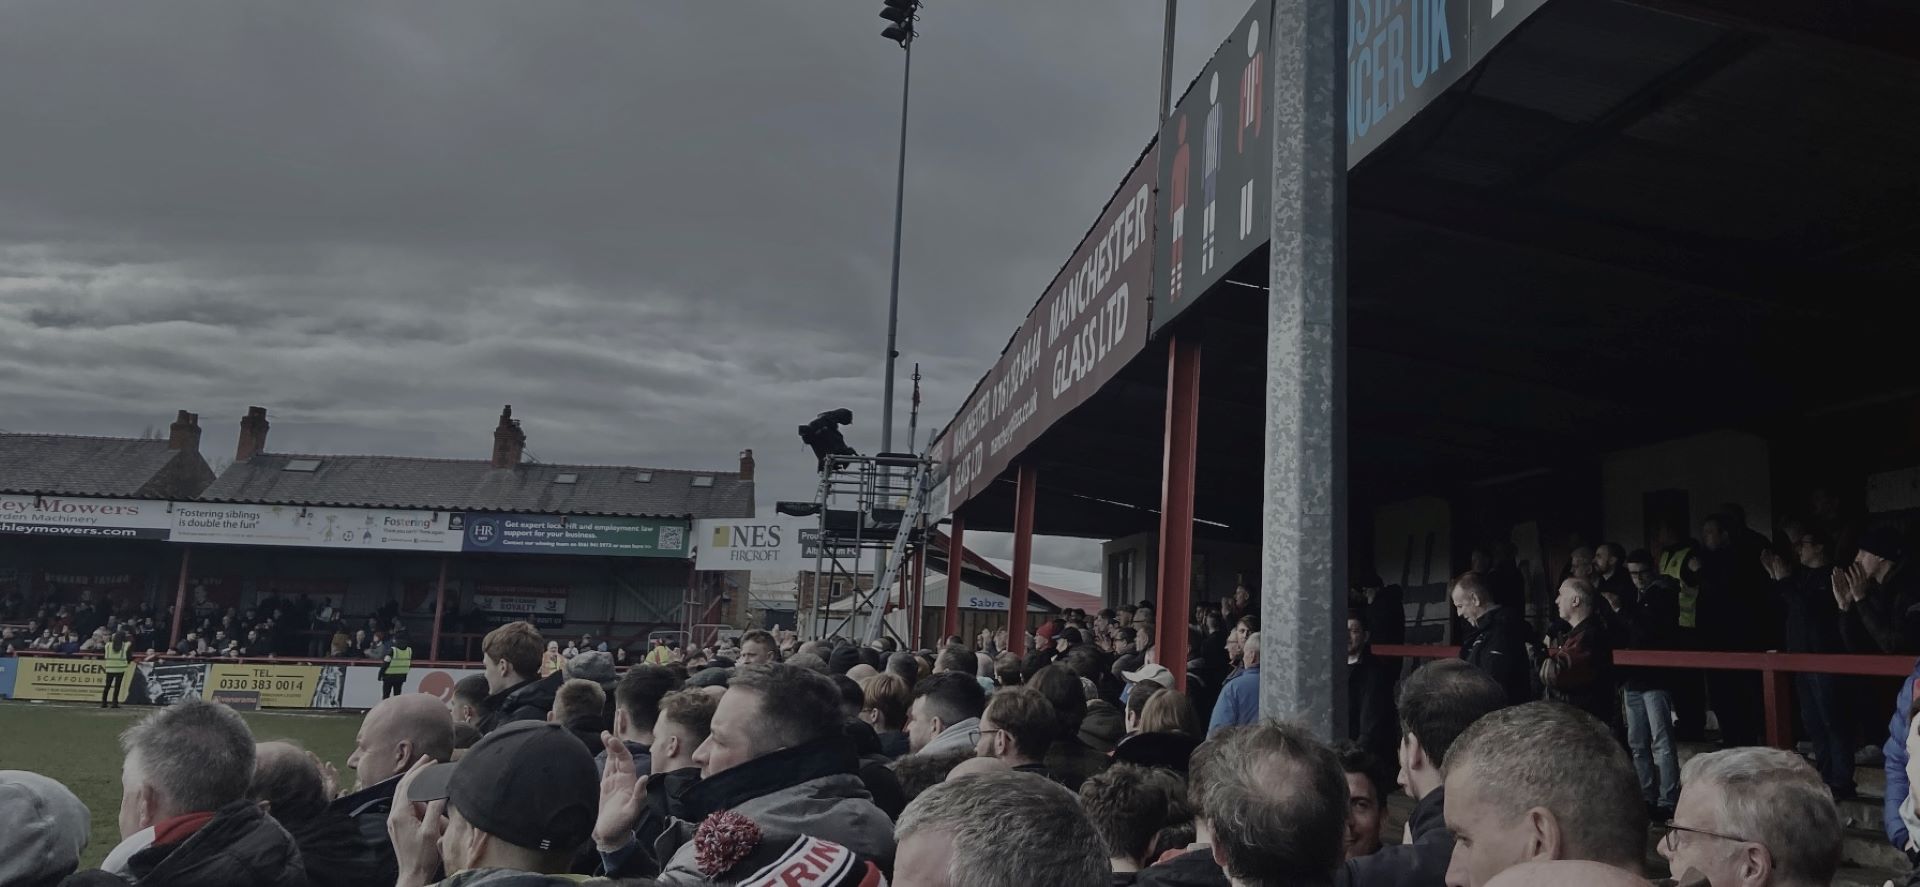
Using the Live Photo feature on my iPhone, I was able to capture multiple stills of high-speed actions on the pitch. I got some really good looking shots of slide tackles, and players in intense moments of the match, and was happy with the outcome. The next step is to put them through post-production in the near future. In some of the photos it is quite overcast, so the lighting is not perfect and the images aren’t very vibrant, so I would like to make them a little bit warmer. I also managed to get some crowd shots both during, and after the match.


You must be logged in to post a comment.