Please find my eight-page magazine spread via the Issuu link below:
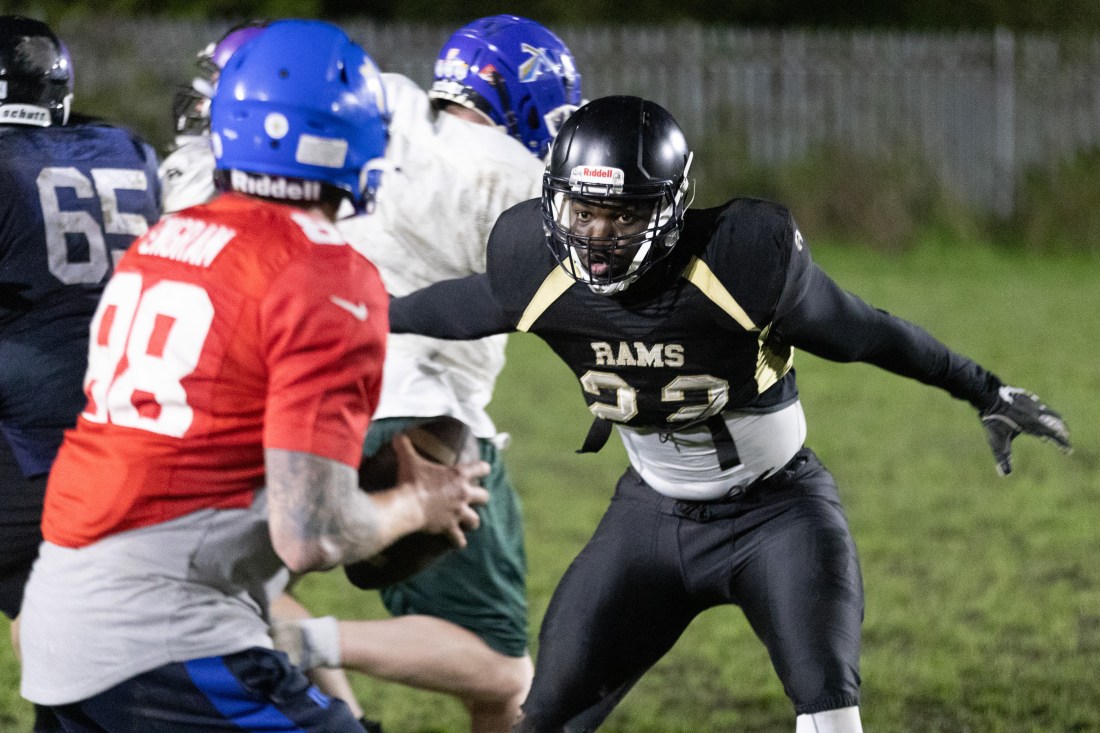
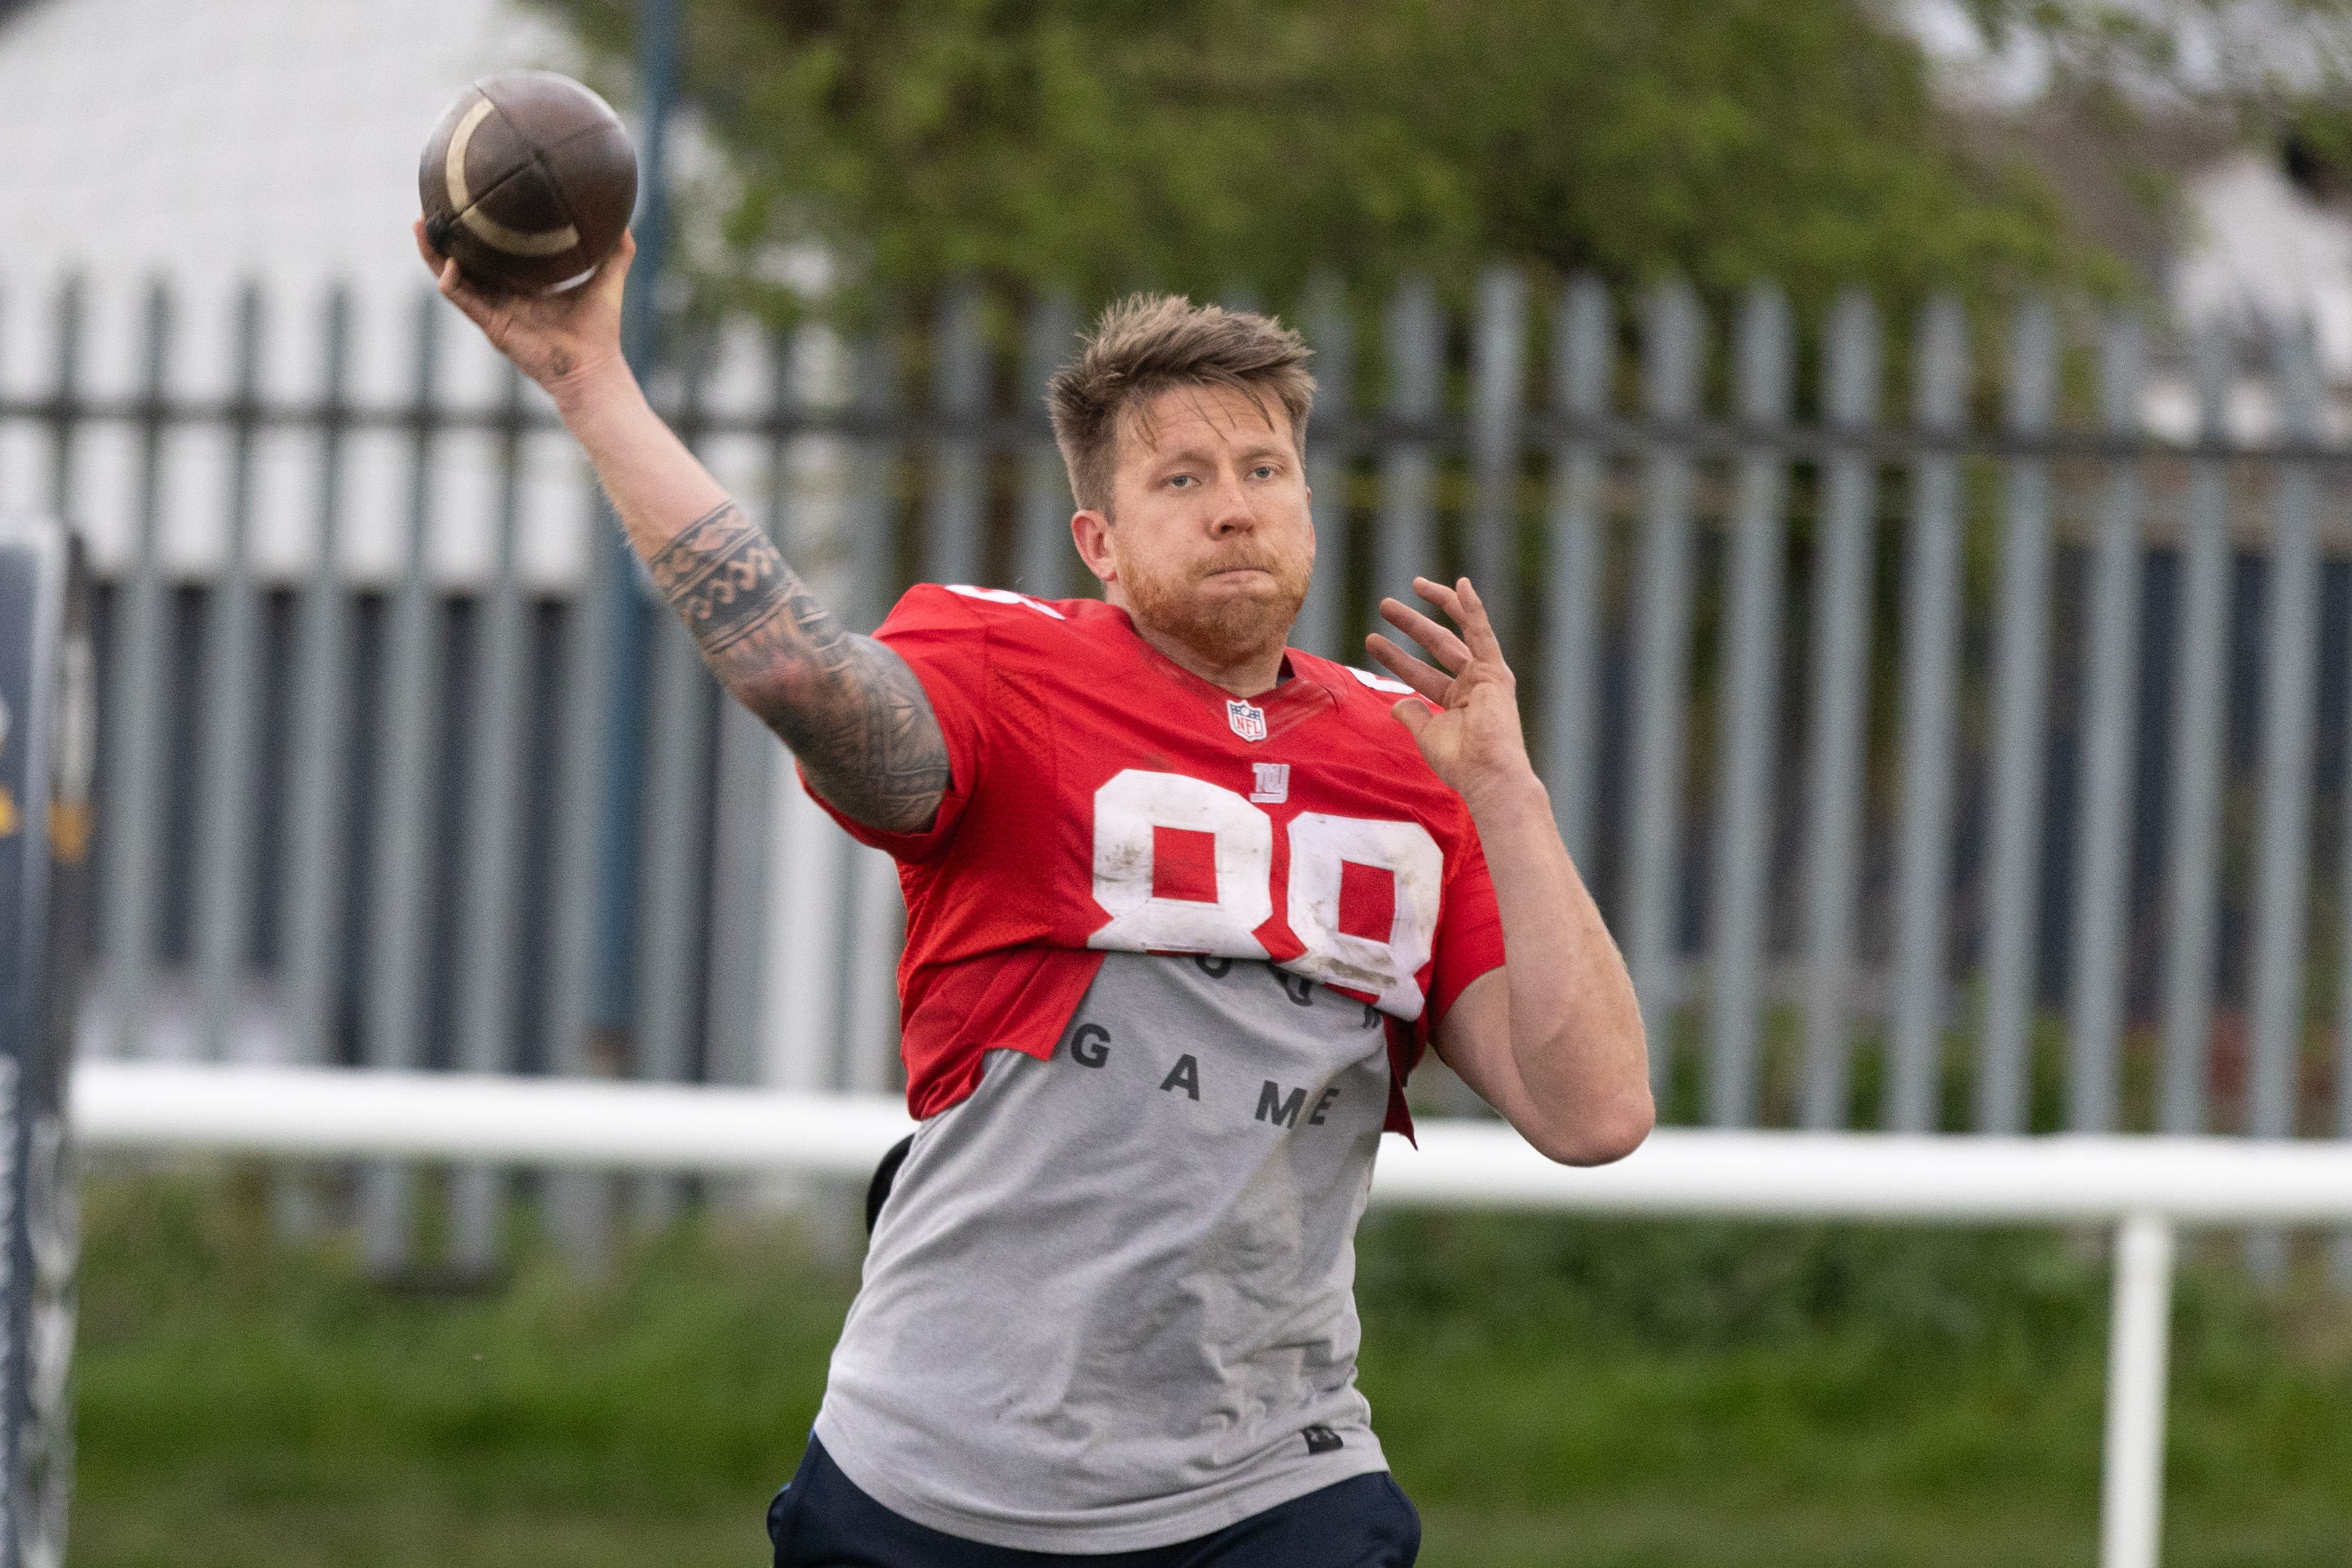
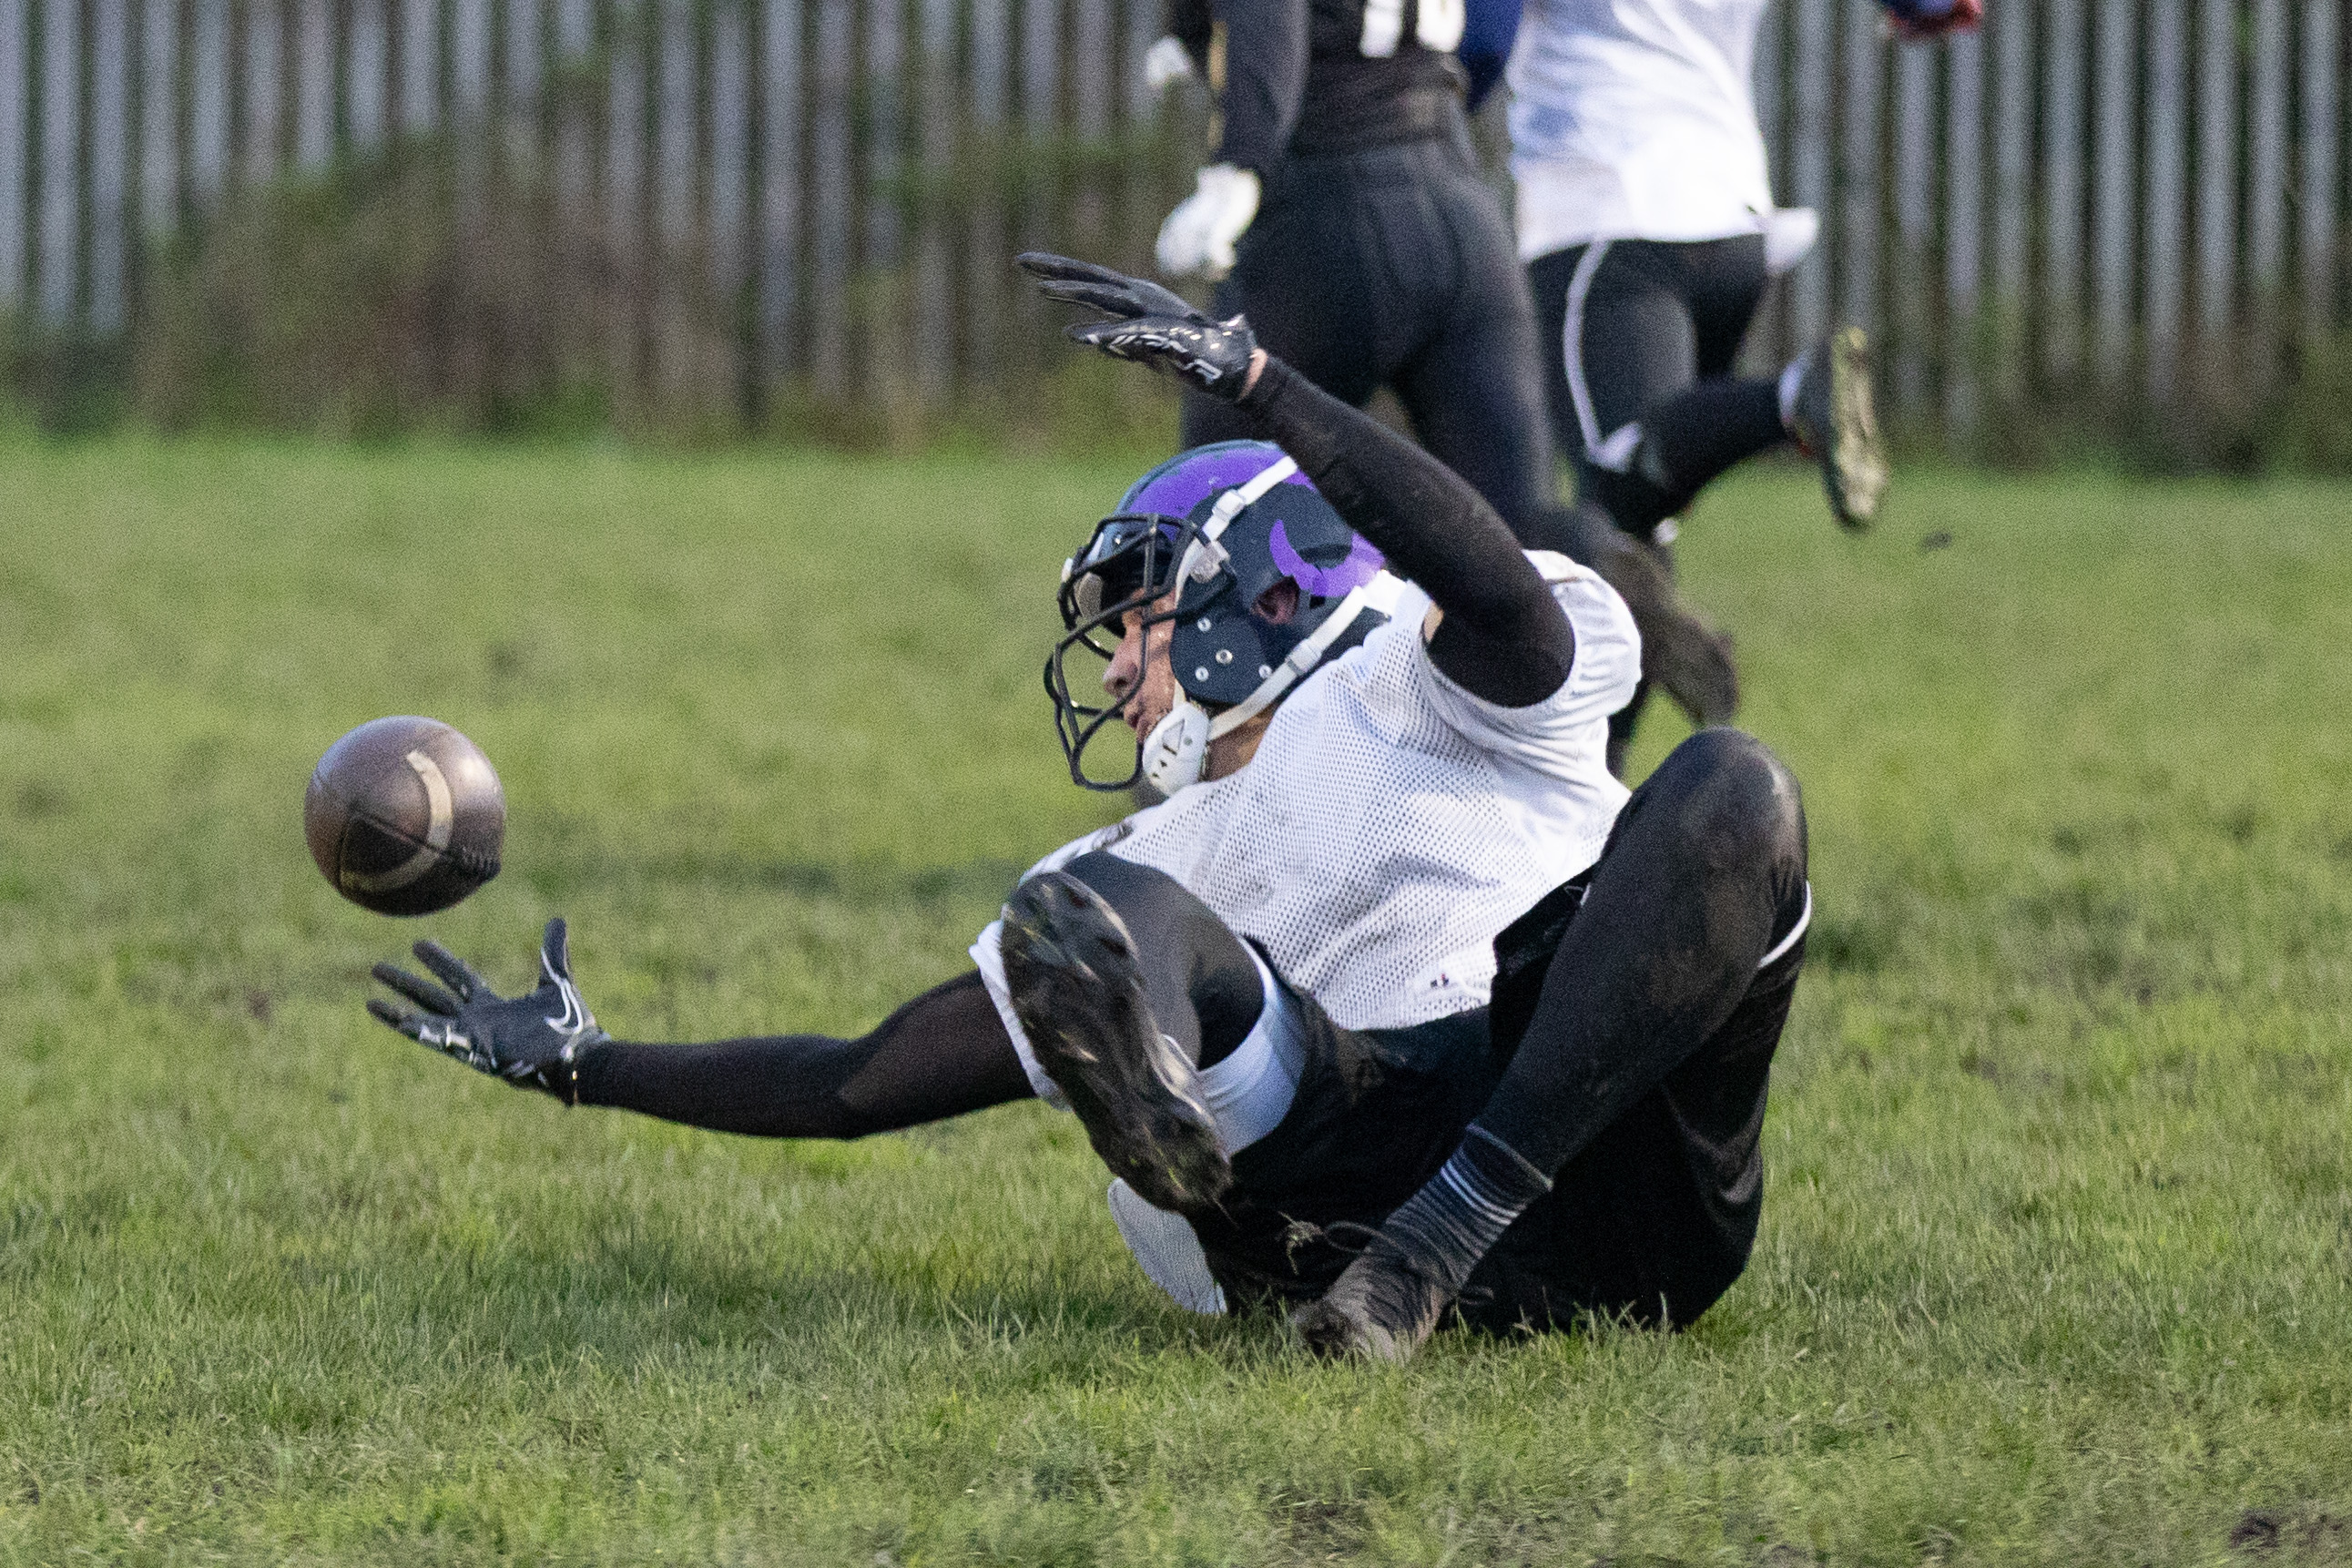
Final Images Used
Here are the full images used on the spread in full format.


Showcasing the Best in Photojournalism from Leeds Beckett University
Please find my eight-page magazine spread via the Issuu link below:
Here are the full images used on the spread in full format.
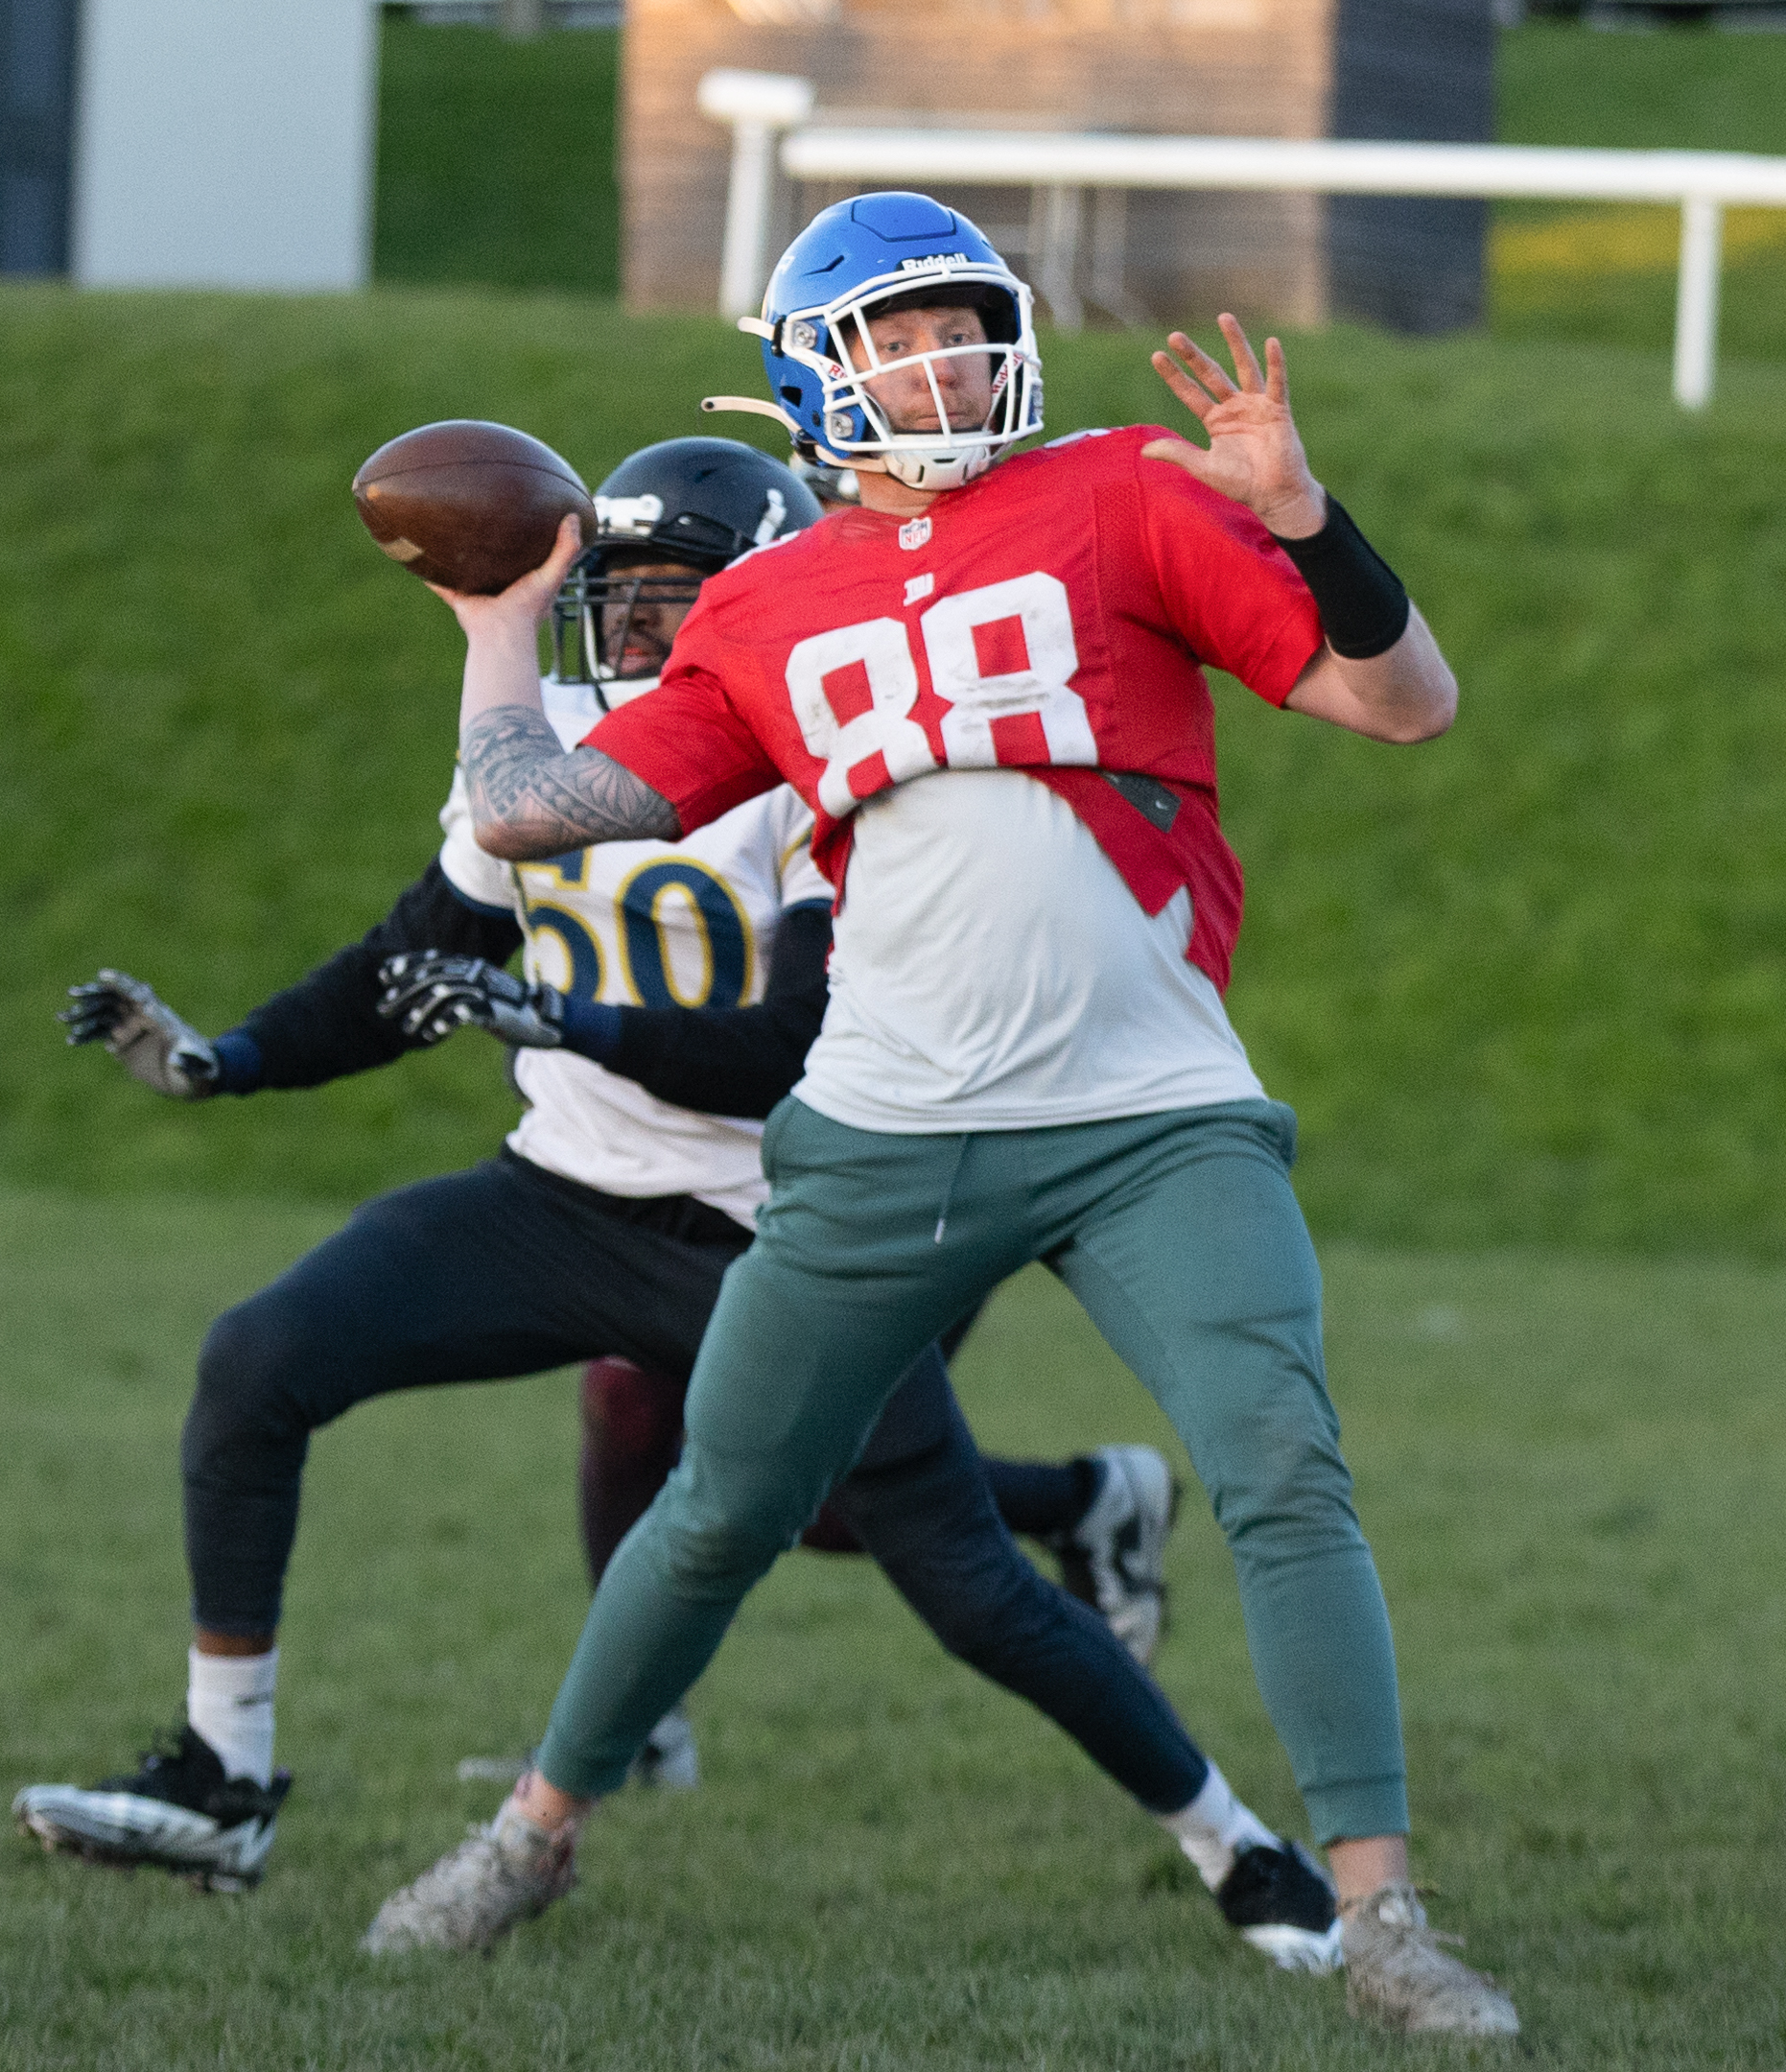
This week, I hit a road bump in my project as the American Football match I intended to use to compliment my practise images was called off due to a waterlogged pitch.
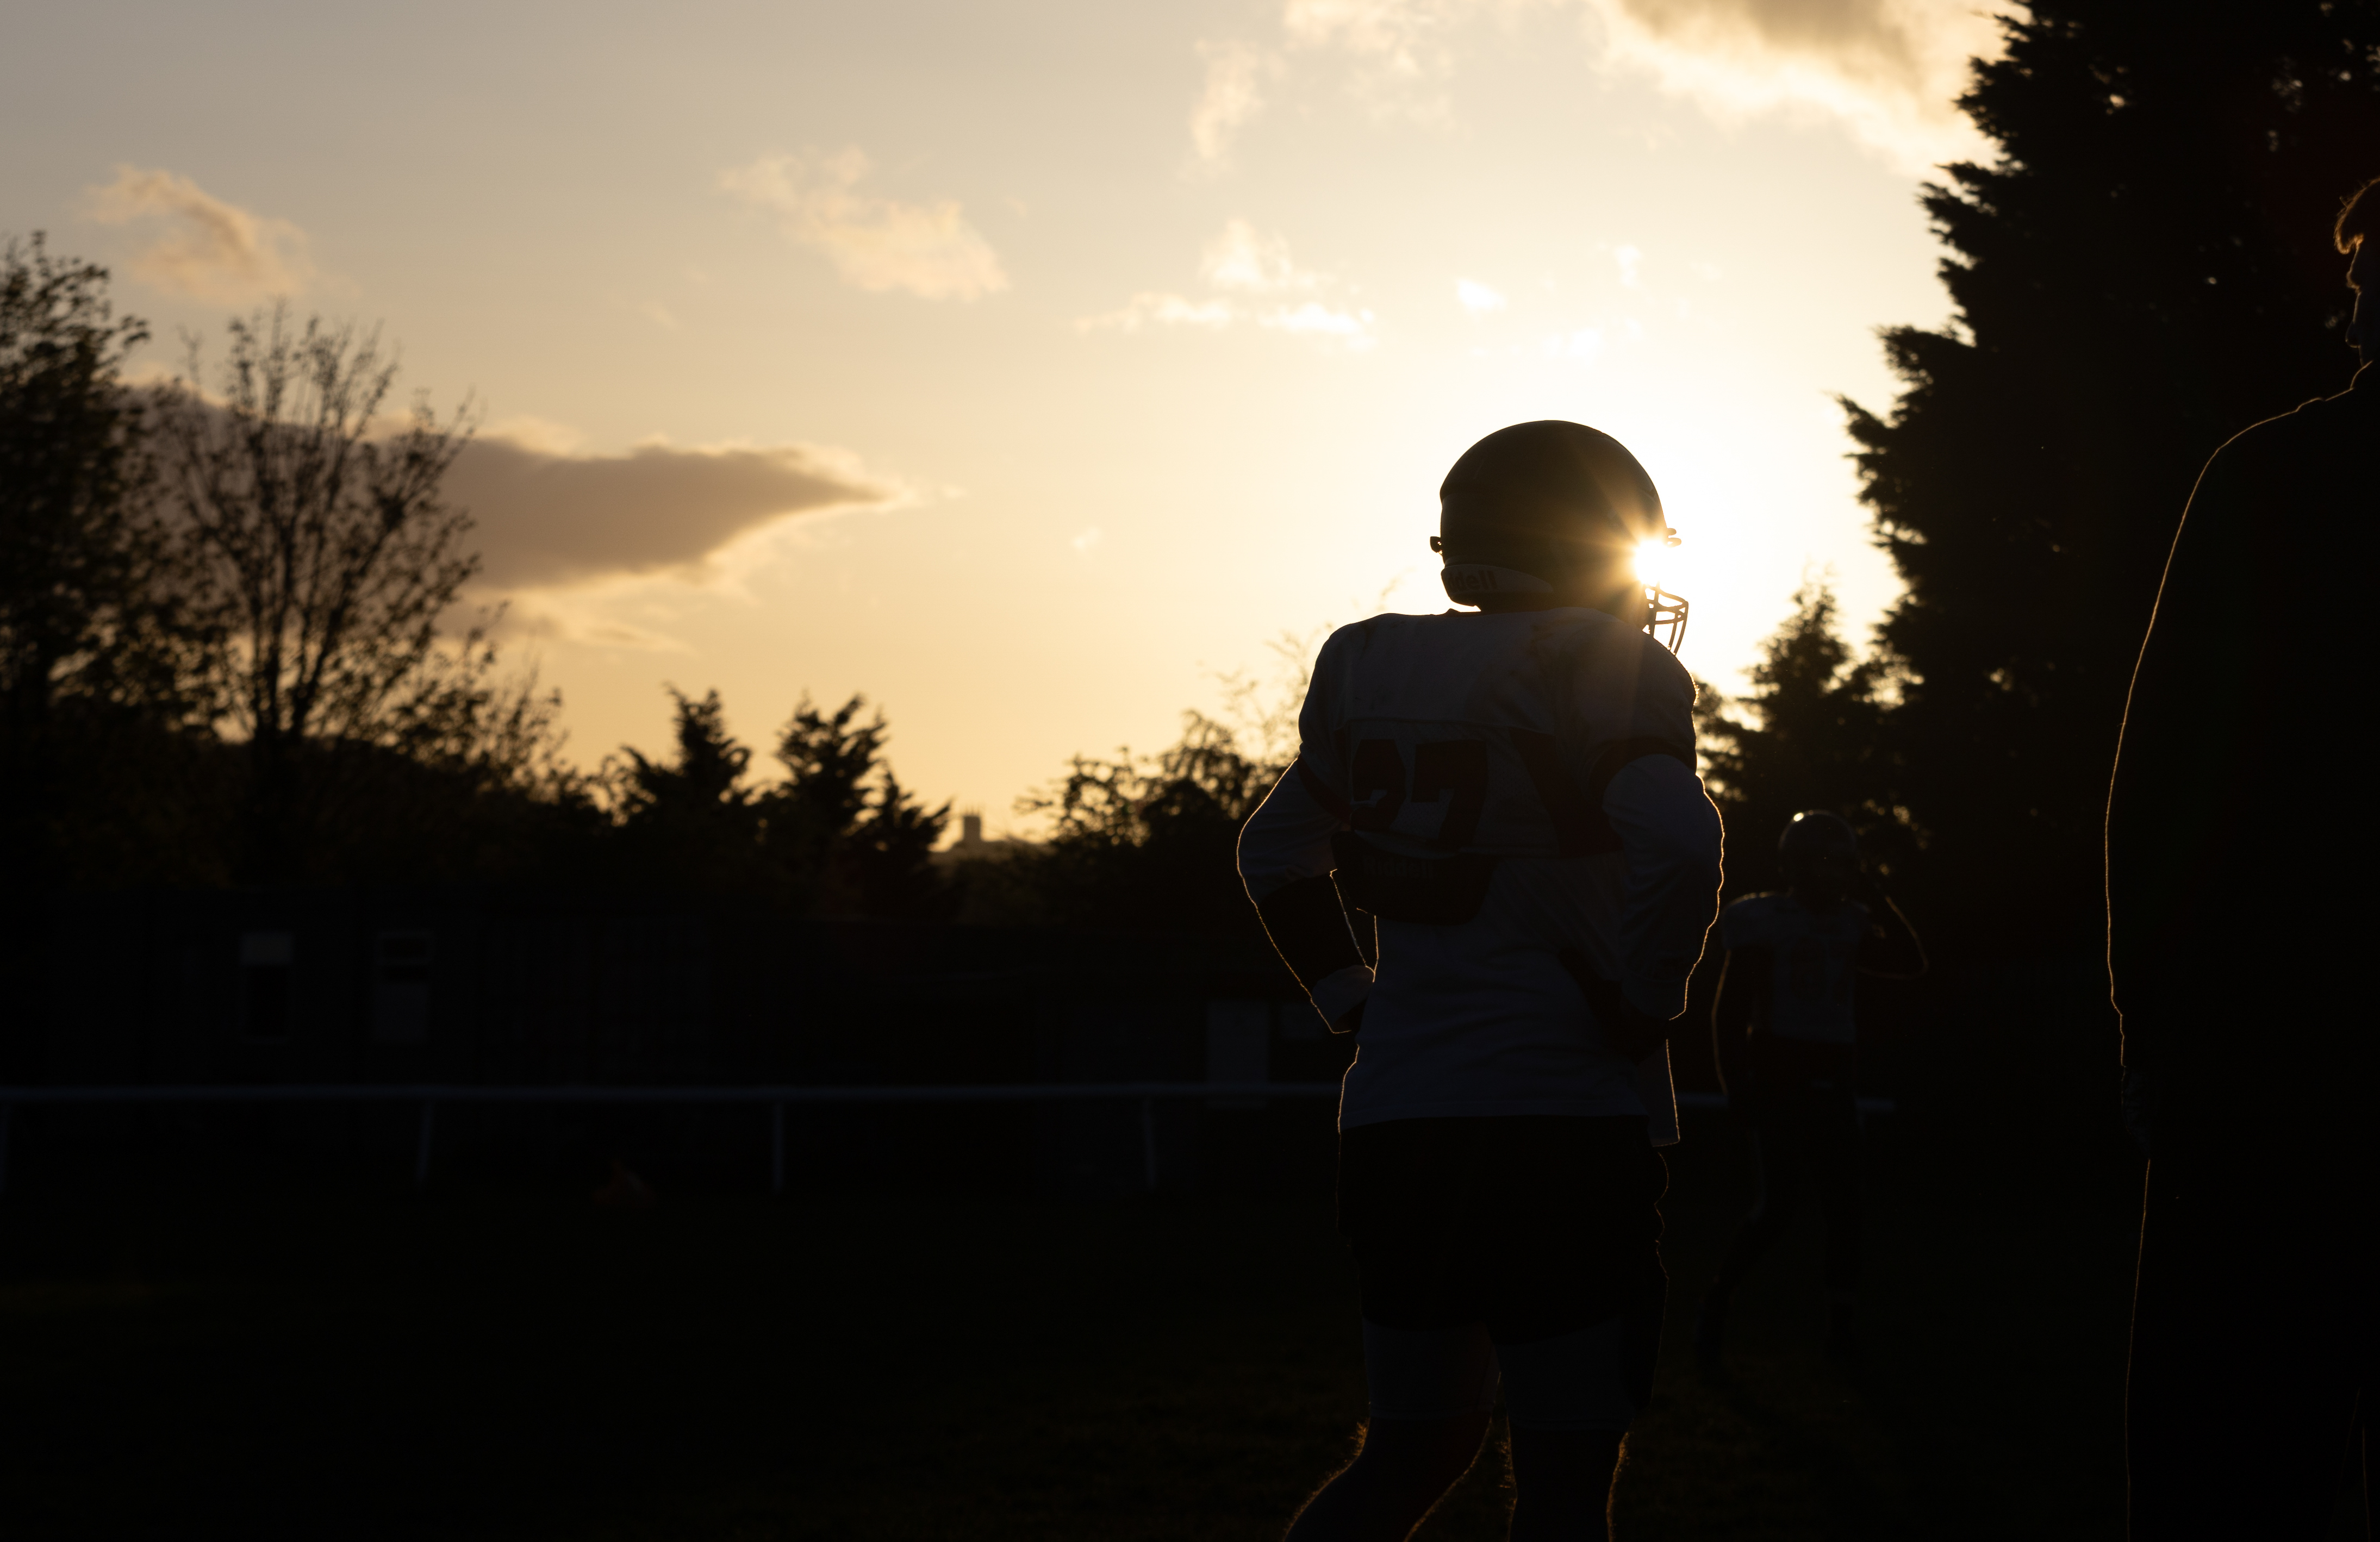
With time running out on the deadline for my final piece, I have taken the decision to do one more training session with the team to see if I can add to the range of images that I am most happy with so far. I see this just as a good opportunity to make sure I am 100% happy with what I’ve got, as well as pick up a different type of shot to what I already have (like the natural lighting test I did with the sun last time). I am also pushing on with the copy, but to have my image choice boxed off is key at this stage.
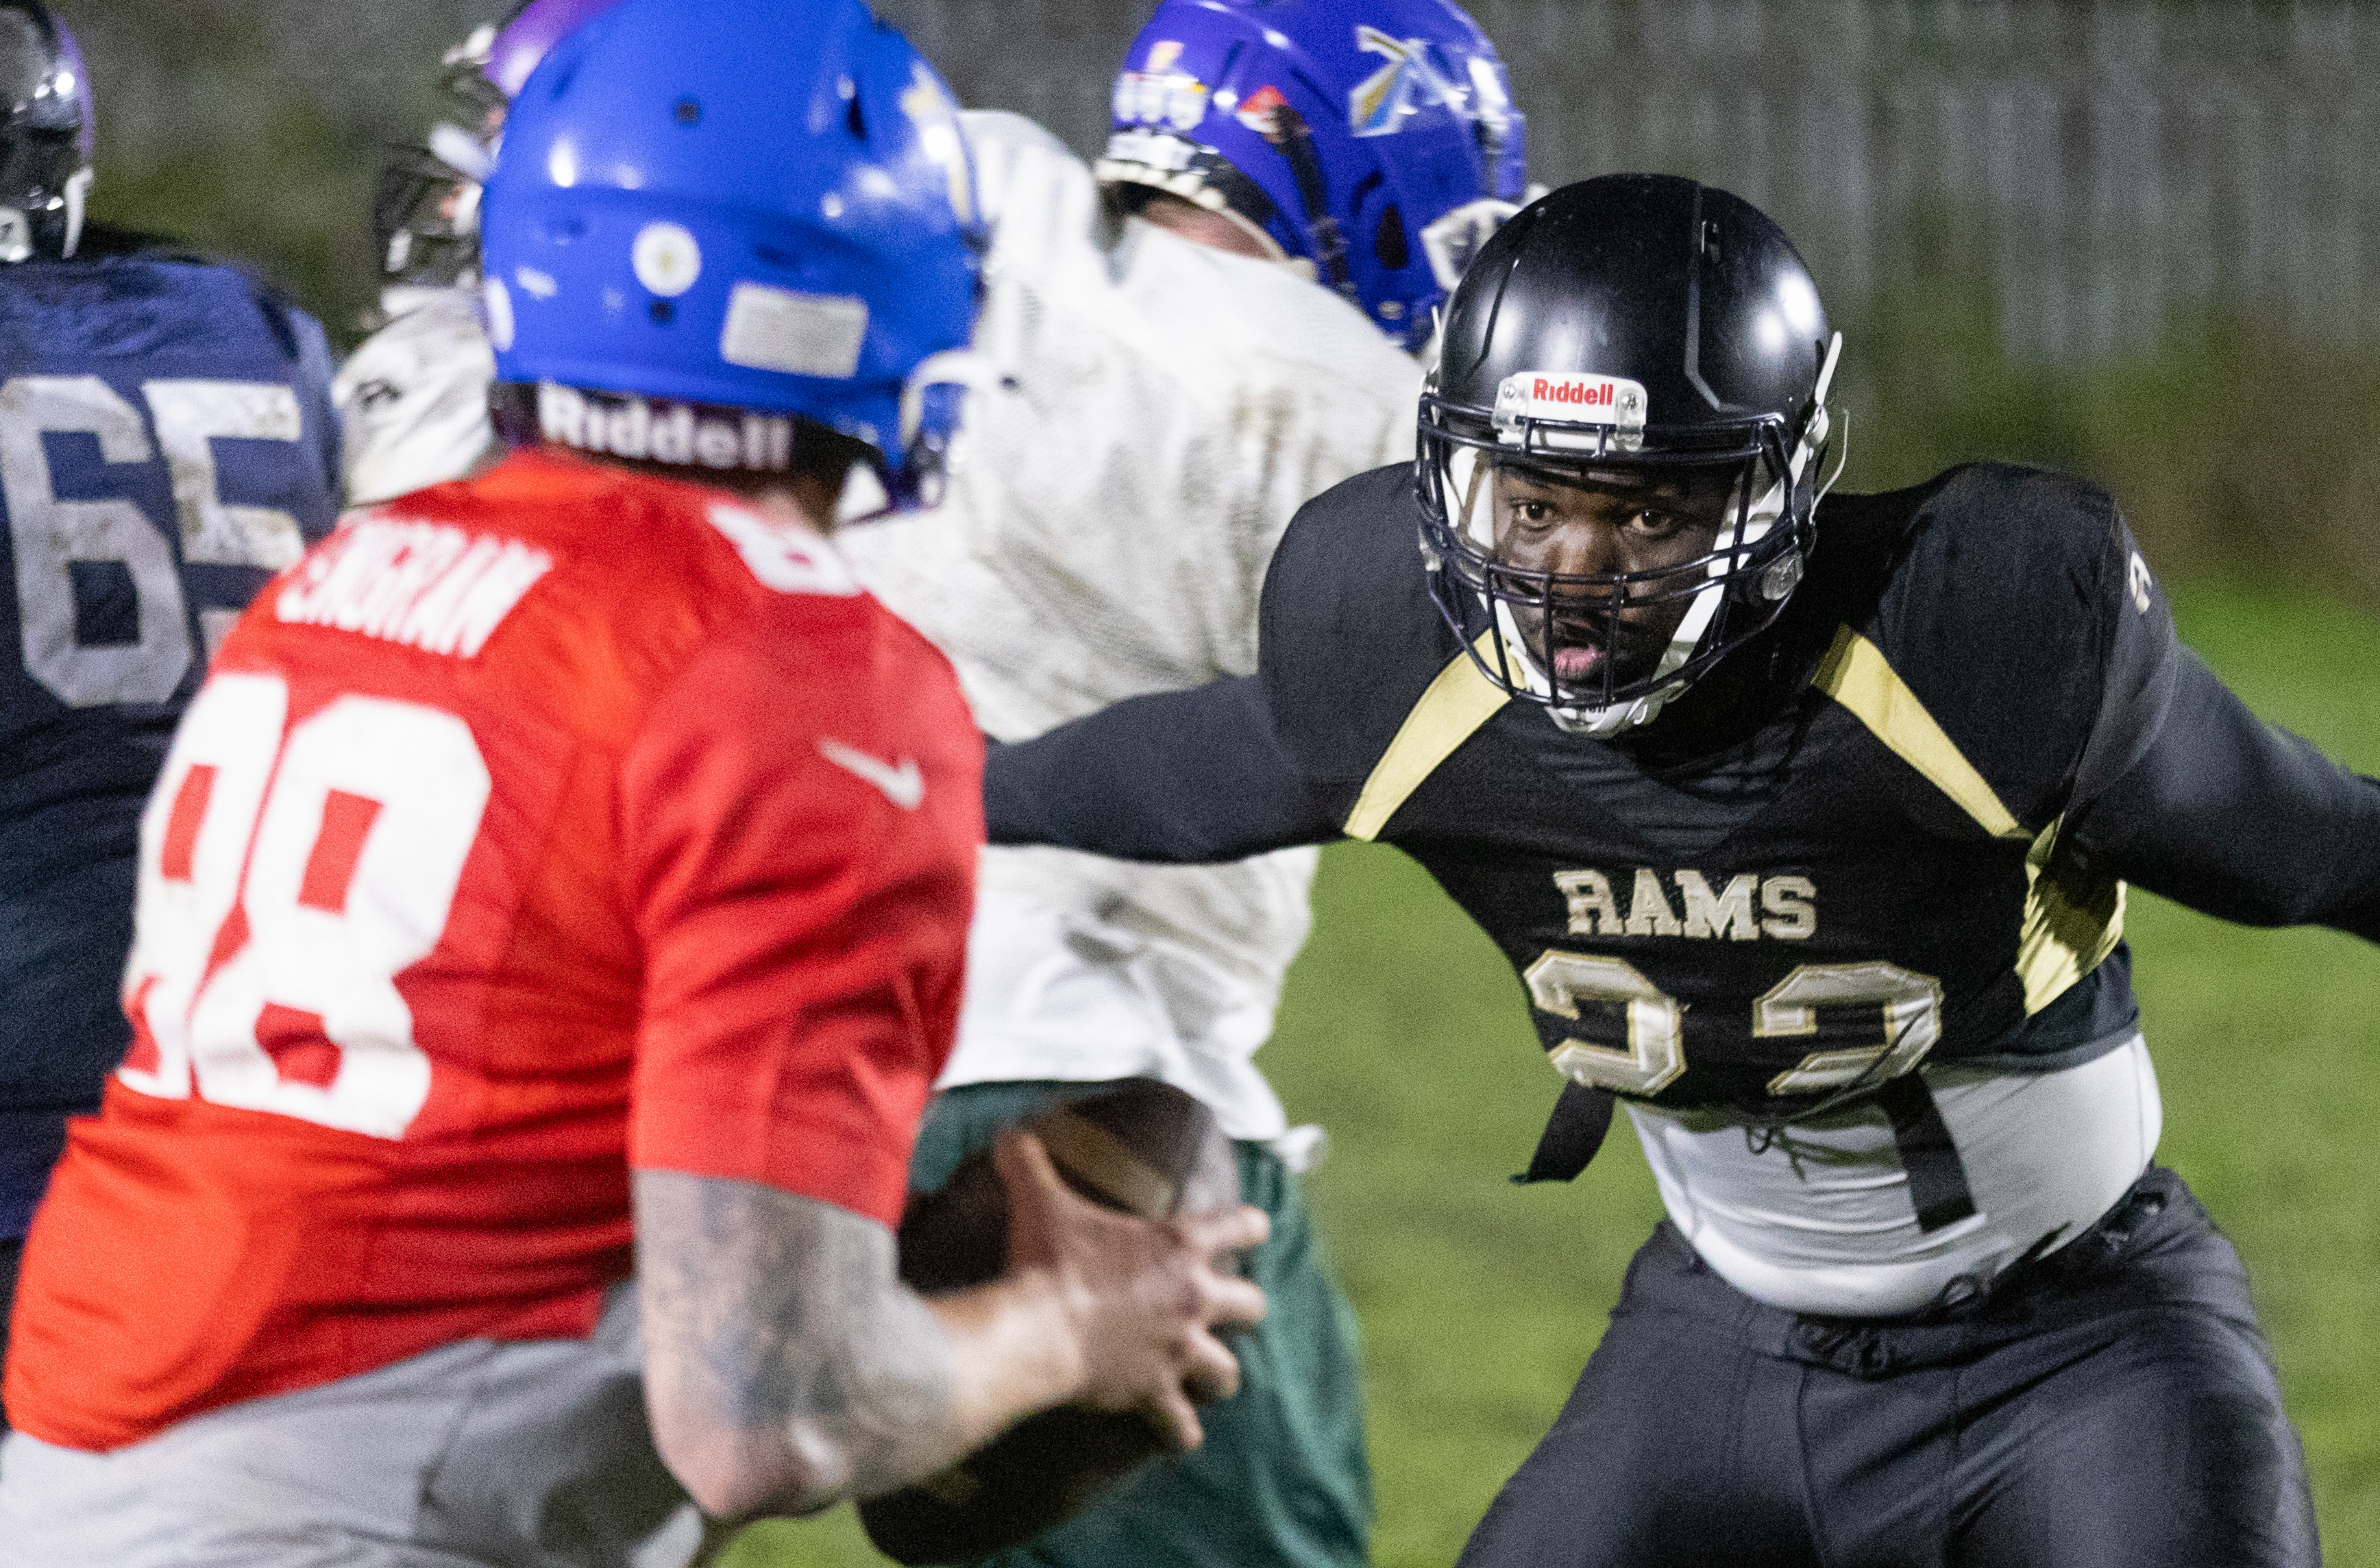
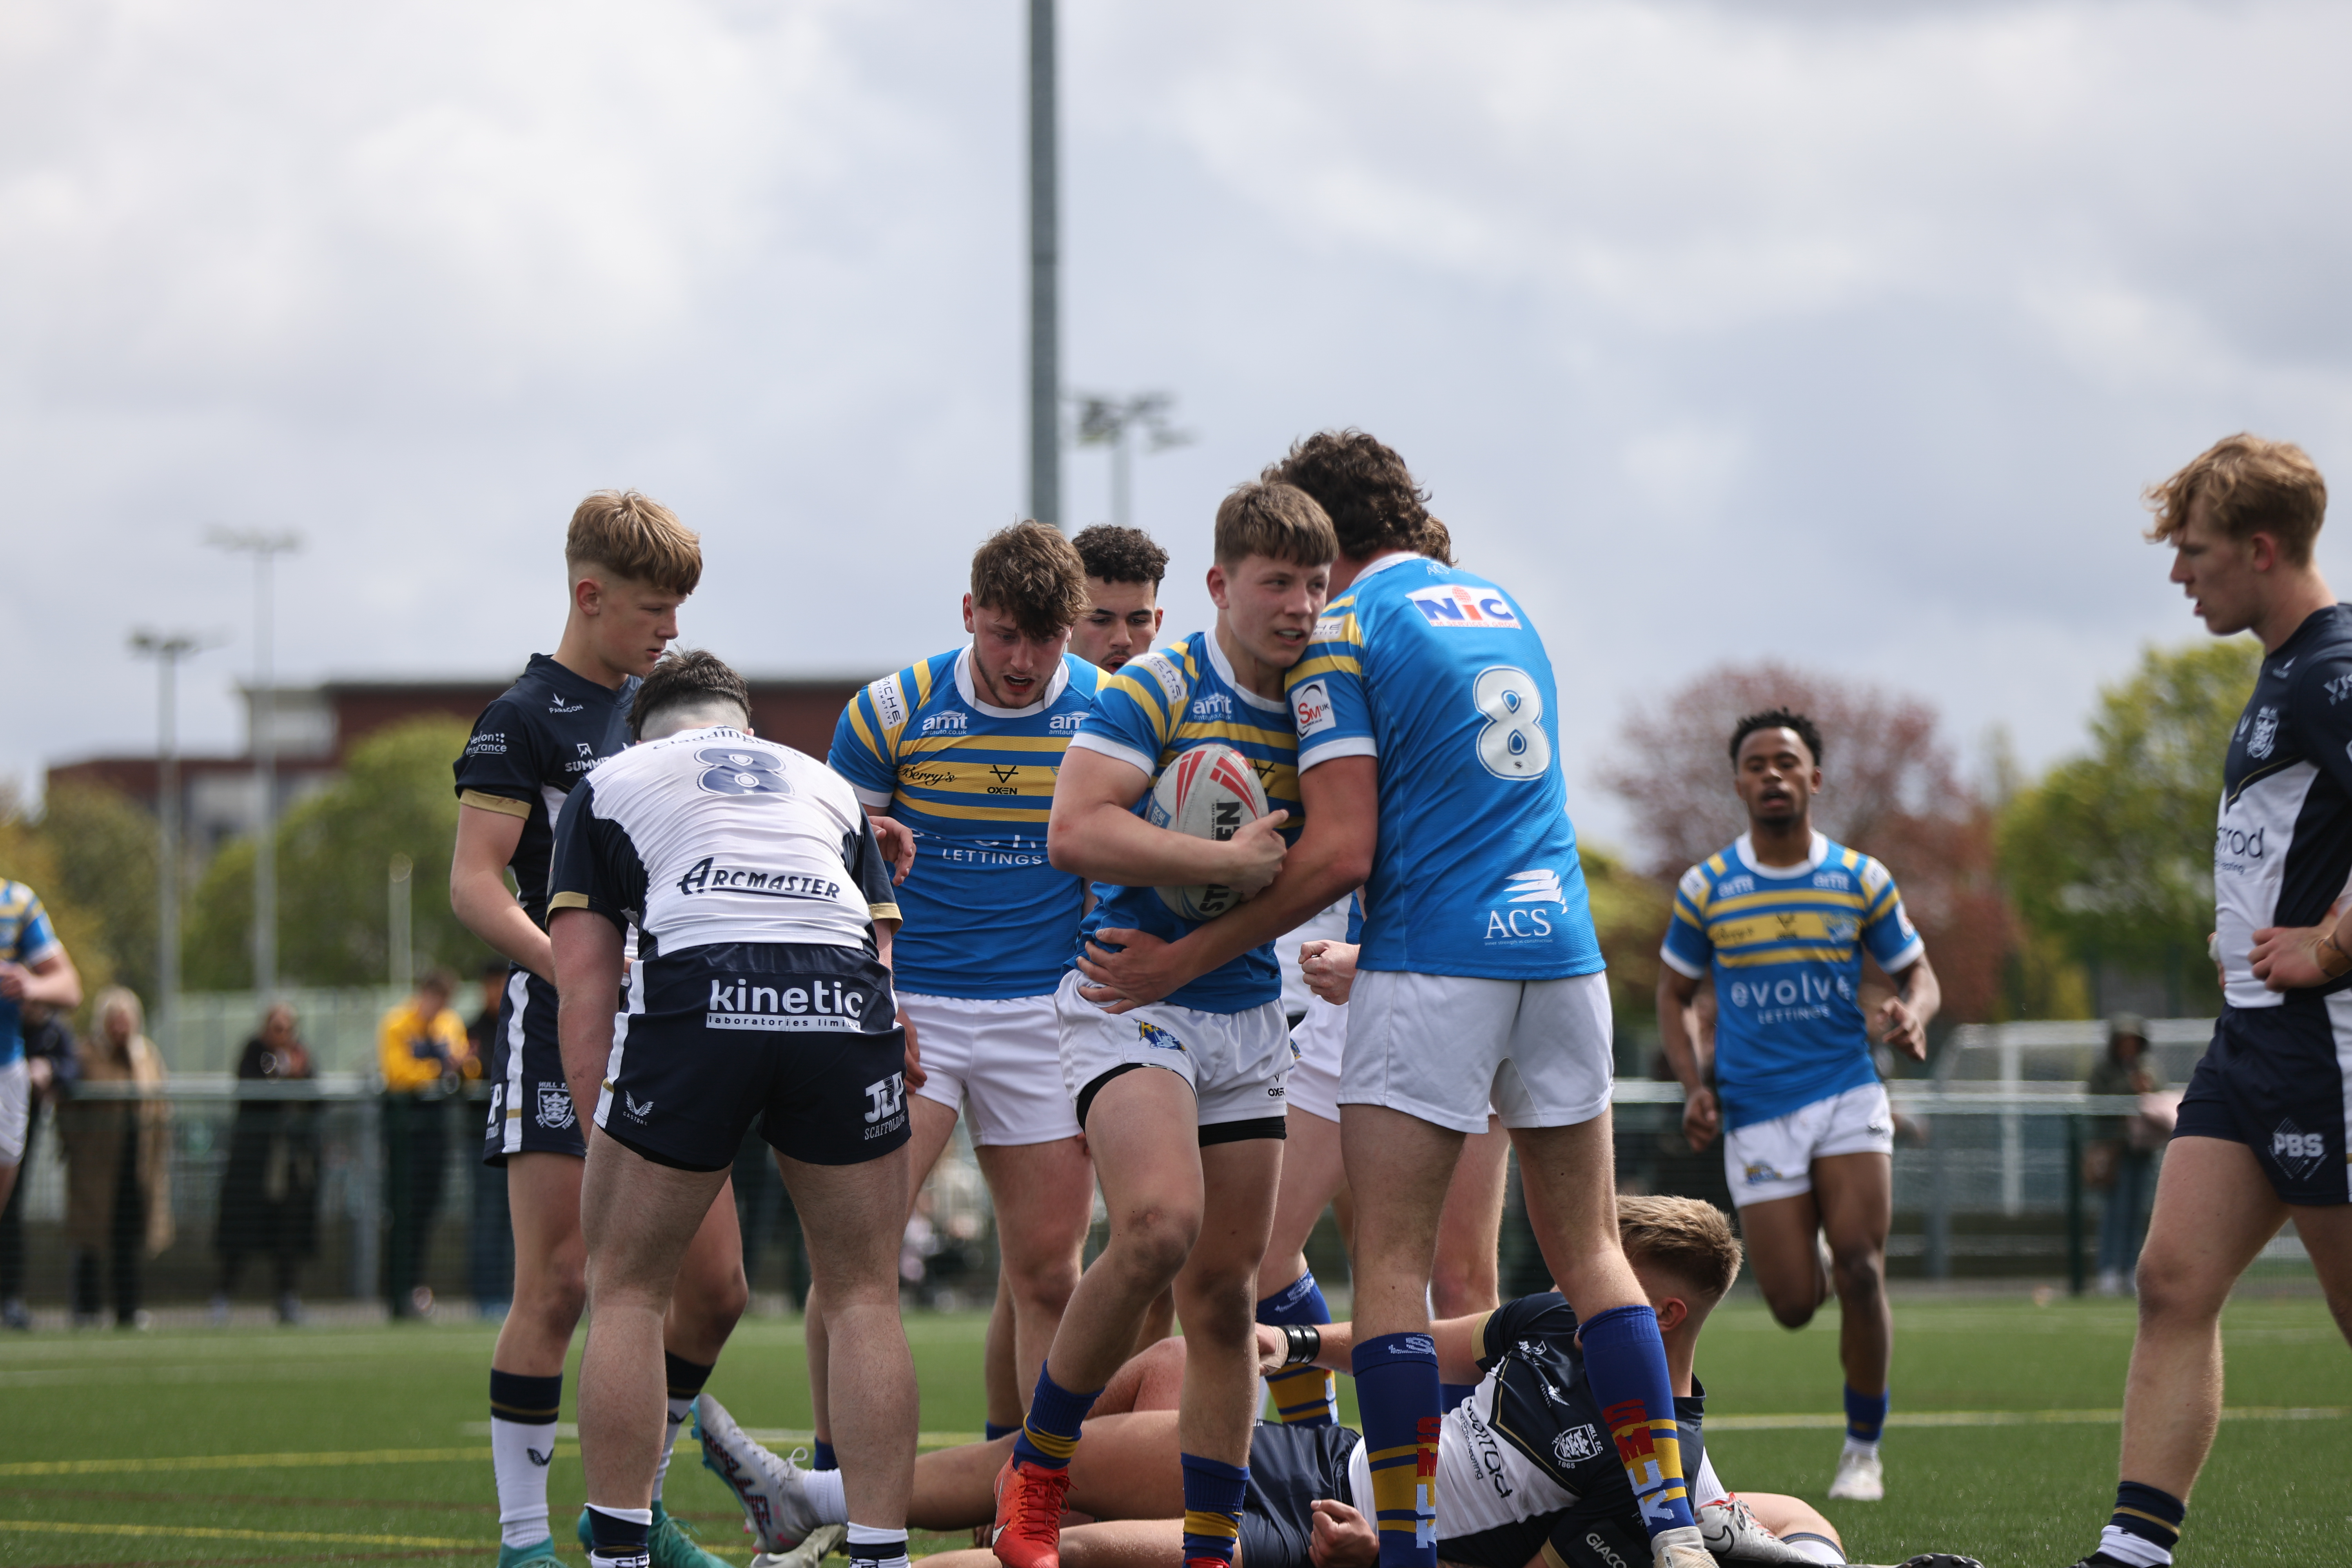
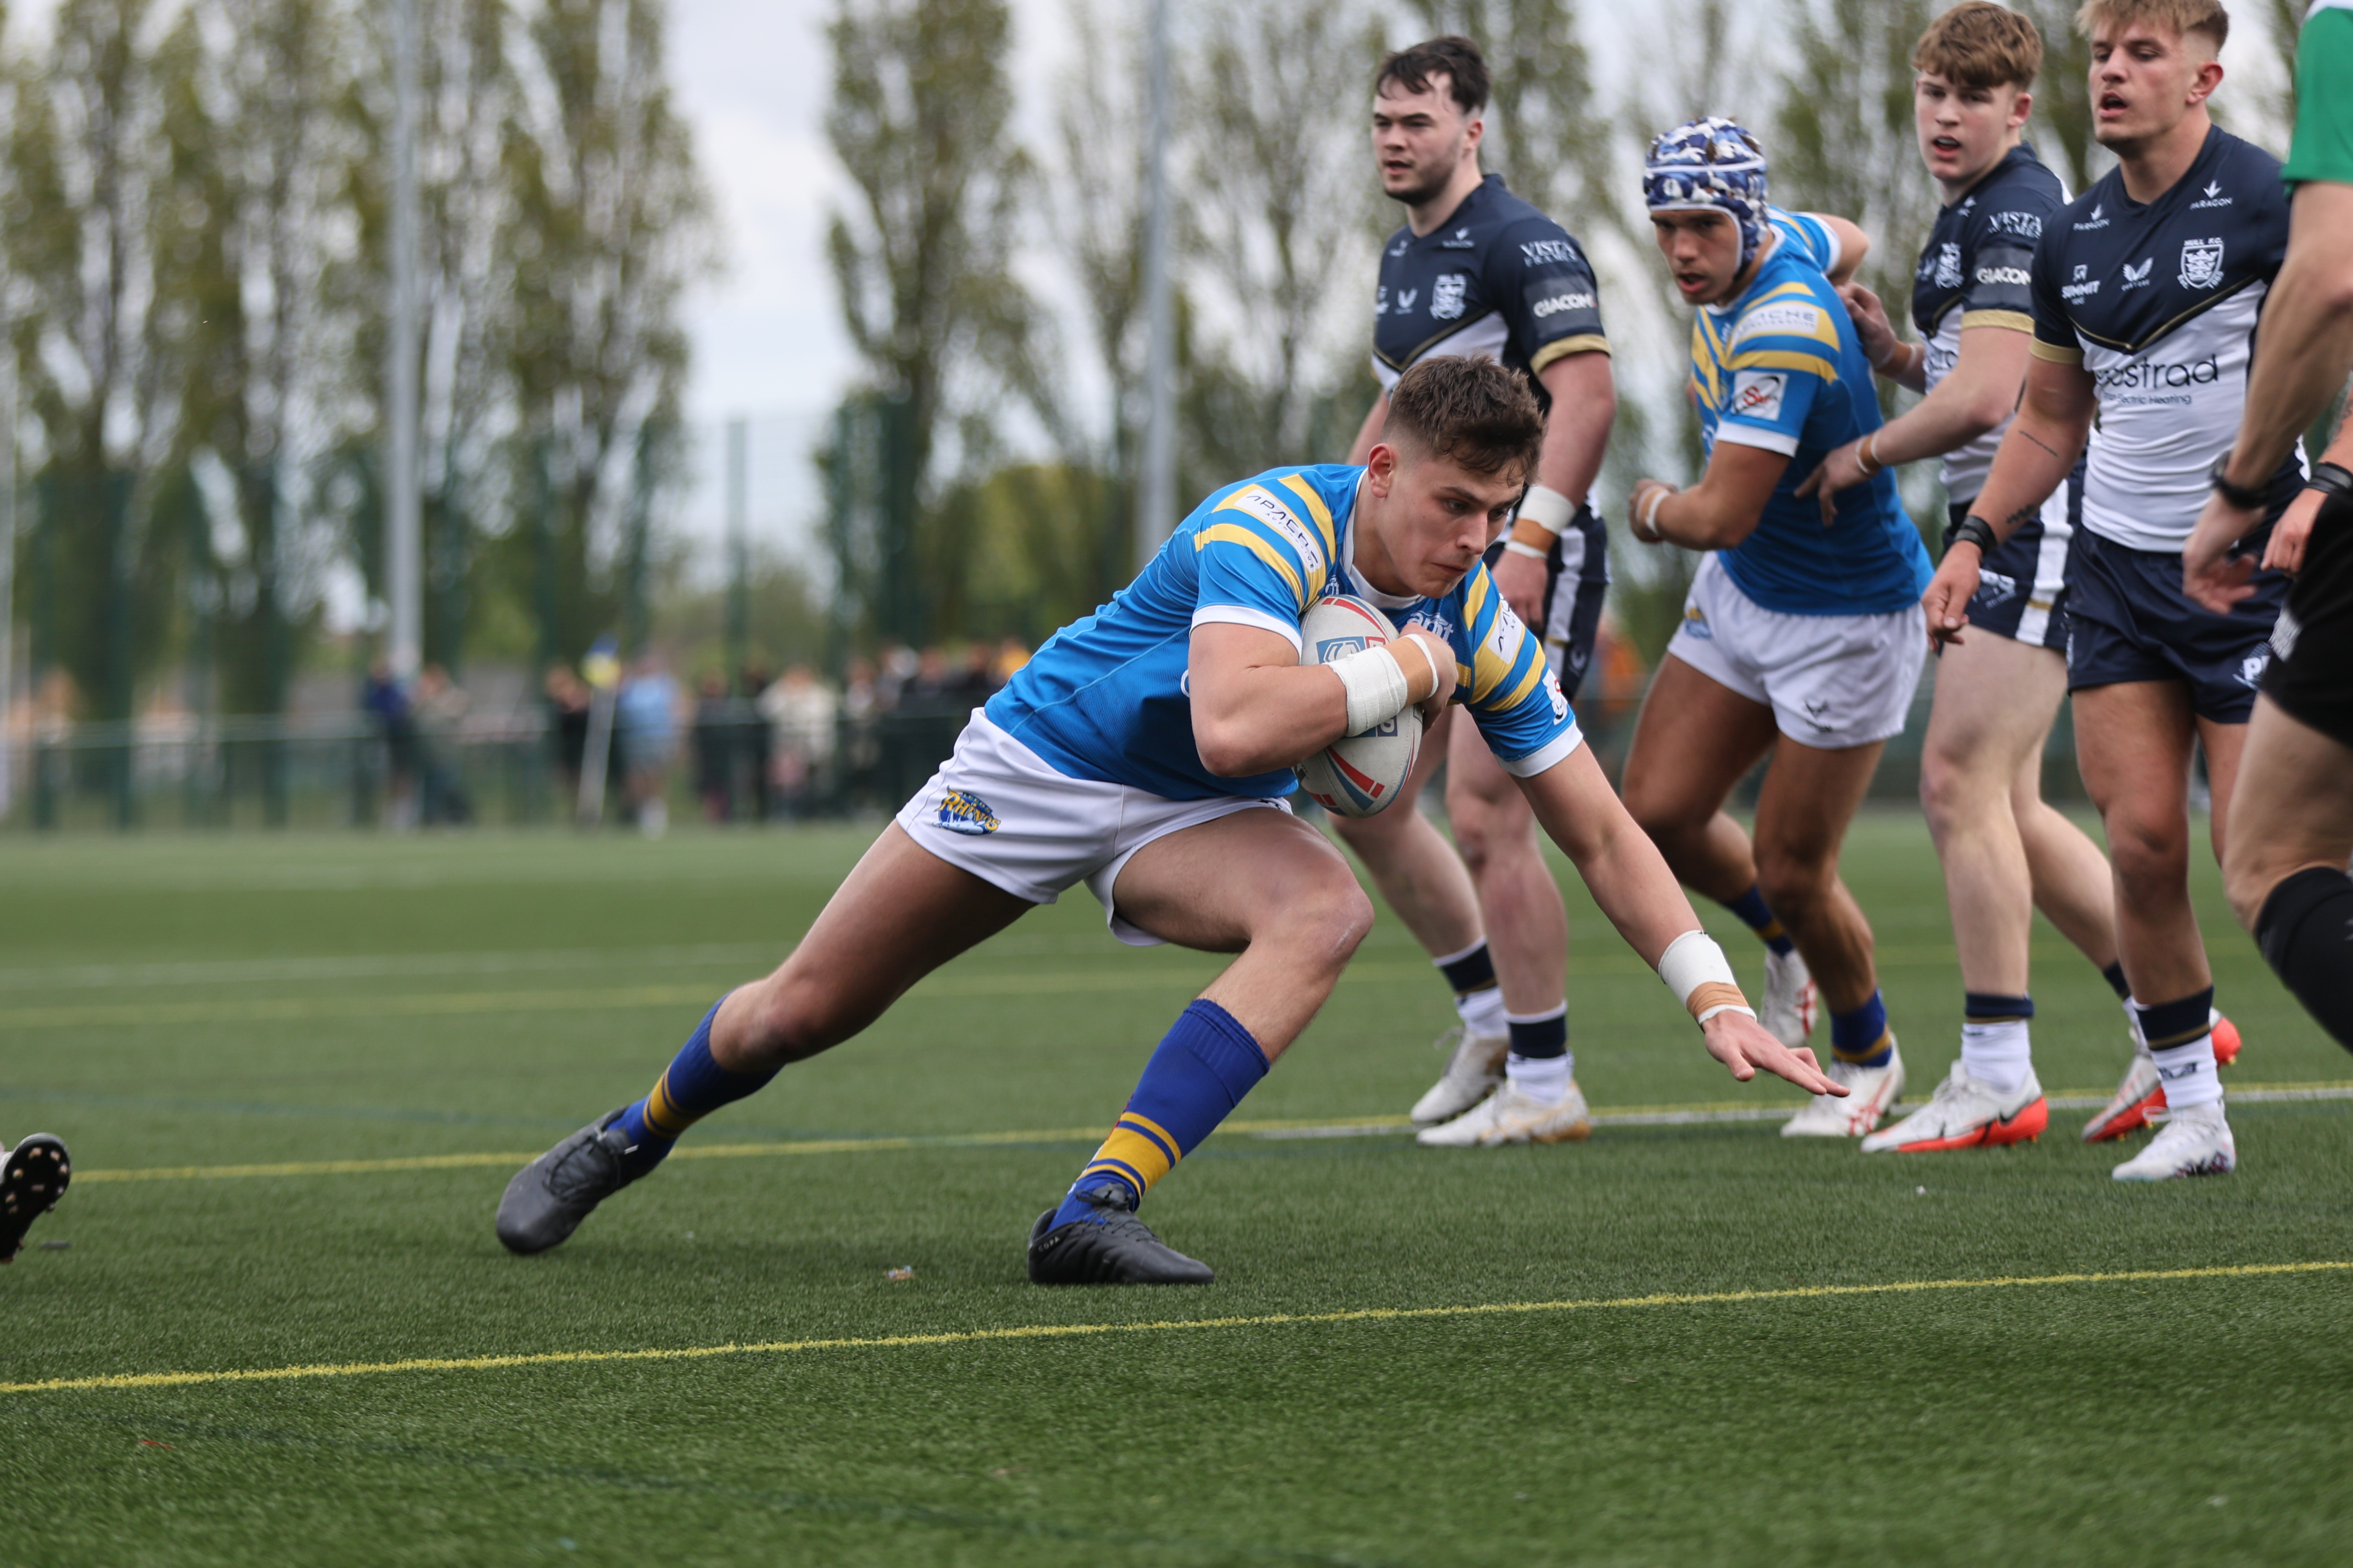
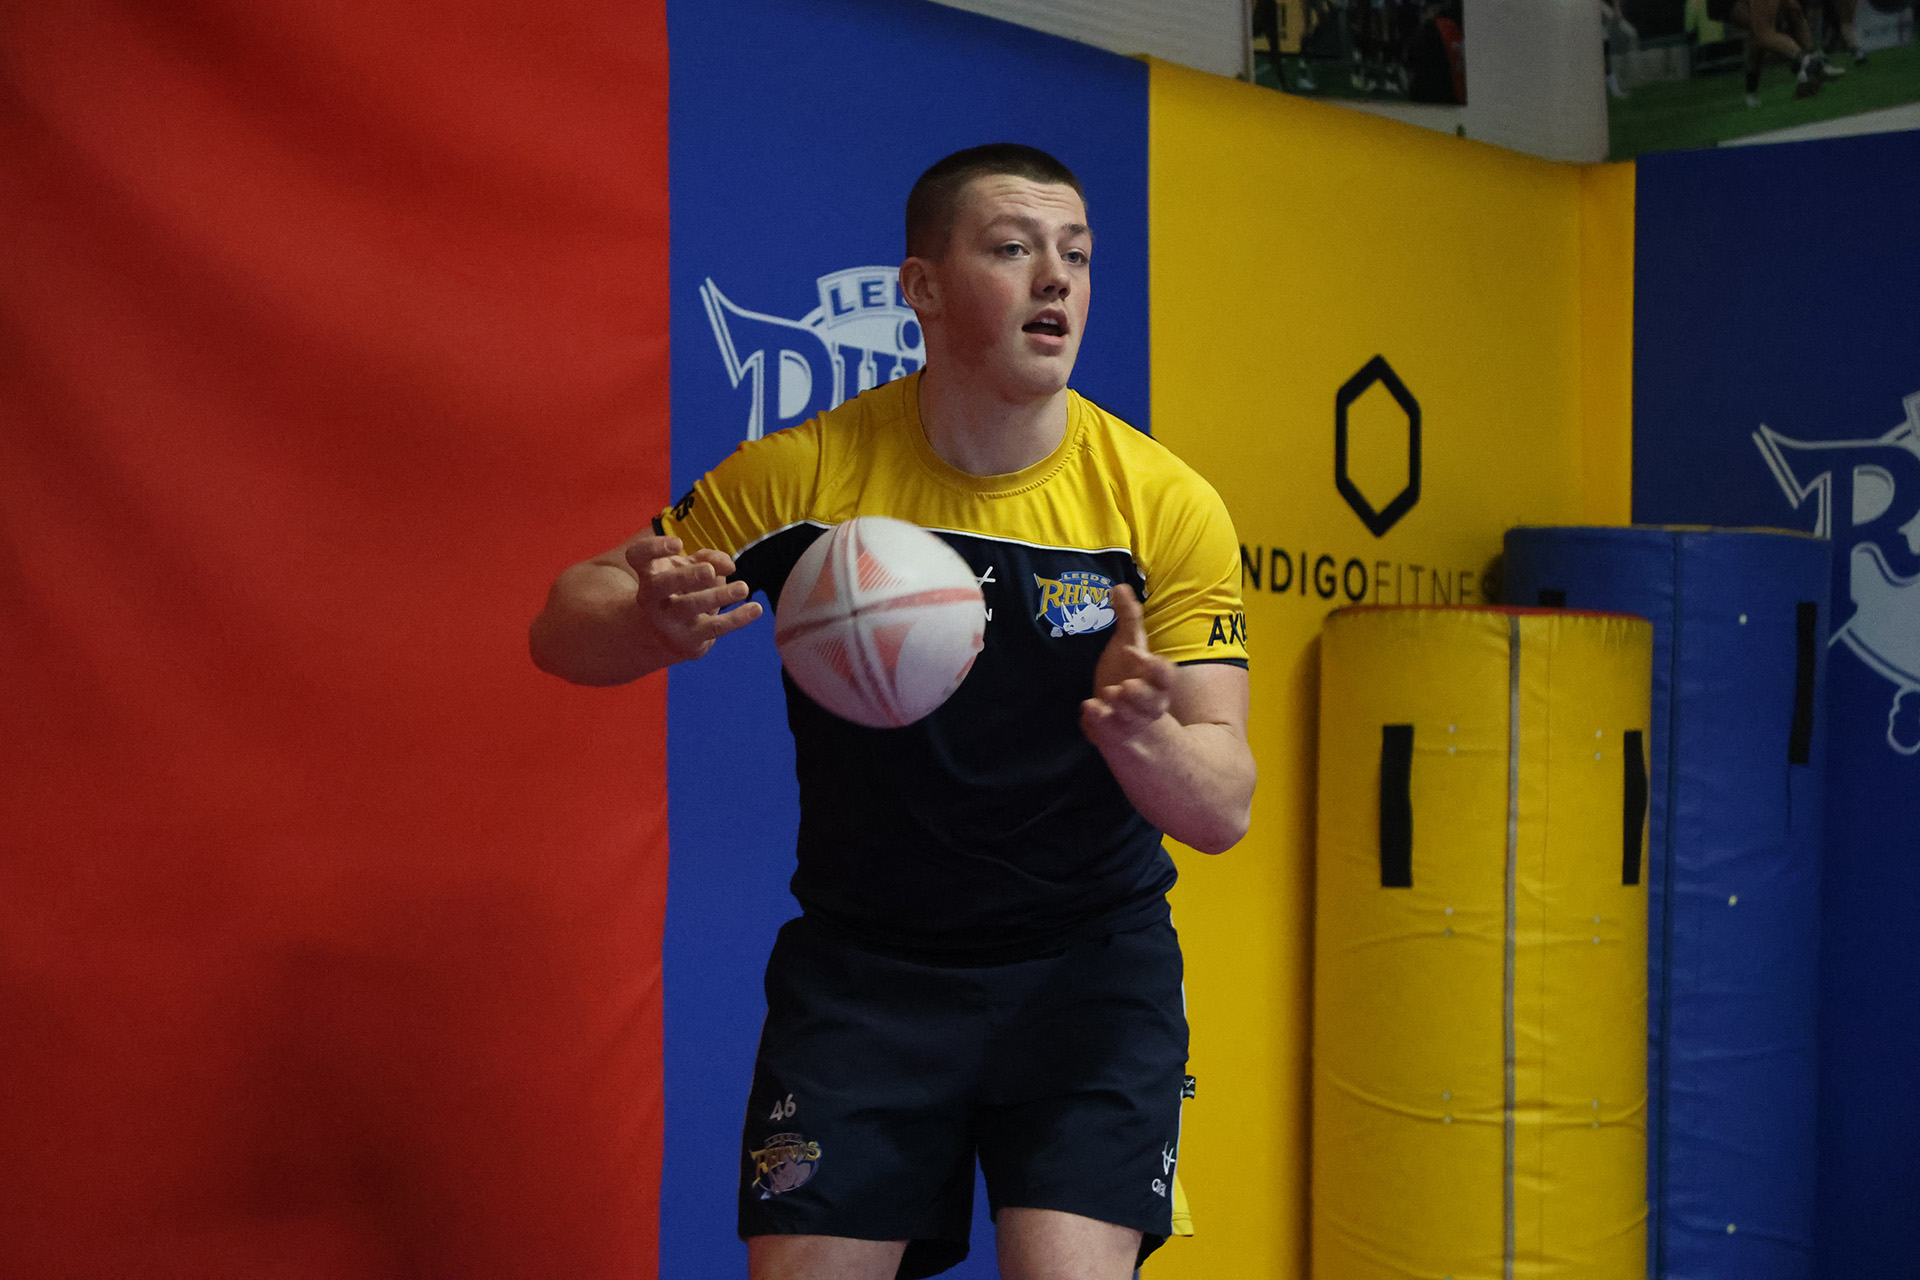
Although it isn’t related to my final project for this module, I still took the opportunity to get out and work on my in-game photography covering Leeds Rhinos Under-18s on the Saturday. Using my Canon R6 MK2 with 70-200mm lens, I captured the below with the settings of 1/1600 shutter speed, auto ISO and an aperture that mixed between F2.8 and F3.2.
I think for my first Rugby League game shoot, it gave me different skills to shooting American Football practise as it required me to shoot quicker and pre-empt what was happening, as opposed to just following the action.
Next week’s plan is to return back to American Football though to finalise my images, and then finish the copy for the wider article ahead of deadline.


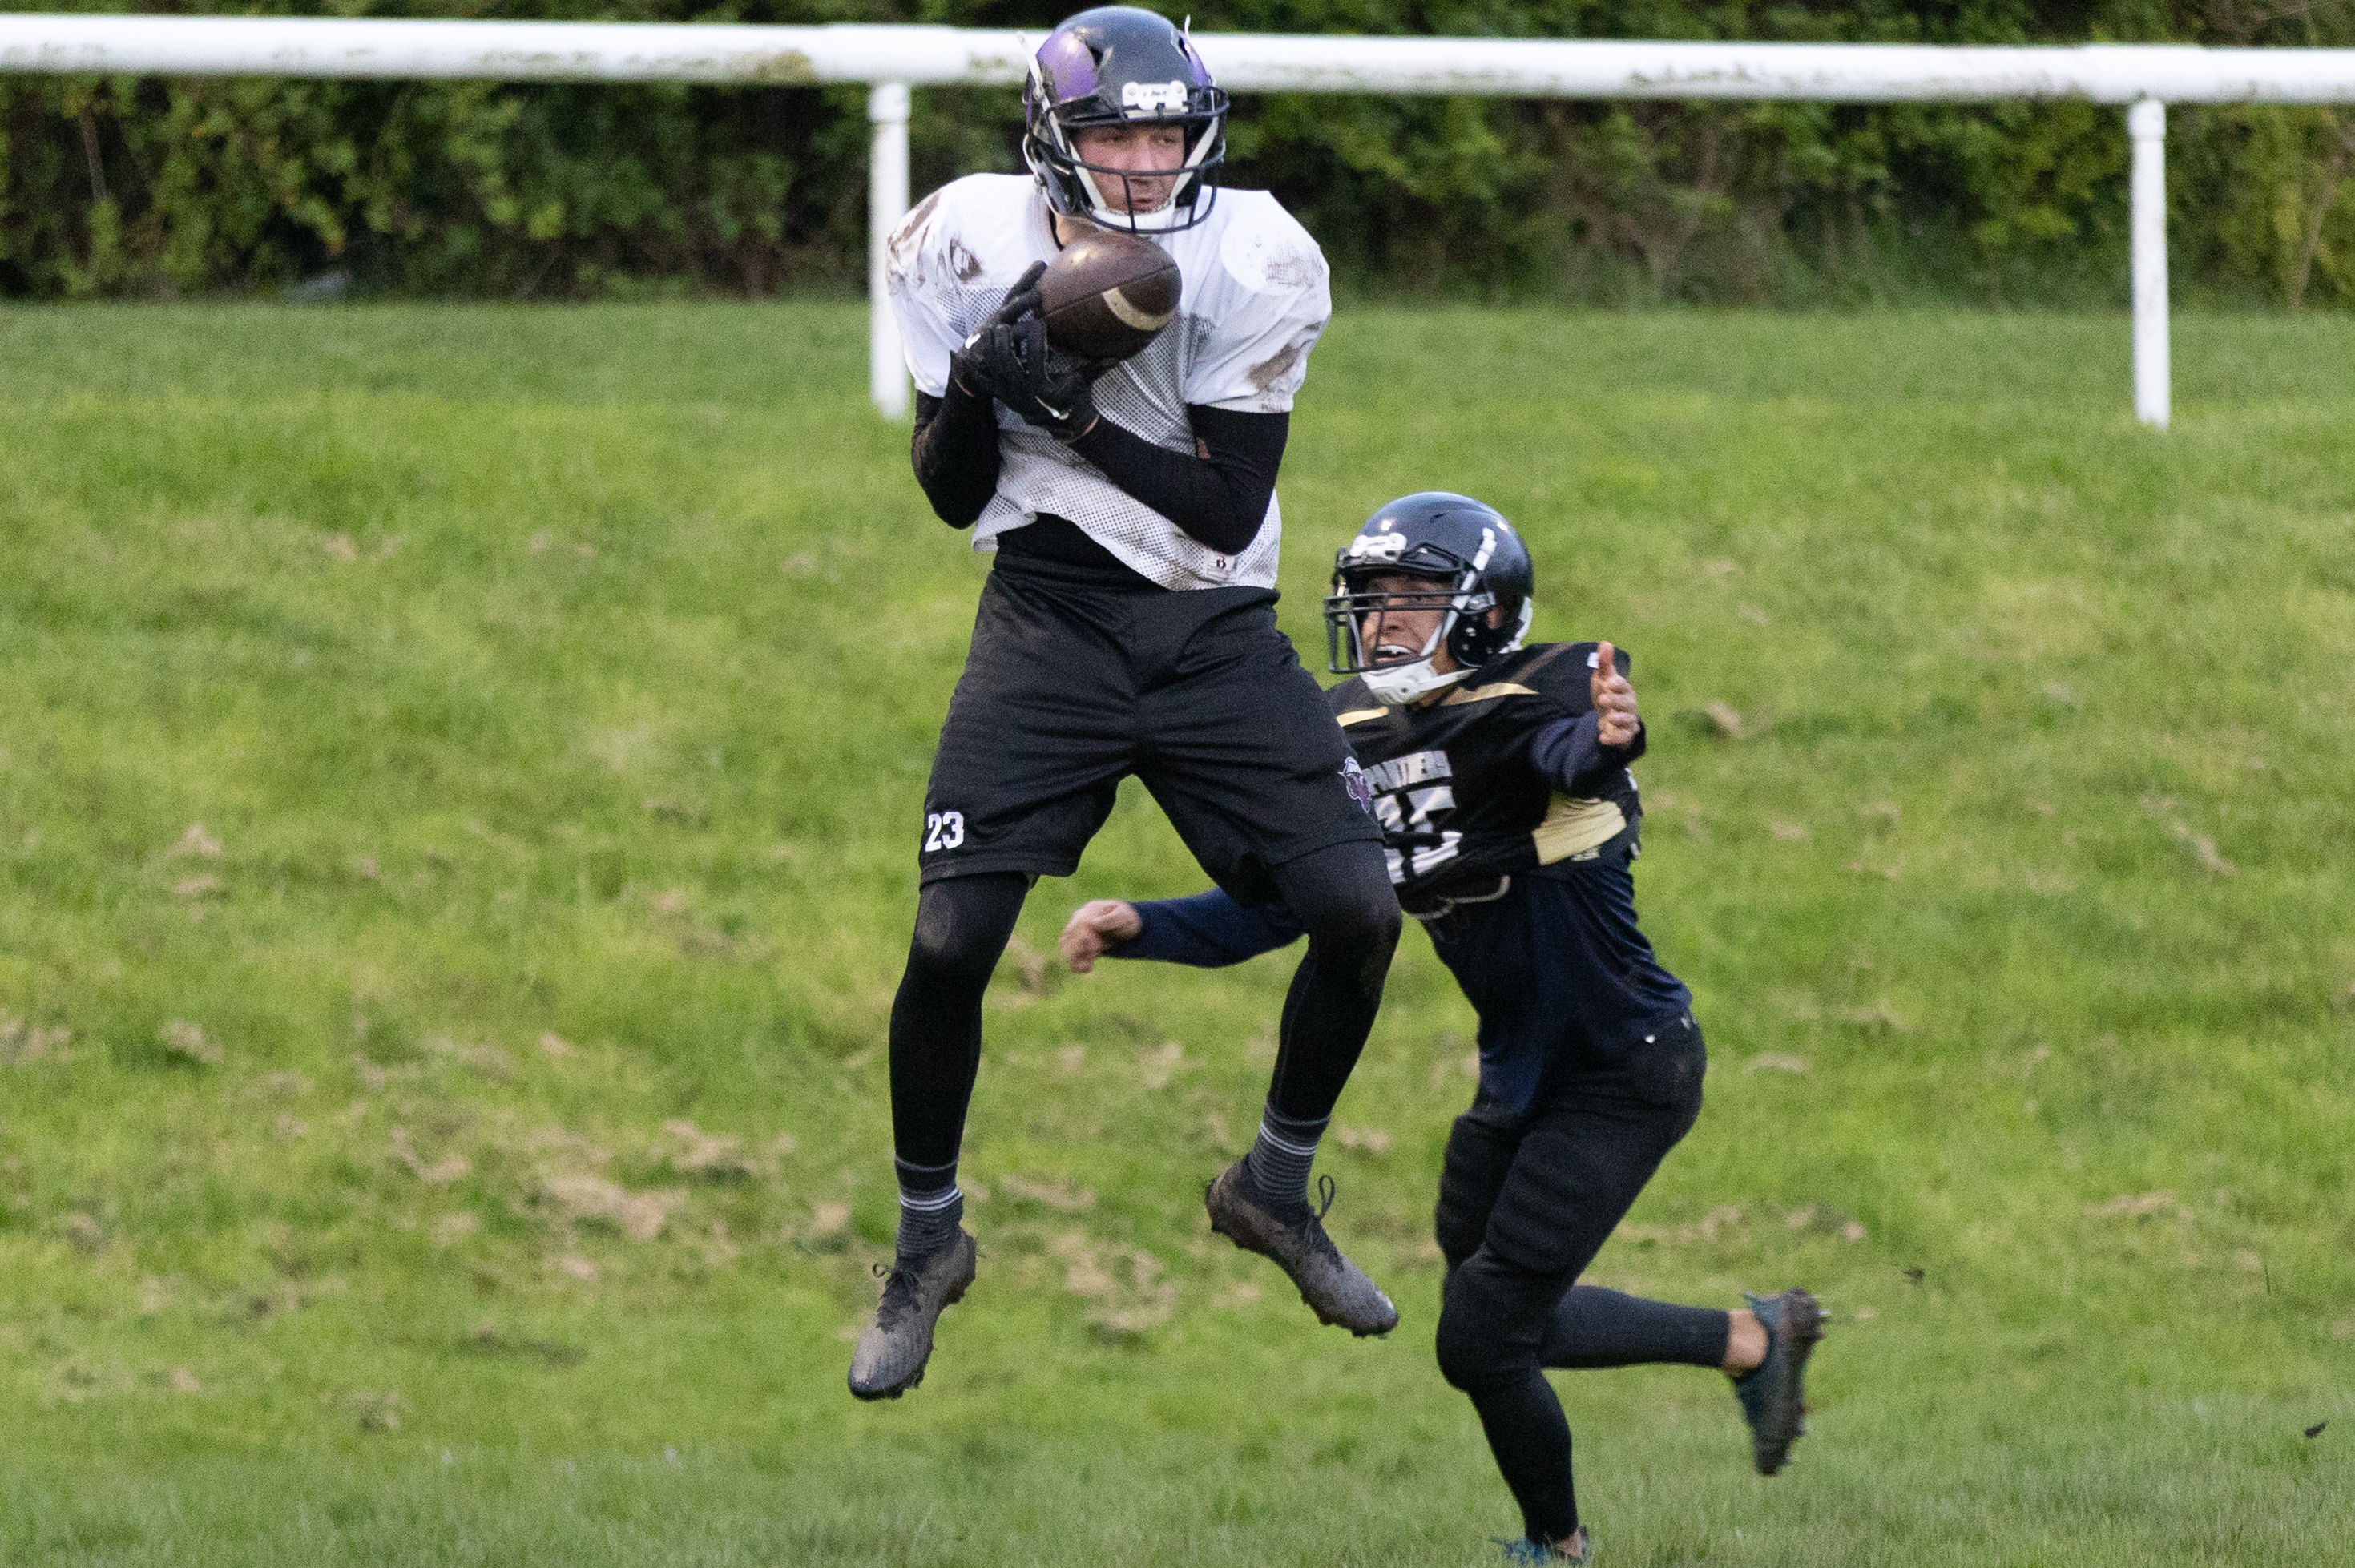
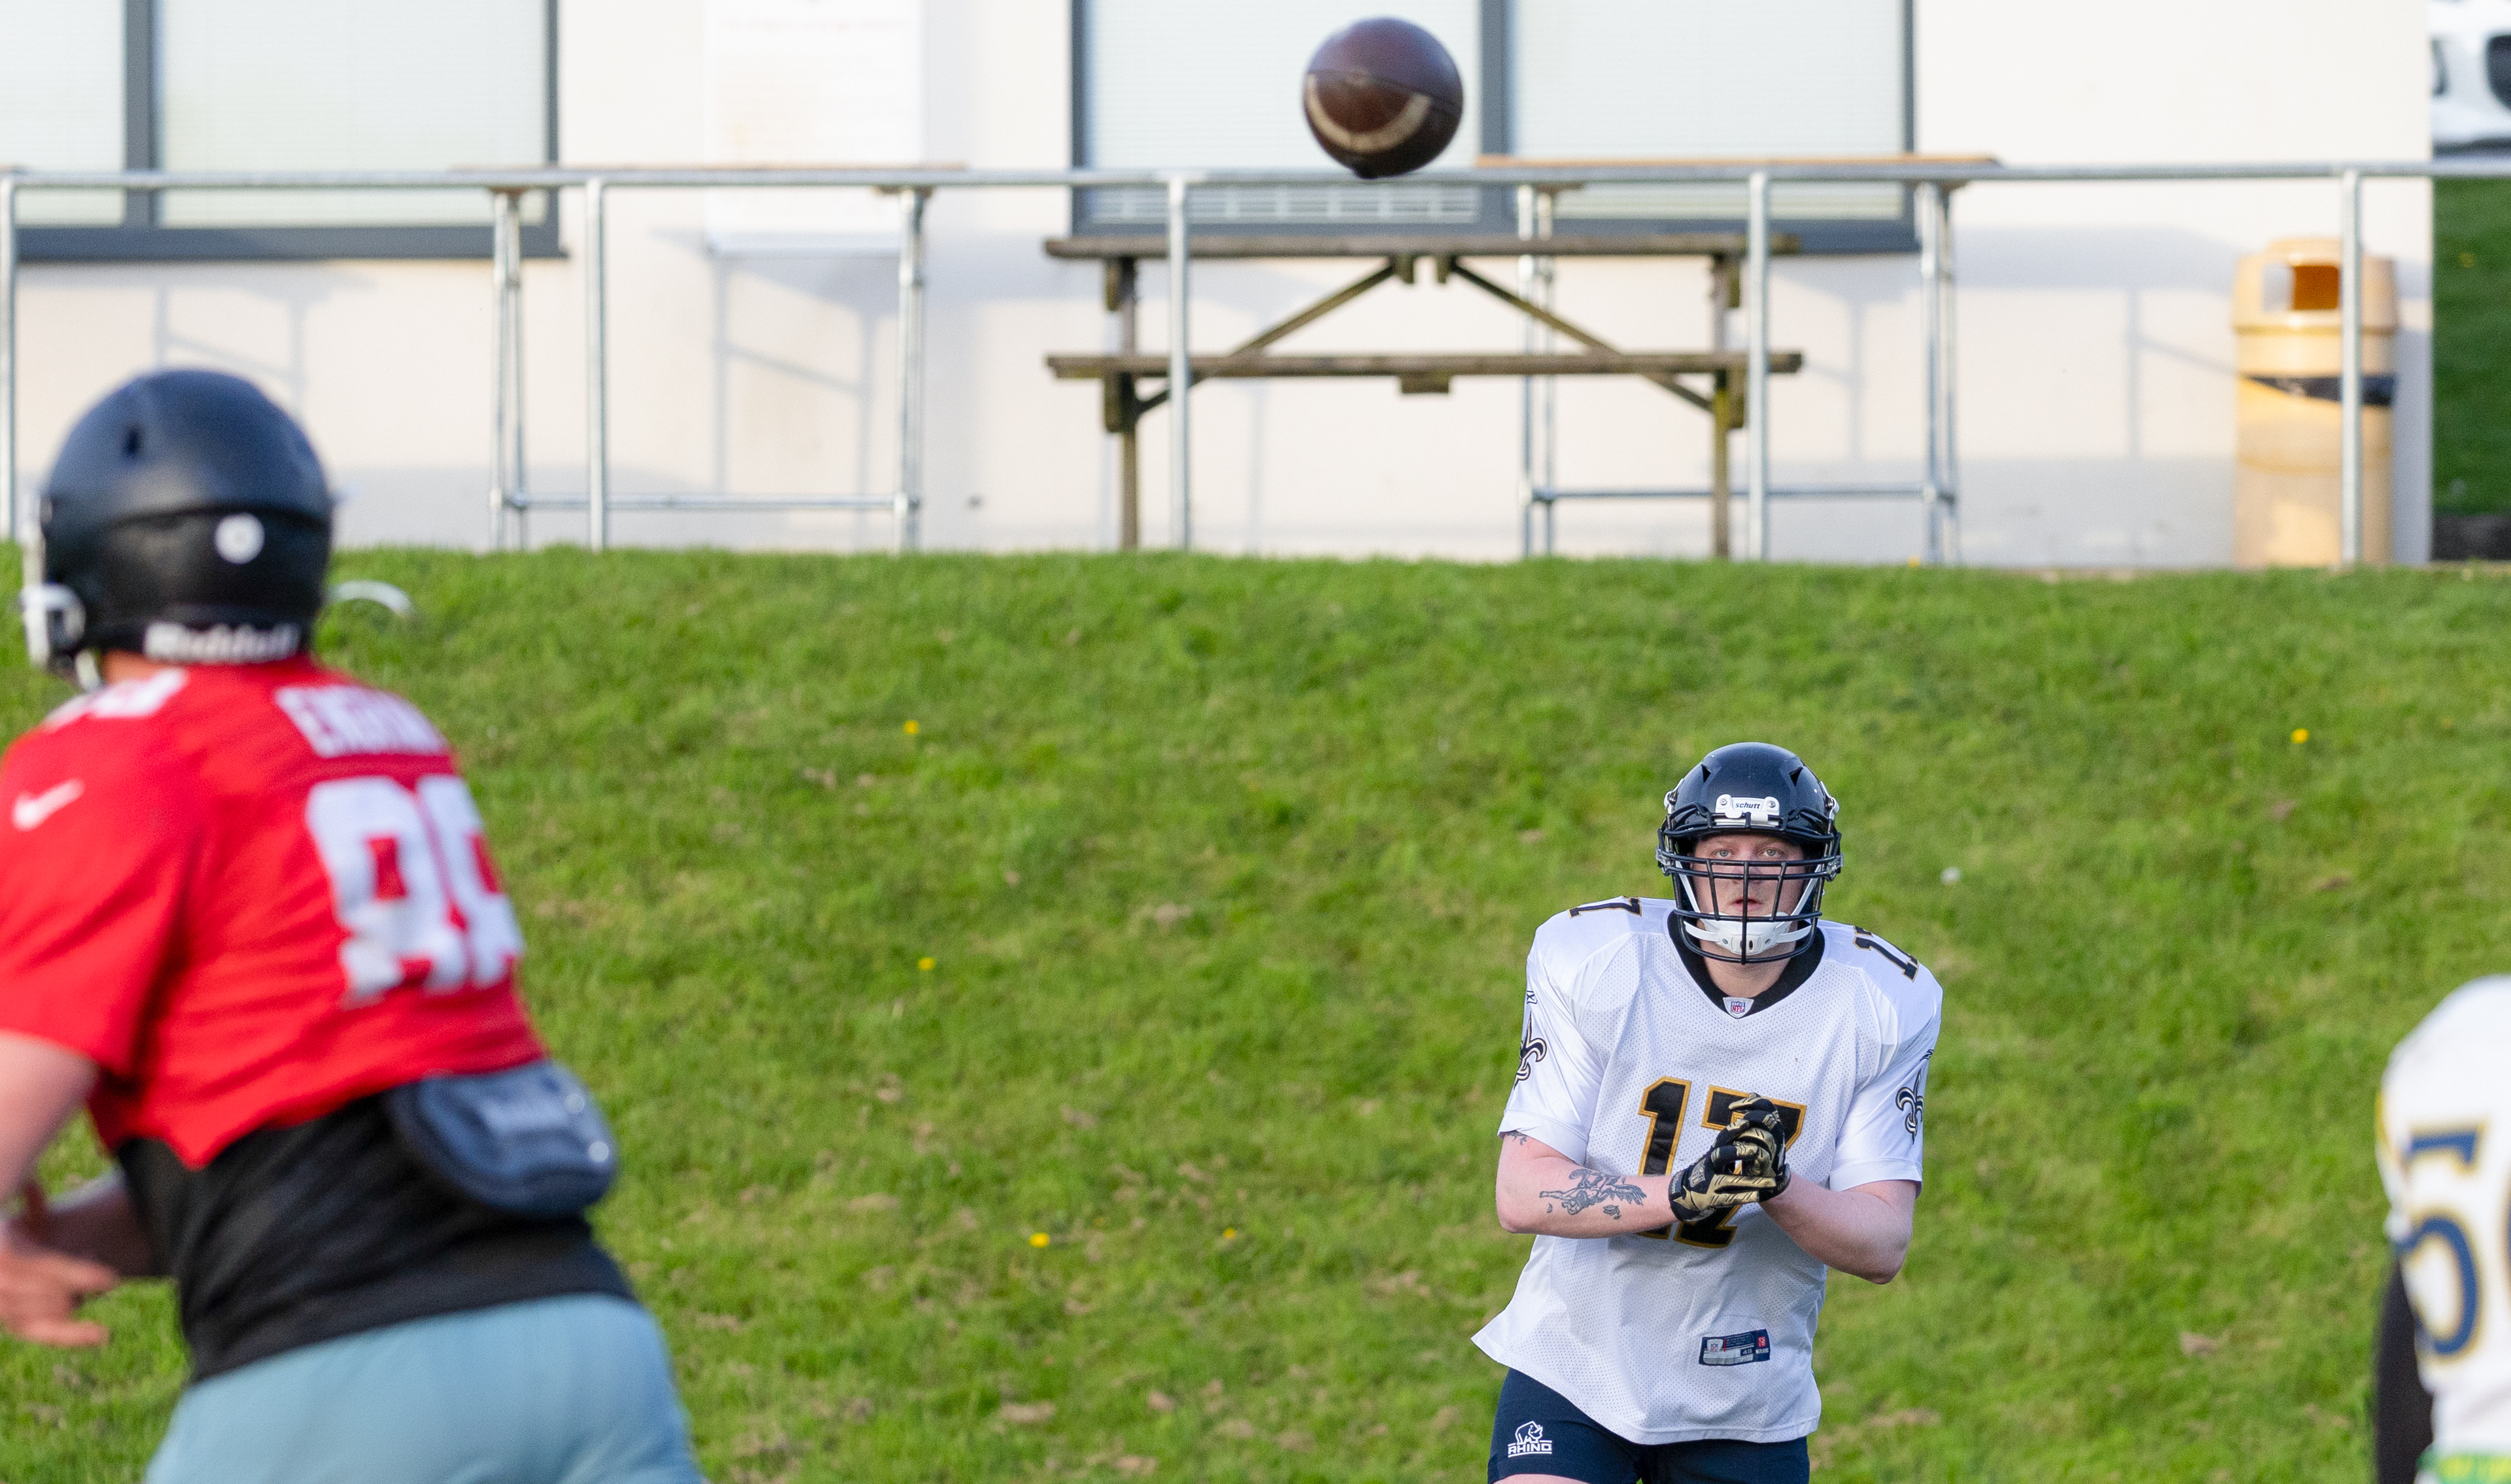
To build my selection of images for use in my final piece, I went back down to a practise session for the Rams to get some different types of shots to the ones I had the week before.
Having a gauge on what settings I needed to use on my Canon R6 MK2 with 70-200mm lens, this made getting into the flow of shooting very quick and easy for me as I set the shutter speed to 1/1000 and used a continual shooting setting (as opposed to single shot) under TV priority. Although this means I have more images to sift through afterwards, I’ve found it is the best way to get the best shot as opposed to trying to time pressing the trigger.
The next step is finalising my interviews next week and I will also be following the team to their first game of the season against Hull on Sunday. I think this will be good to get game shots to go with the practise ones I have, and it works well for my story, which is about being inspired to play competitively.
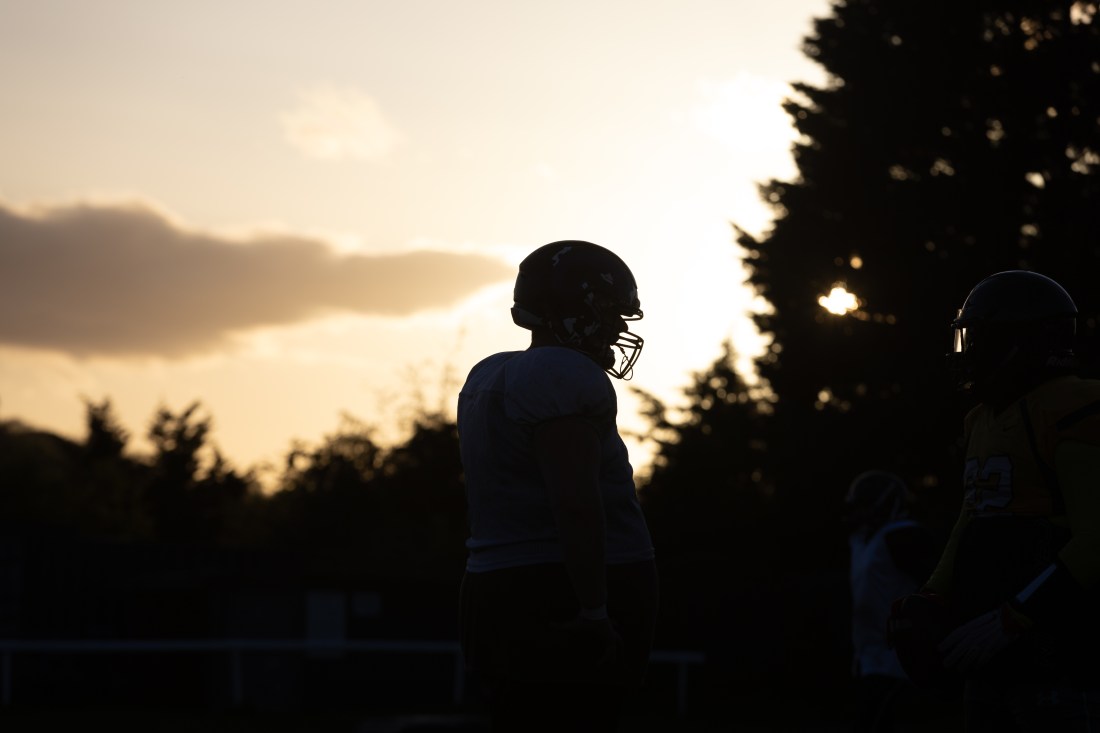
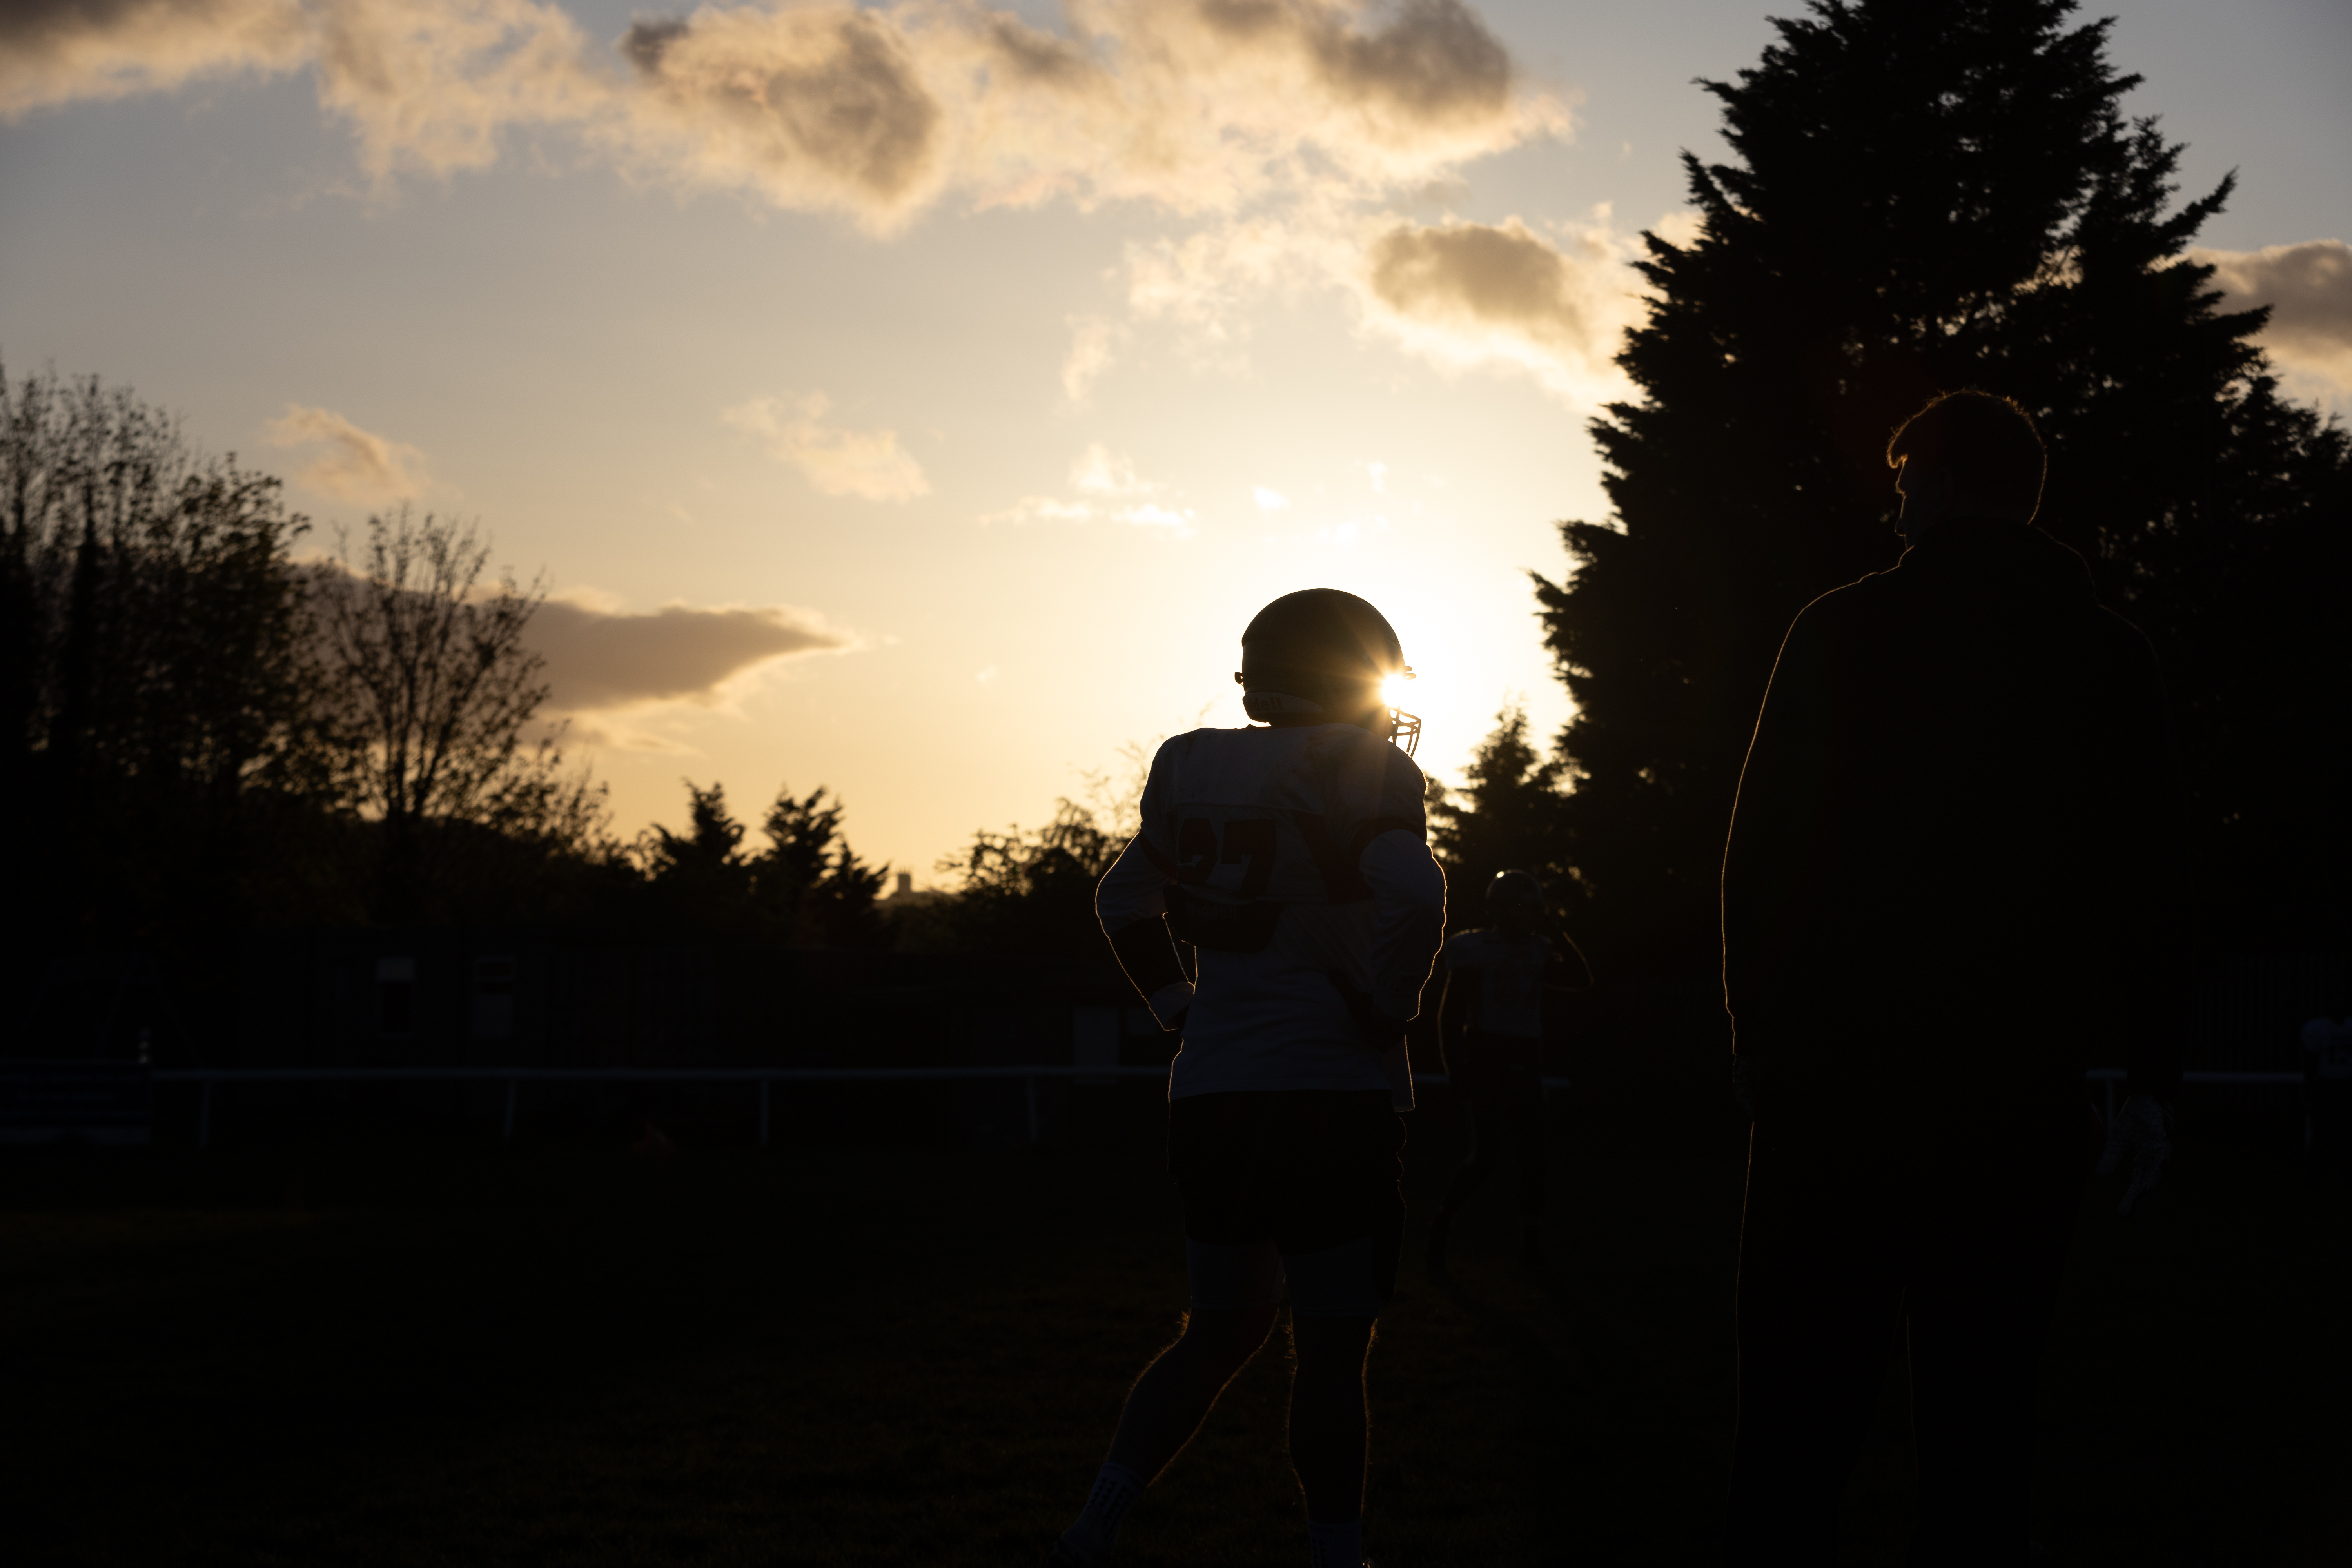
One test I tried to do during the early stages of practise was play with the natural light. Unlike the practise from the week before when it was dark and overcast, the presence of sunlight made me think about trying to be more creative with the players on the field.
I grabbed the below shot of the quarterback, which is different to having him fully lit, but I quite like the shots of the player and particularly the helmet caught in the sunlight in the following images. Although you lose the detail shooting like this, I think it was a good test to contrast what I had been shooting for the last fortnight.


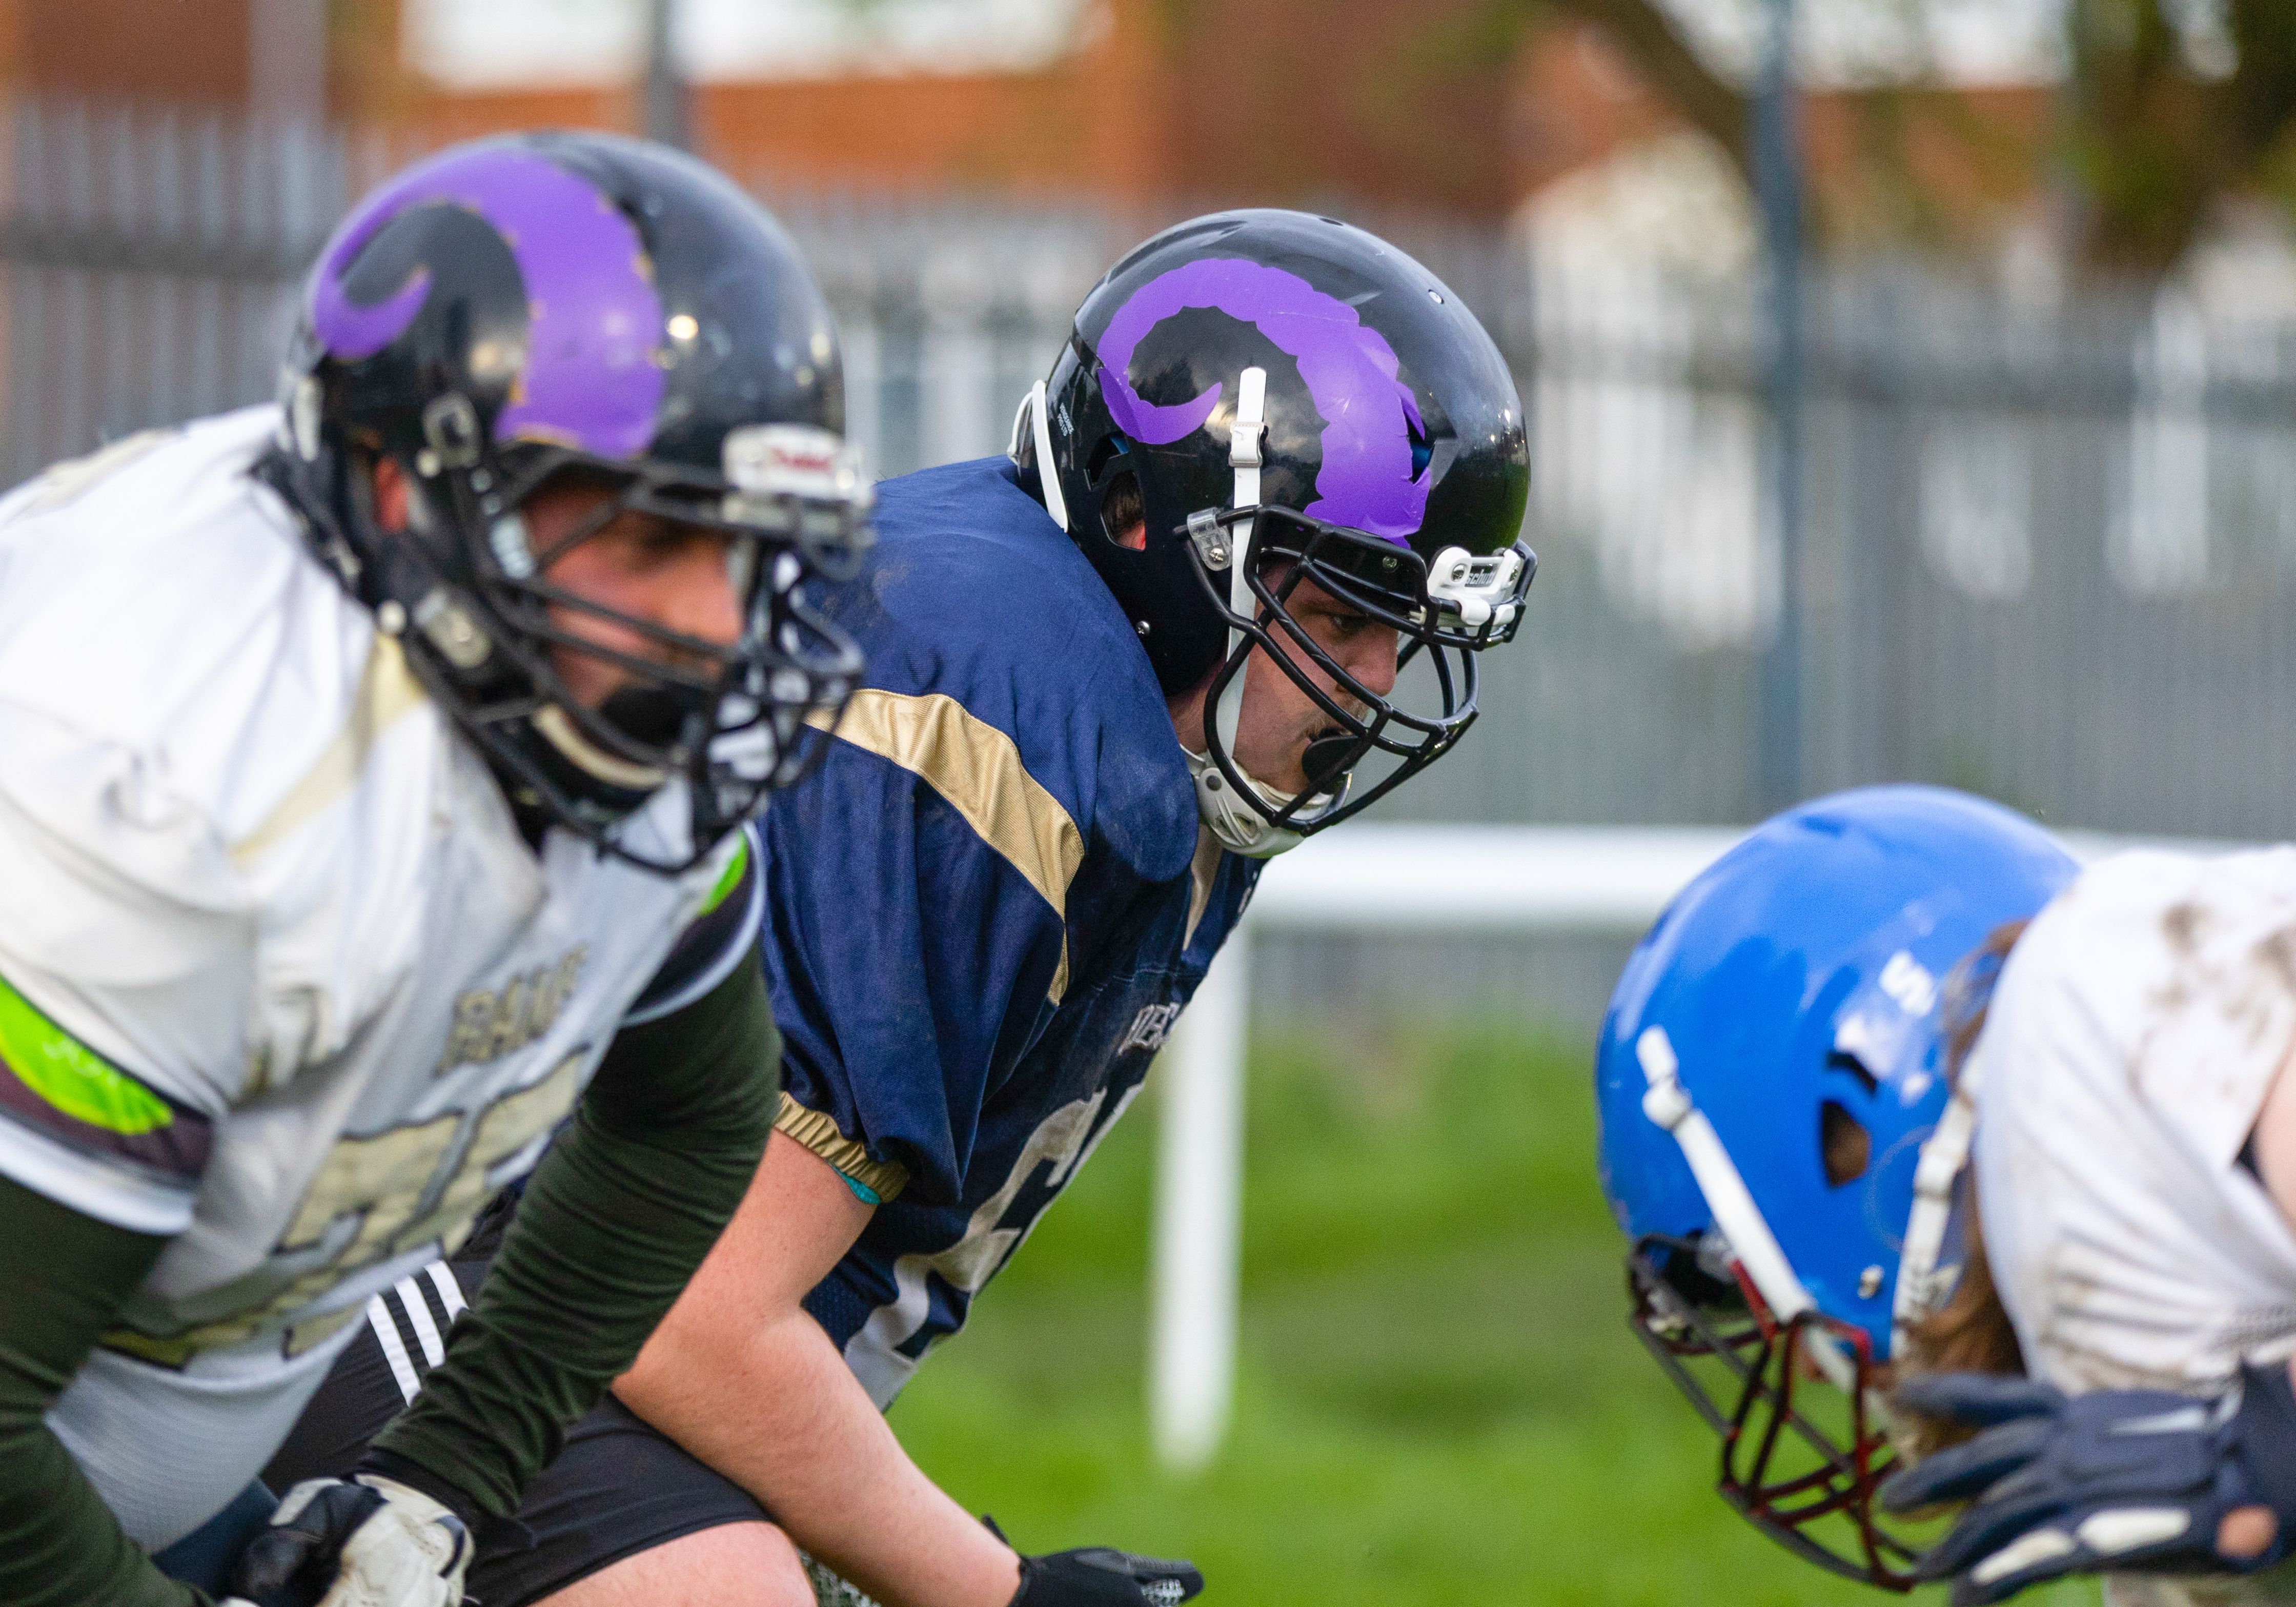
With deadline approaching, as I changed my pitch to focus on a local American Football team, I went down to a practice to start getting some test shots and get the grips with photographing the team.
During the practise, I used techniques taught in class around balancing aperture, shutter speed and ISO. The biggest change I continued to alter was shutter speed as I struggled to reduce the blur that came with the action of throwing the football. I altered around the 1/650 mark, but I think I should push it higher to around the 1/1000 mark.
I also used a lot of burst when trying to capture the quarterback or people catching the ball as I found it tough to get the right moment of the ball being thrown.


From being introduced to RAW in photoshop during class time, I decided that I would be best finding the right balance when editing a RAW file on photos I’d taken of sport. With my pitch in mind, I worked on some of the RAW files I captured whilst photographing an academy session at Leeds Rhinos.


When I began editing in photoshop, I decided to crop the image to focus in on the subject, being the two players at the centre of the frame. As you can see from the original image, there was a lot of space around both players, so I decided to focus it in on just the two players.
After cropping, I dropped the exposure a small degree to reduce the glare of the floodlights and added some contrast to bring the colour back into the yellow on the kits. I took the highlights out altogether and added a touch of shadow as well. Using photoshops AI tool in Canon Raw, I was able to mend the amount of noise as my ISO was at 25600, giving me clearer definition of faces and bodies.
From my experience photographing small events and training sessions at Leeds Rhinos, I find that my way of sifting through a large quantity of photos starts with previewing almost every photo I took on the day.
Whilst going through them, photos I like get dropped into a ‘Final’ folder so that all my best shots are in one place. This also means that I can go straight passed any shots that have blur or aren’t in focus, and means that I don’t have to delete 10+ images and leave the best one.
From there, I definitely use the subject or club’s name in the title in case I need to send out to the person or club in question. I also use the year shot, but probably should include the full date in case I need to track back at any point.

With my project focused around American Football, I pulled two photos I shot during a practise into photoshop and edited them in photoshop.
For all my images of sport, I use my Canon R6 MK2 with a 70-200mm lense. I use this because I gives a good option of shooting far out, as well as closer when required. For editing, I used Photoshop, but I am also experimenting with Lightroom too.
The settings for my camera focused around shutter speed as the main variable. Almost every image has an aperture of 2.8 so the background is always blurry, but I changed my shutter speed from around 1/640 to 1/1000 to try and get a clean shot of the ball and the motion of the players.
For my first image, I took what is quite a dark shot to try and make it brighter and more vibrant. I adjusted the exposure a touch, as well as increase the highlights to bring out the features of the player. I also added some saturation just to bring more colour out, but I was careful not to overdo it and make it look unrealistic.
Finally, I cropped around the player to get rid of some of the extra space around the subject that I didn’t need.
Before:
After:

I also wanted to edit an action shot too, so decided to follow a similar exercise in brightening this shot up.
I followed similar sets, focusing mainly on the brightness and exposure, and also reducing the blacks to bring out more detail in the player, particularly his lower half.
Before:

After:
For this week’s workshop task, I focused on edited two different types of photos in post production. Using one of the photos I took at Roundhay Park, I wanted to experiment with adjusting the foreground and background of an image, whilst using one of the shots from the Rhinos Academy training session allowed me to make adjustments with people as the main focus
Original

Edited

For this image of Roundhay Park lake, I chose to tighten up the image to show less of the tree to the left and create a rule of thirds look. I thought that the original image looked a little yellow in the background so I changed the toning towards a more blue and red tint in the hue/saturation setting. I also upped the saturation and brought down the brightness to add a more icy tone.
Original

Edited

For my image of the rugby players, I followed the advice from the previous week and tightened the image up to just include the two players in the centre of the frame, removing the person to the far right. As this had people included in them, I decided to add a bit of saturation mainly to bring out the colours in their faces as opposed to the pale look from the original. Using the vibrance or exposure adjustment layers I also touched up some of the settings to darken the image slightly to contrast the brightness of the people.

This week’s focus was on shutter speed and ISO and using the two elements to capture images in the moment to incredible detail with a fast shutter speed as well as stage artistic shots with a slow shutter speed.
To complete the task, I took inspiration for my project by putting myself in a sporting scenario and testing my knowledge and camera capabilities of shutter speed.
To get my photos, I headed down to training for Leeds Rhinos Under-18s Academy and used my Canon R6 MkII with 24-105mm lens. This was one of my first times shooting with the camera with the aim of focusing on balancing shutter speed and ISO, and managed to take the below shots both indoors in the gym and outdoors on the practise fields.
Having played around early with the settings, I quickly established that speeds of 1/500 and 1/640 were good at capturing images with little blur and let in a fair amount of light (see the example of Noah on the field running away from Shane). I also upped the shutter speed indoors to 1/1000 and managed to capture the shot of Declan throwing the ball, but you can see the light is darker.
To add to this, whilst with the Rhinos players, I attempted a slow shutter speed in the gym environment and managed to capture Oliver lifting the weights at 1/25 with his head visible in the mirror and still, whilst the weights and background have blurred with movement. I did this to help again with my project work later in the module as it is sport related.
Fast Shutter Speed

Slow Shutter Speed

This week’s task saw me learn more about aperture (or f-stop) and put it into practise. To start, I tested my camera’s range from the lowest to highest f-stops, before using aperture to focus on close objects and then the wider picture.
Low F-Stop (F/4.8)

For the low F-Stop, the lowest my camera and lens would go to was 4.8 so I focused on the person in the front of the frame, and the low f-stop meant that the background of trees and greenery is blurred.
High F-Stop (F/22)

In contrast, when I set my f-stop to the highest it would go (which was 22), you ca see that the person, tree behind her shoulder and people to the left of the frame are all in focus. The higher f-stop has also given the clouds and sky slightly more detail compared to the lower f-stop.
Mid F-Stop (F/9)

For a mid F-Stop, after learning from my mistake in class of setting it too high, I moved it from 4.8 to 9 so that it got the person in the foreground and the tree behind her shoulder in more detail. The trees futher in the distance and people to the left though are more blurred compared to the highest f-stop.
For my three objects, I chose to take an image of a small plant in the foreground, the swan and lake in the middleground, and the treeline in the background.
Near in focus
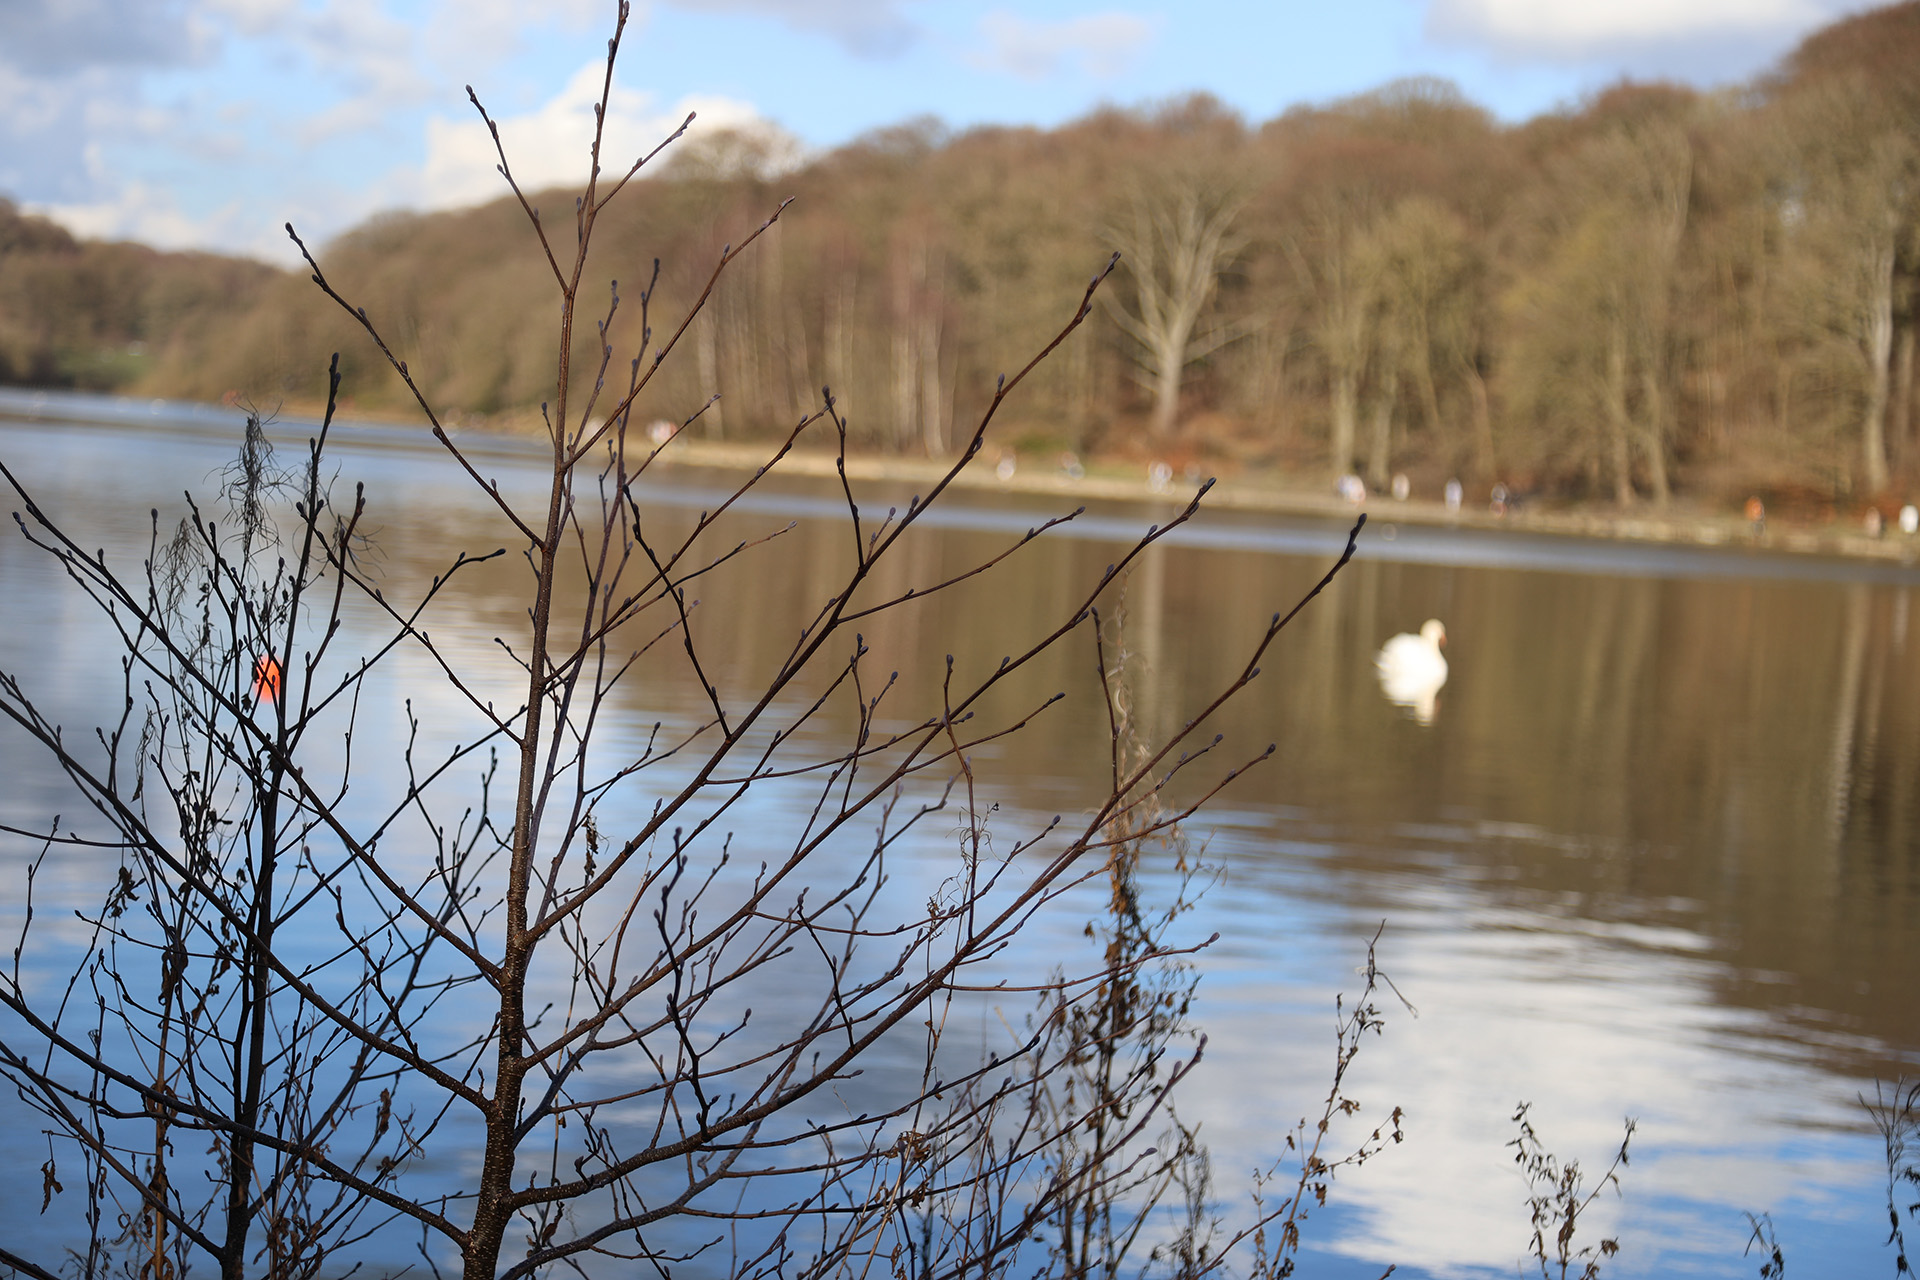
All in focus

For the extra credit task, I shot my three items (speaker, candle and boots) with my Canon R6 Mk2 with a 24-105mm lens.
To achieve getting all the items in focus, I set my f-stop to F22 on the camera, meaning that the ISO set itself around 250 as there was plenty of light getting into the sensor.

For getting just the speaker in focus, at an F-stop of F4, which was the lowest my lens would go down to, I saw that the ISO sparked up to 8000 as the sensor got less light in. In terms of shutter speed for both photos, I noted that it stayed the same around the 1/80 or 1/100 mark.


You must be logged in to post a comment.