
Showcasing the Best in Photojournalism from Leeds Beckett University

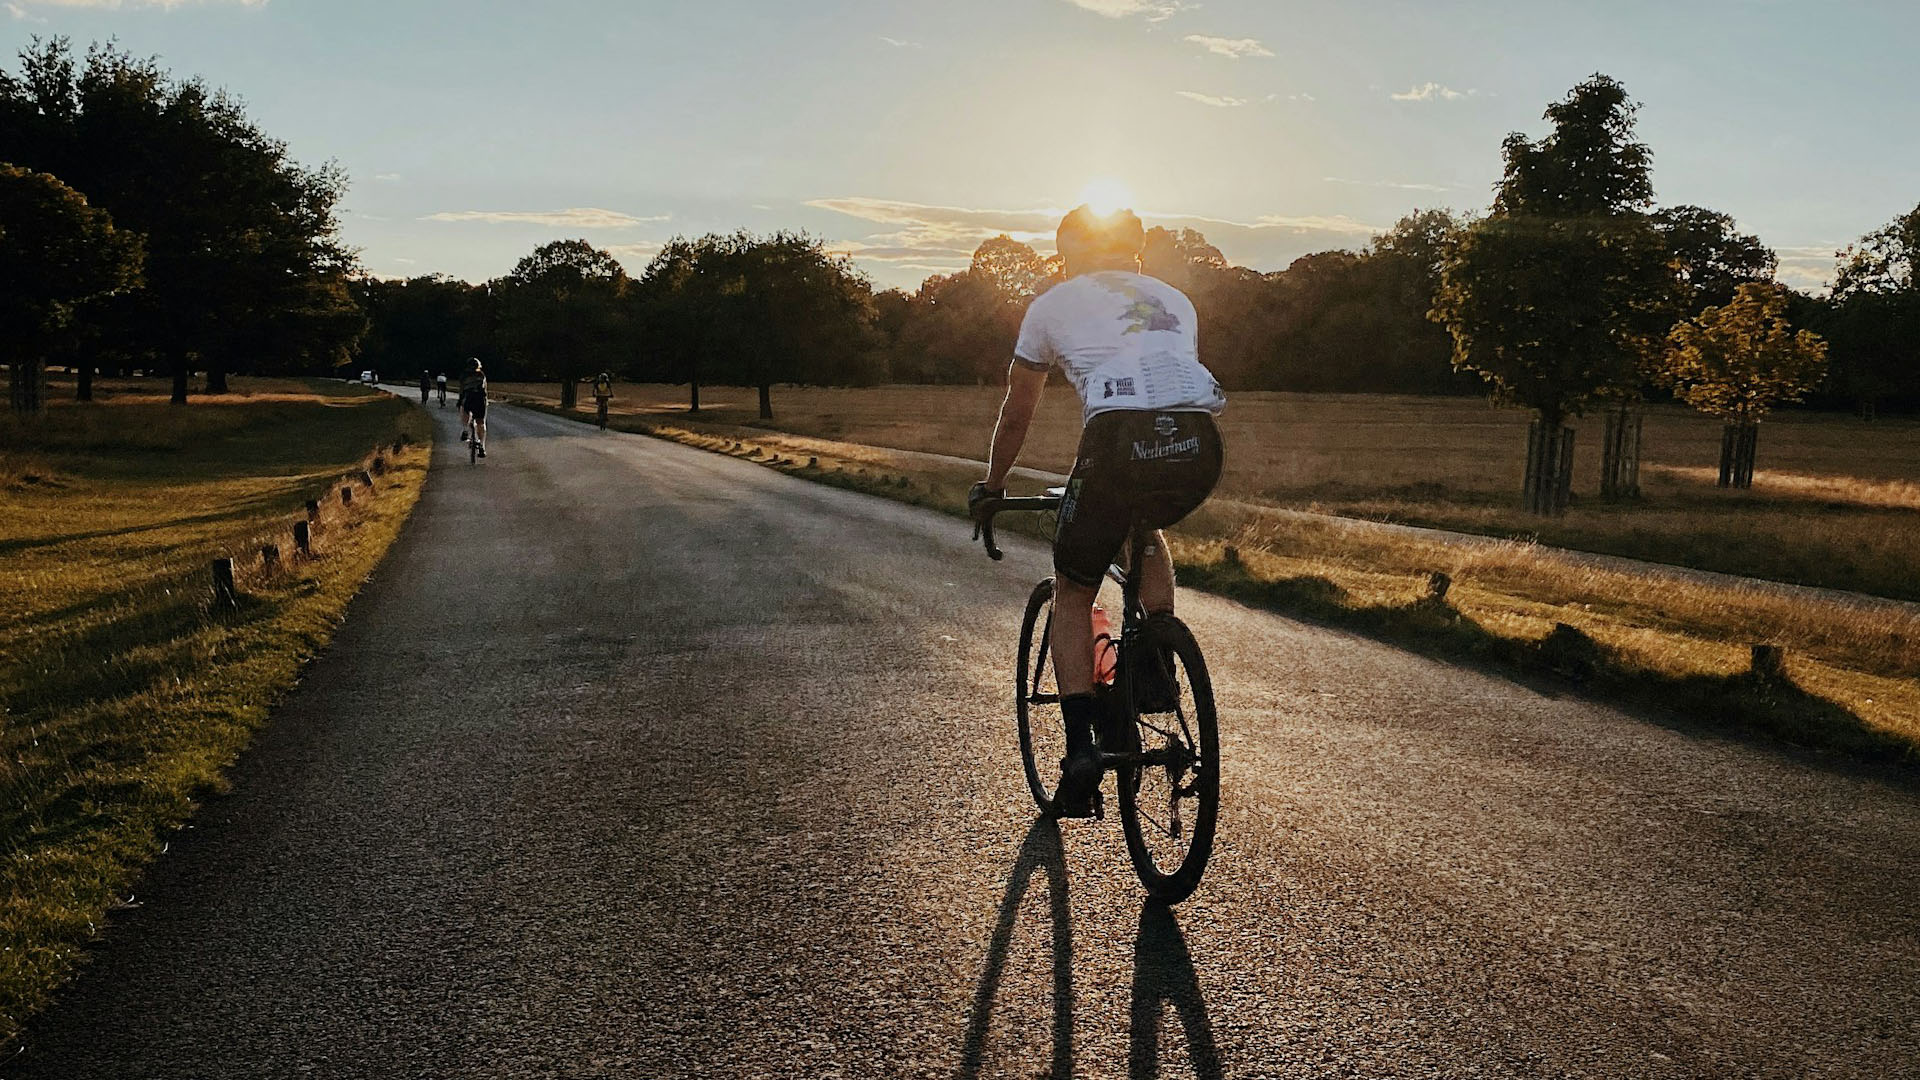
This is a shot where i used burst mode on my phone. The rest of the pictures were all very blurry compared to this one but this one has minimal blur and if I was to use in my final project, I don’t think there would be a big difference compared to the other pictures I will use. I think burst mode is something that I may consider using, especially if I get a chance to picture people at a arty, where there will be movement.
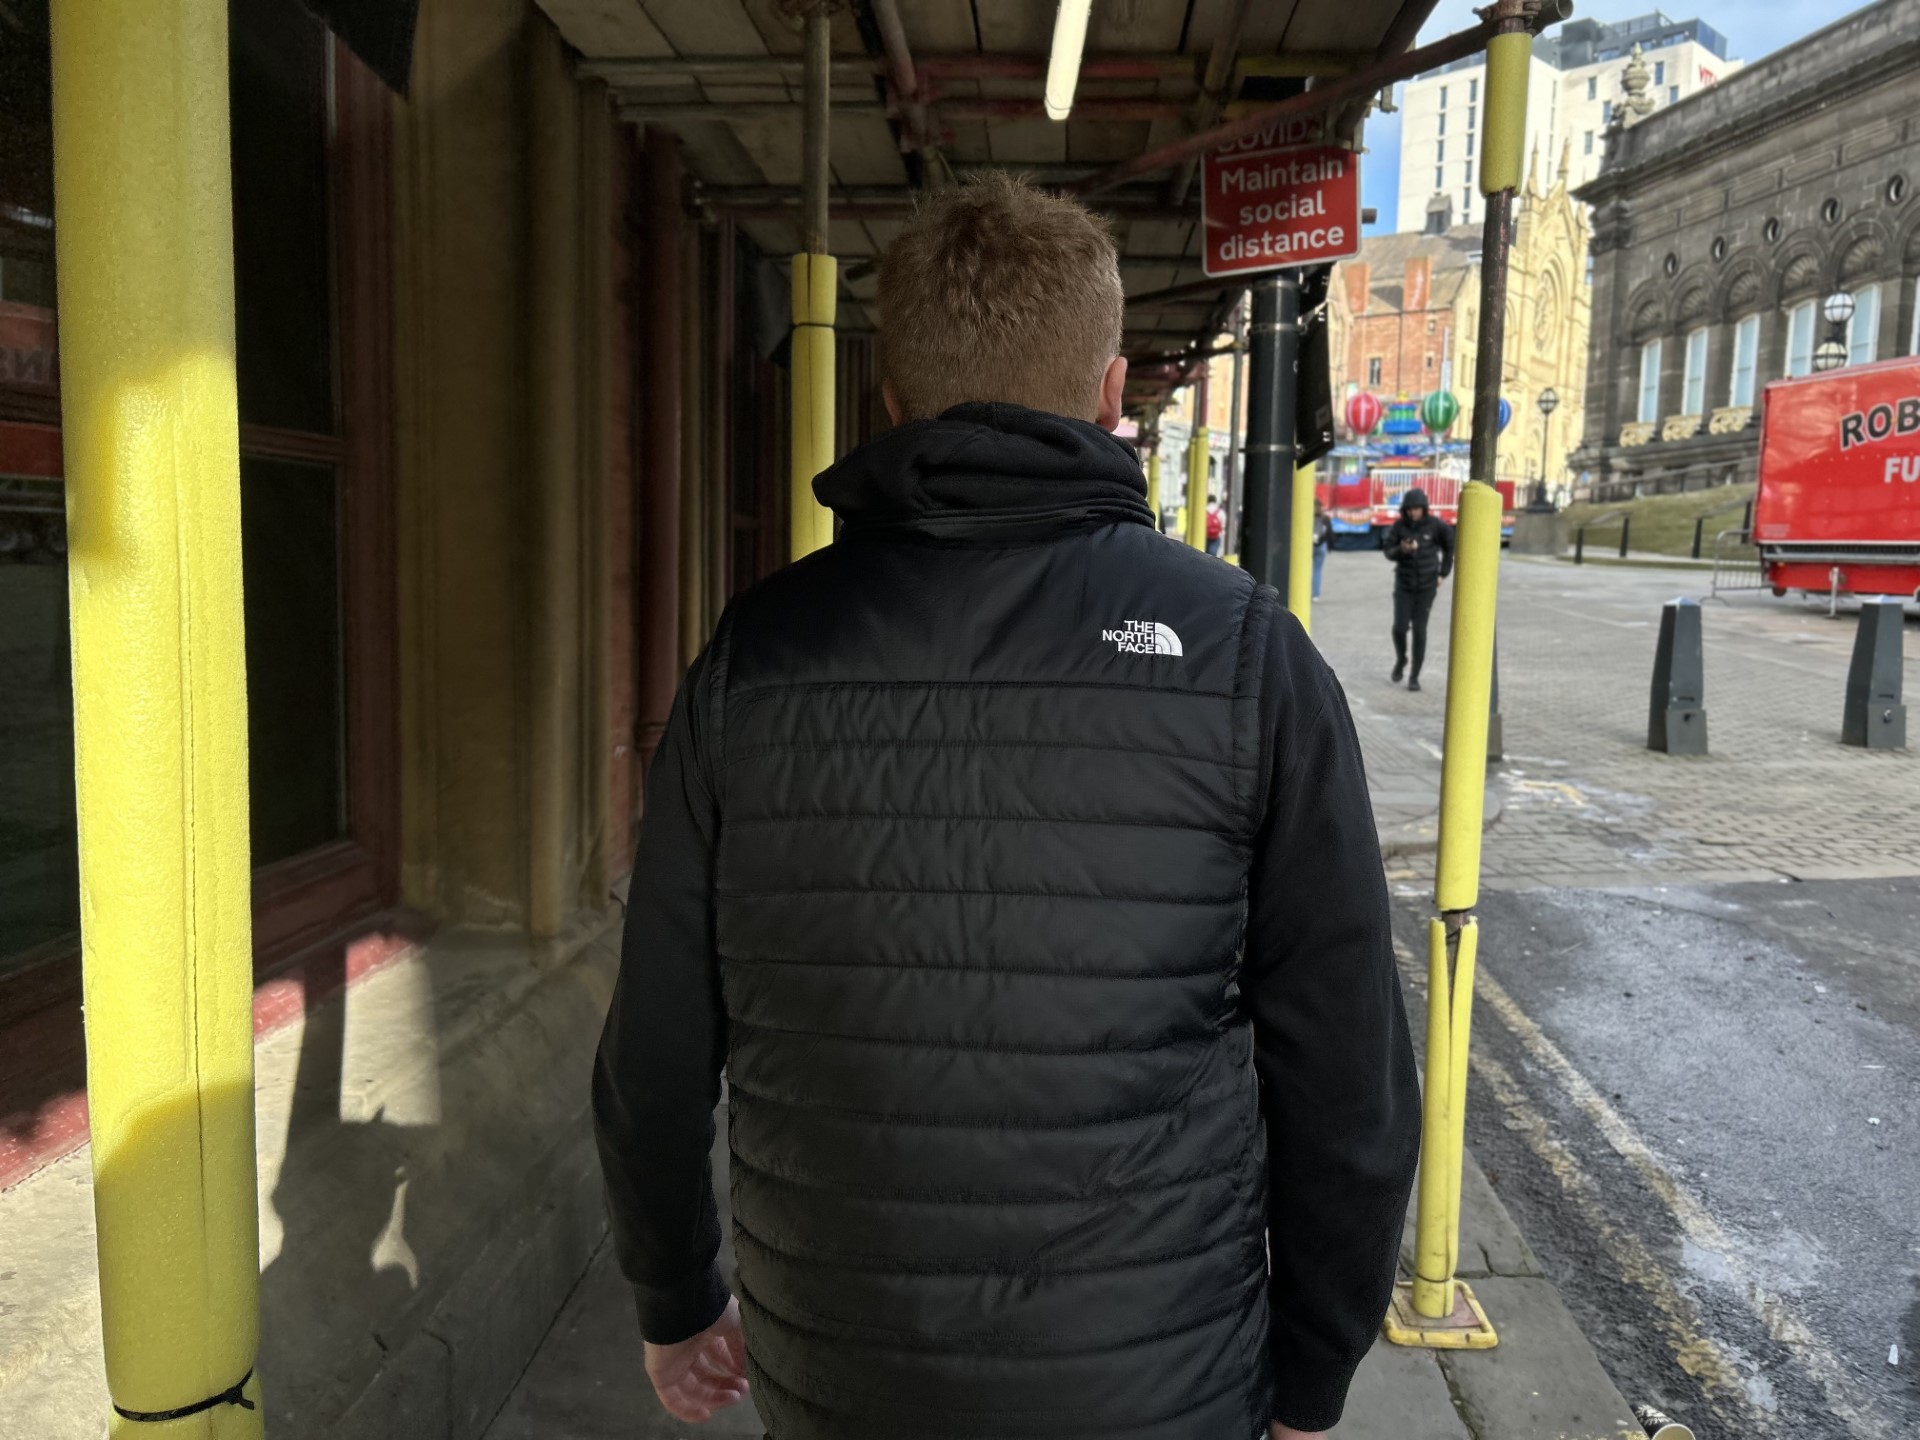

Above you can see a picture that I took as part of a task we had to do a few weeks ago to go into the city to take some pictures, playing with the F-stop. Whilst we were walking back, I used the scaffolding as a chance to get behind Will and take a quick picture which I thought might look alright with the lighting. This picture is decent but the original was a little too dark so I changed that and produced the image at the top. I did this by simply just playing with the contrast and the brightness of the image.
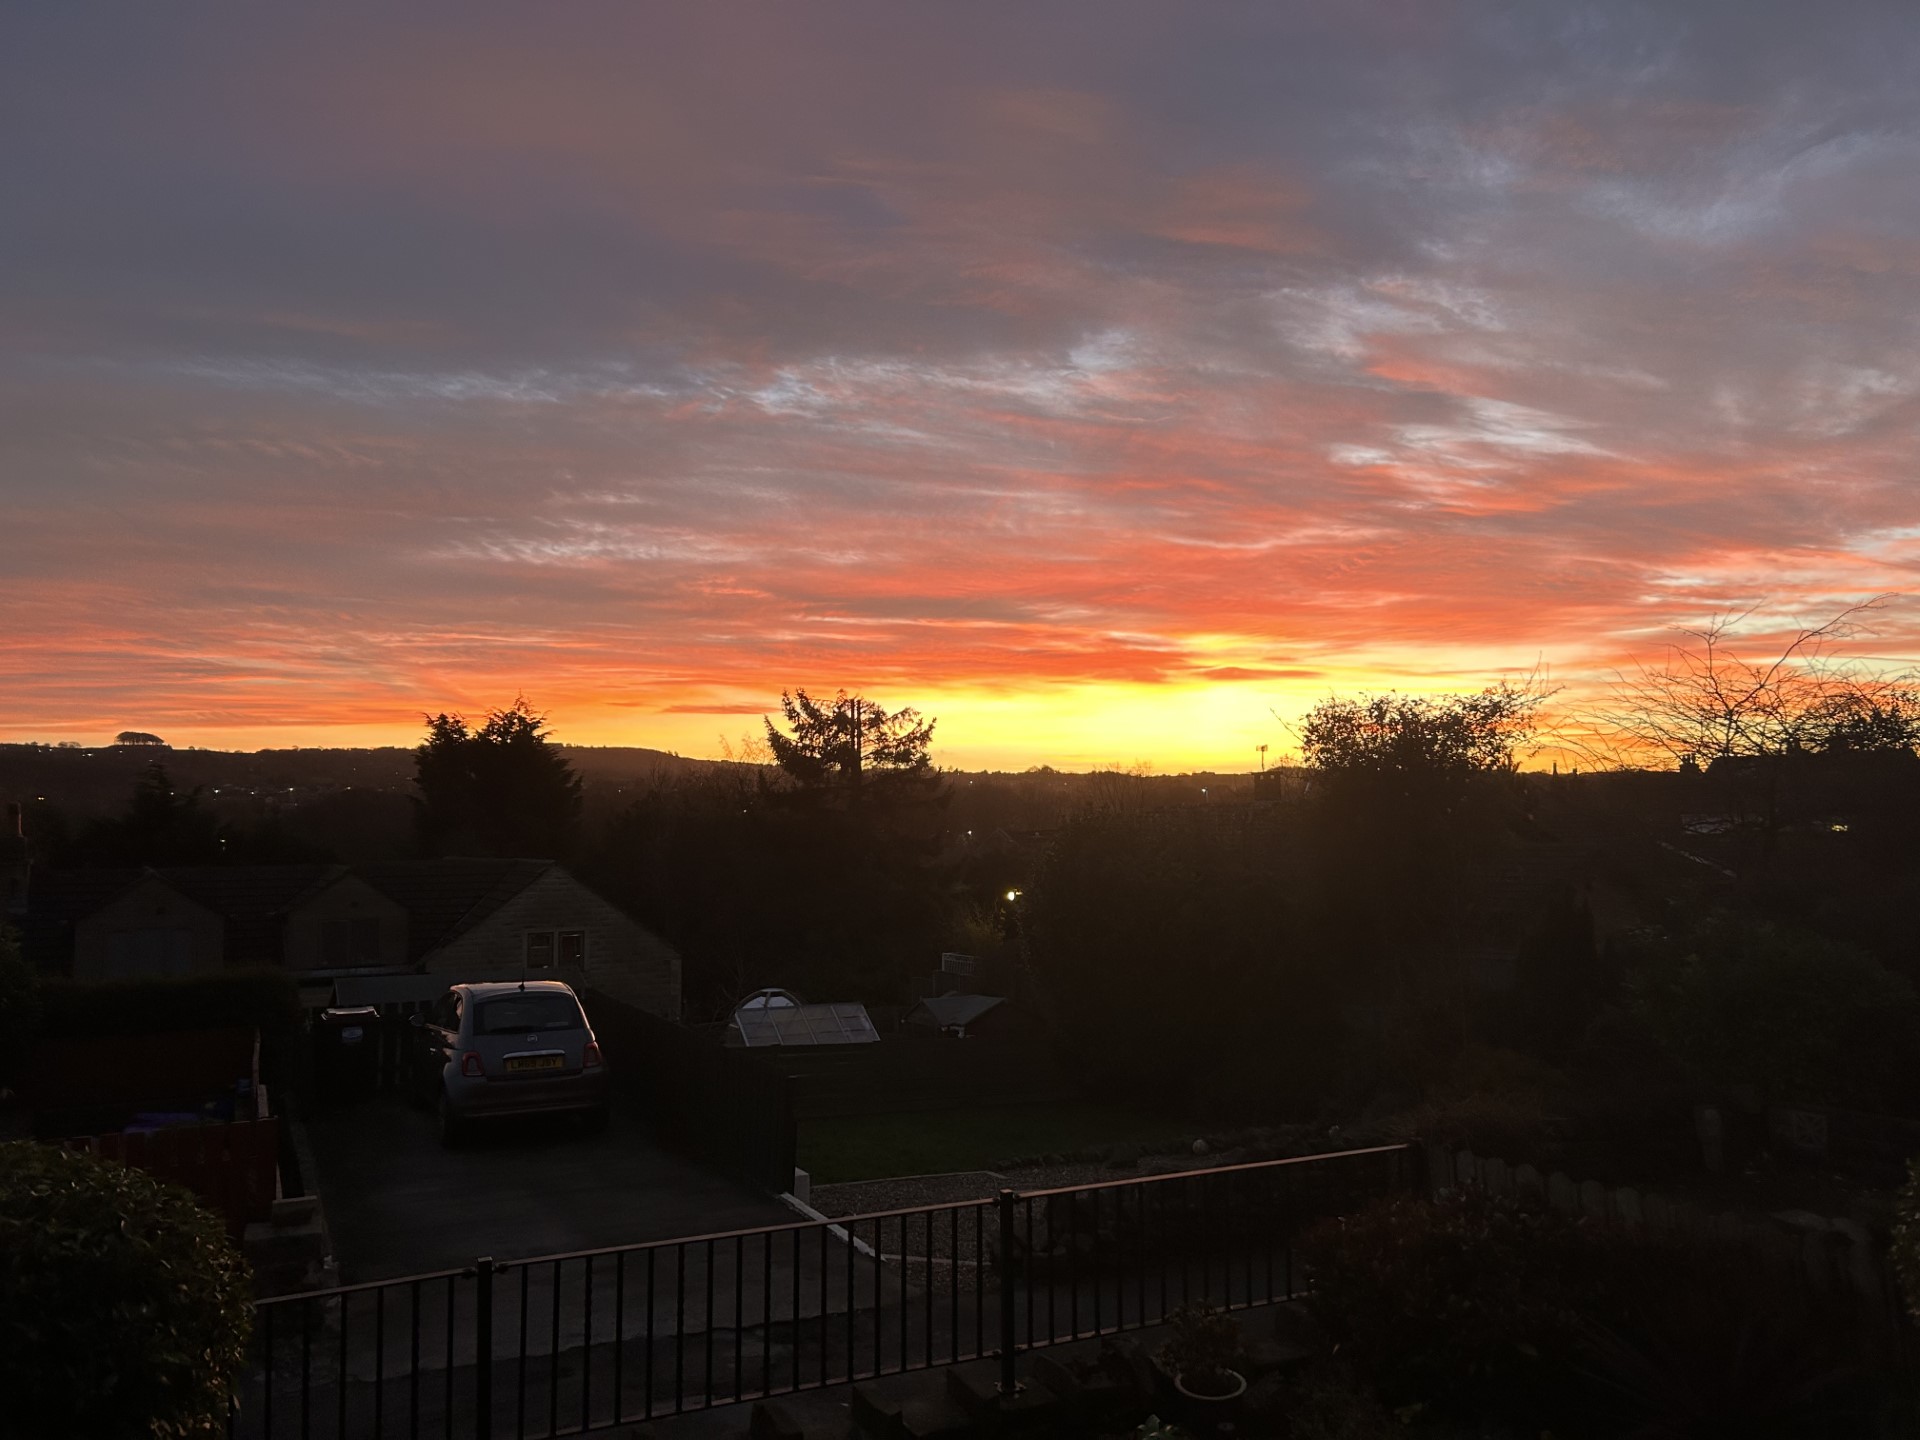
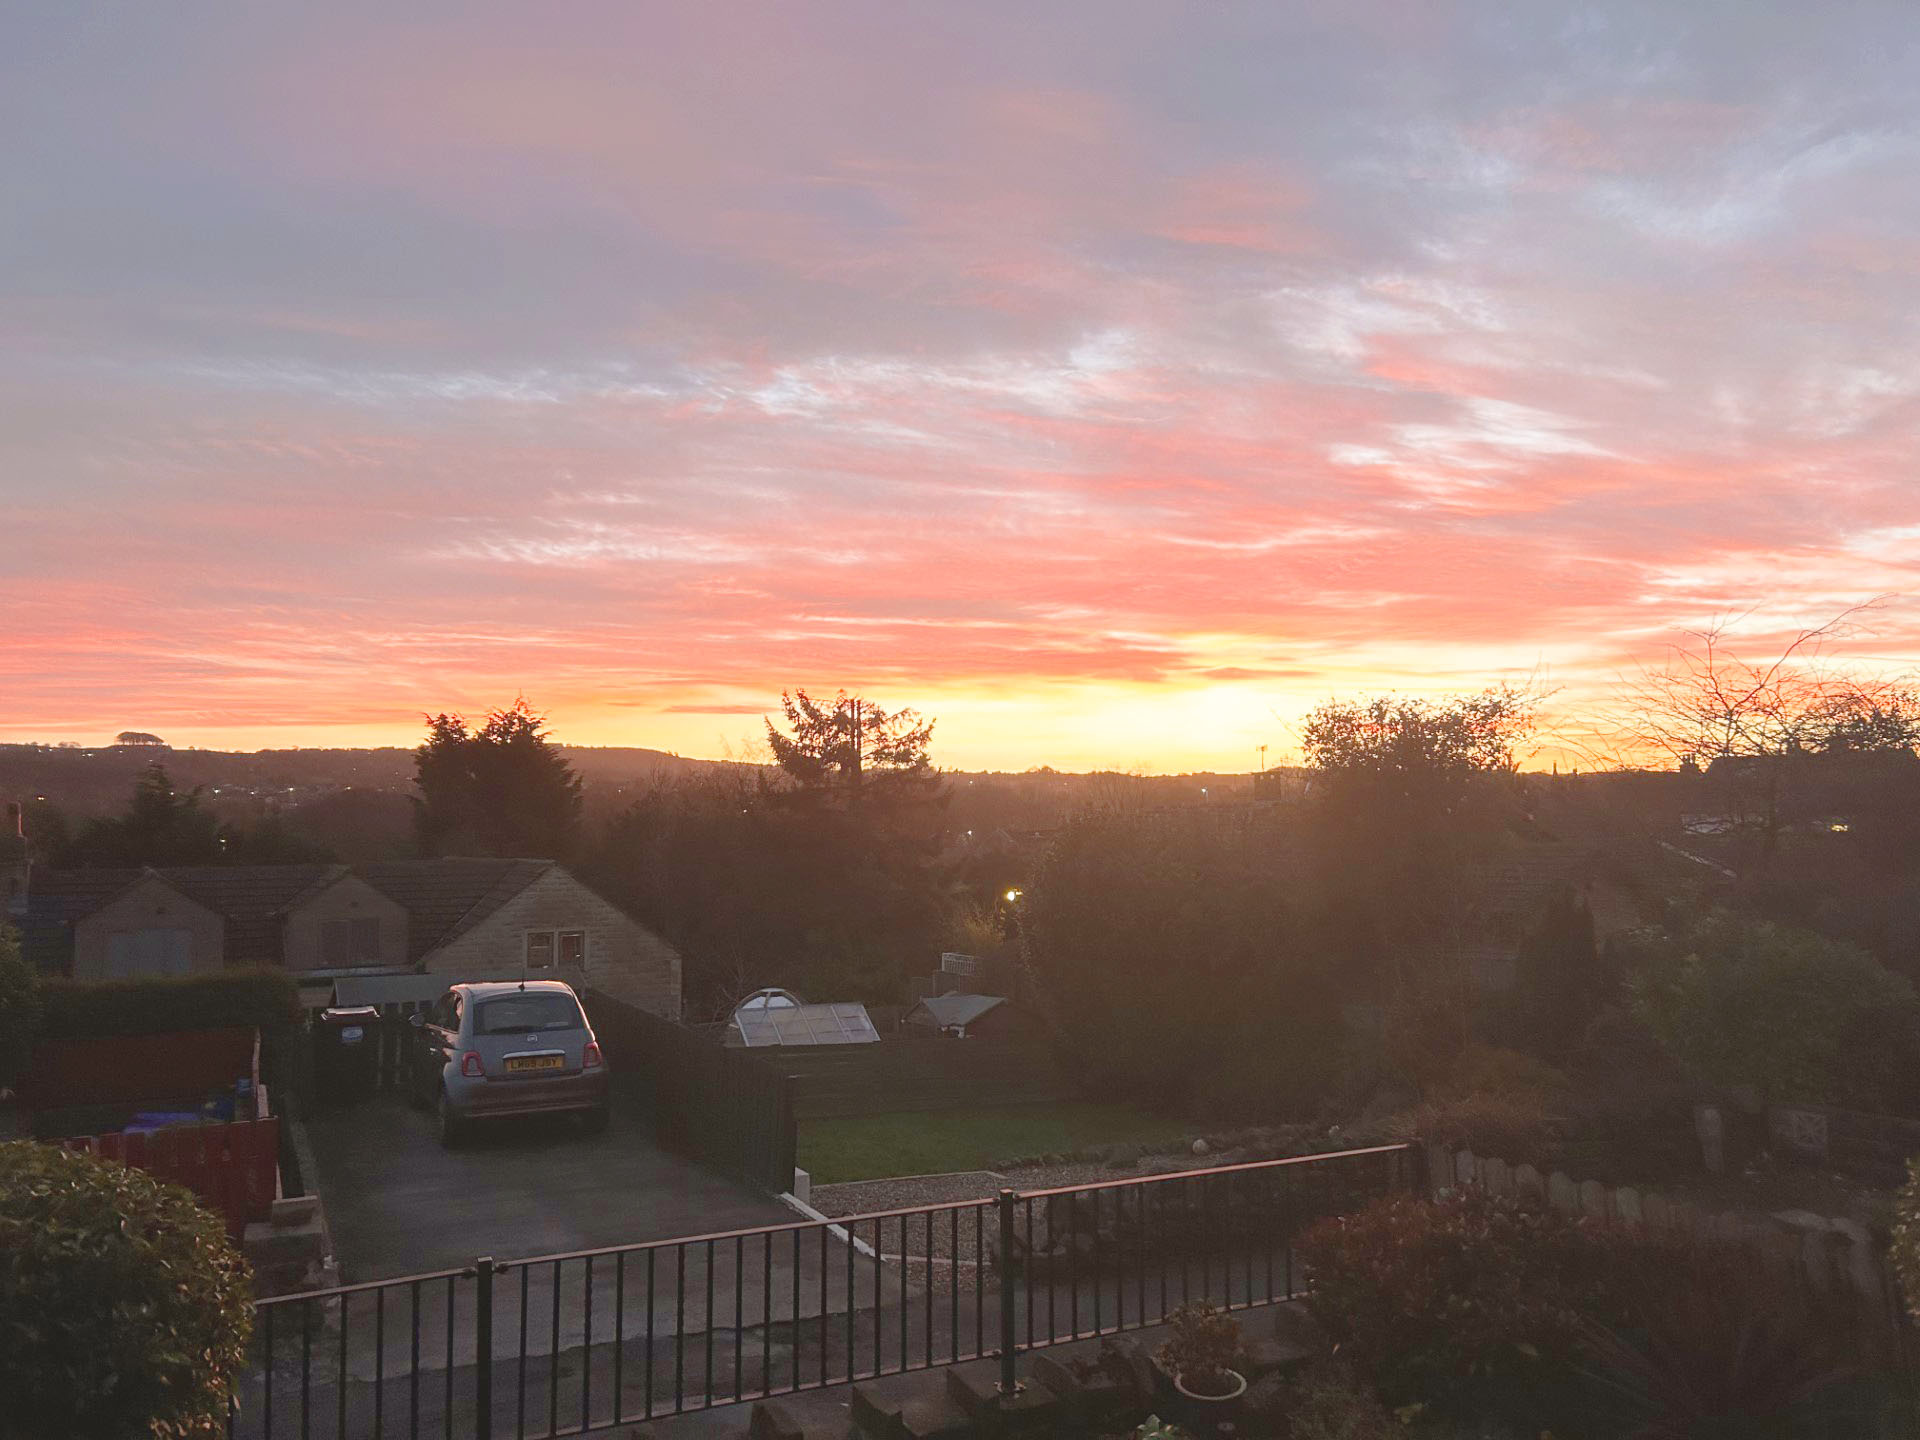
These pictures were taken at home recently. I was looking after the dog and let her out for a wee and noticed the sky and thought to take a picture of it because it looked nice and quite dramatic. The original picture didn’t turn out how I looked because it was quite dark and there was a sharp contrast between the sunset and the rest of the photo. In the edit I changed a few things, mainly the brightness and the contrast in the image. I also changed the hue and the lightness and managed to make the image a lot easier to see and the contrast between the sunset and the rest of the image less harsh.
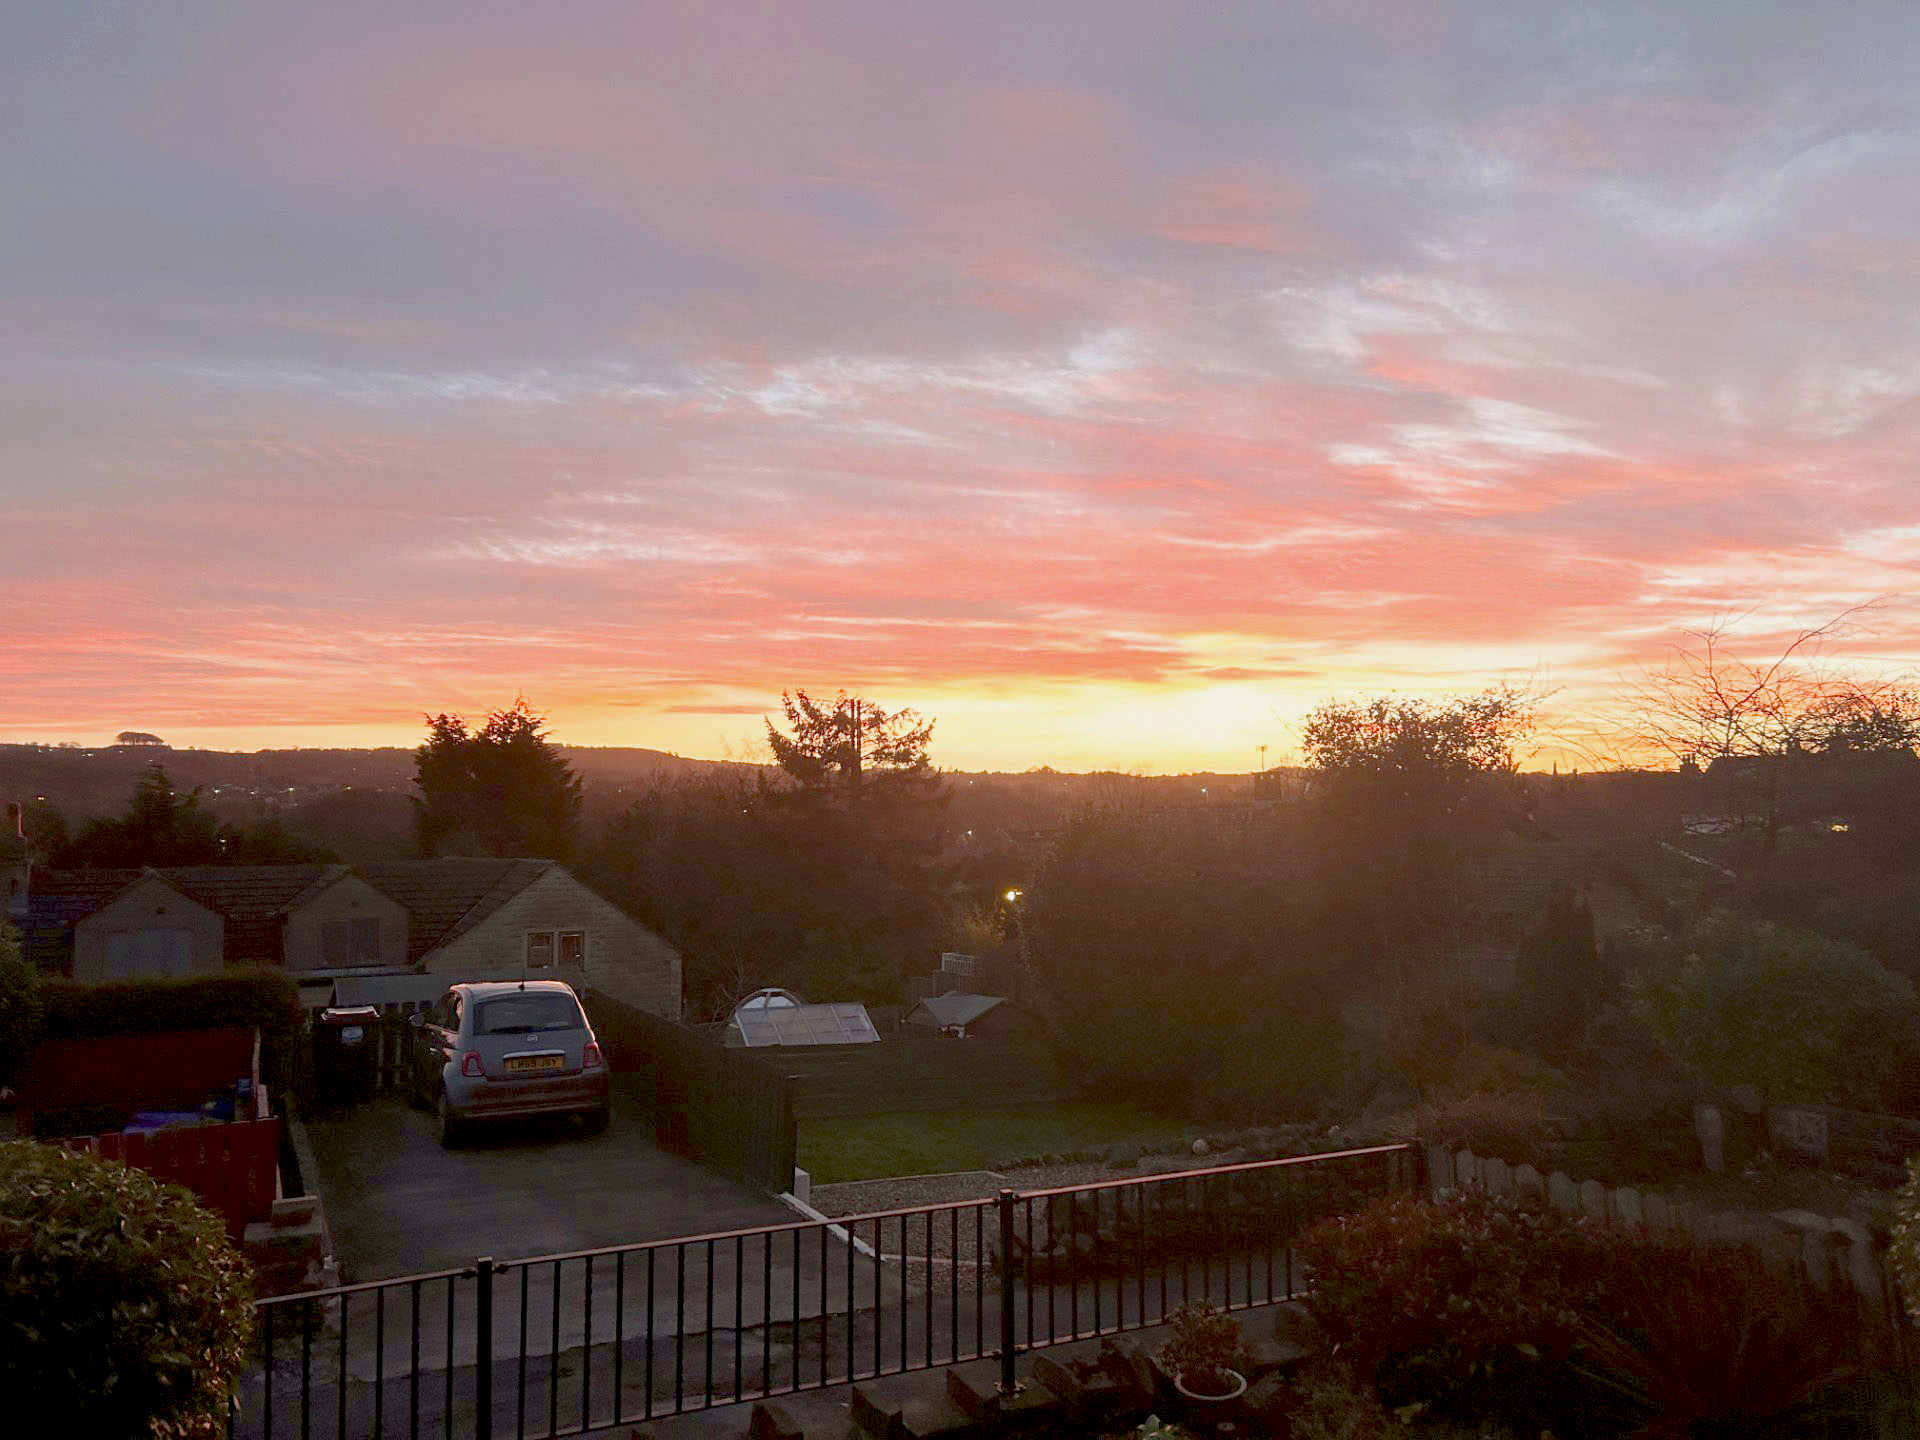
Above is a re-edit of the sunset image. Upon reflection, the original edit wasn’t quite right and needed changing a little bit. I changed the contrast and the brightness some more as well as the exposure and it got slightly better. It didn’t need a massive change but the re-edit doesn’t have what looks like a greyish filter above the original edit.

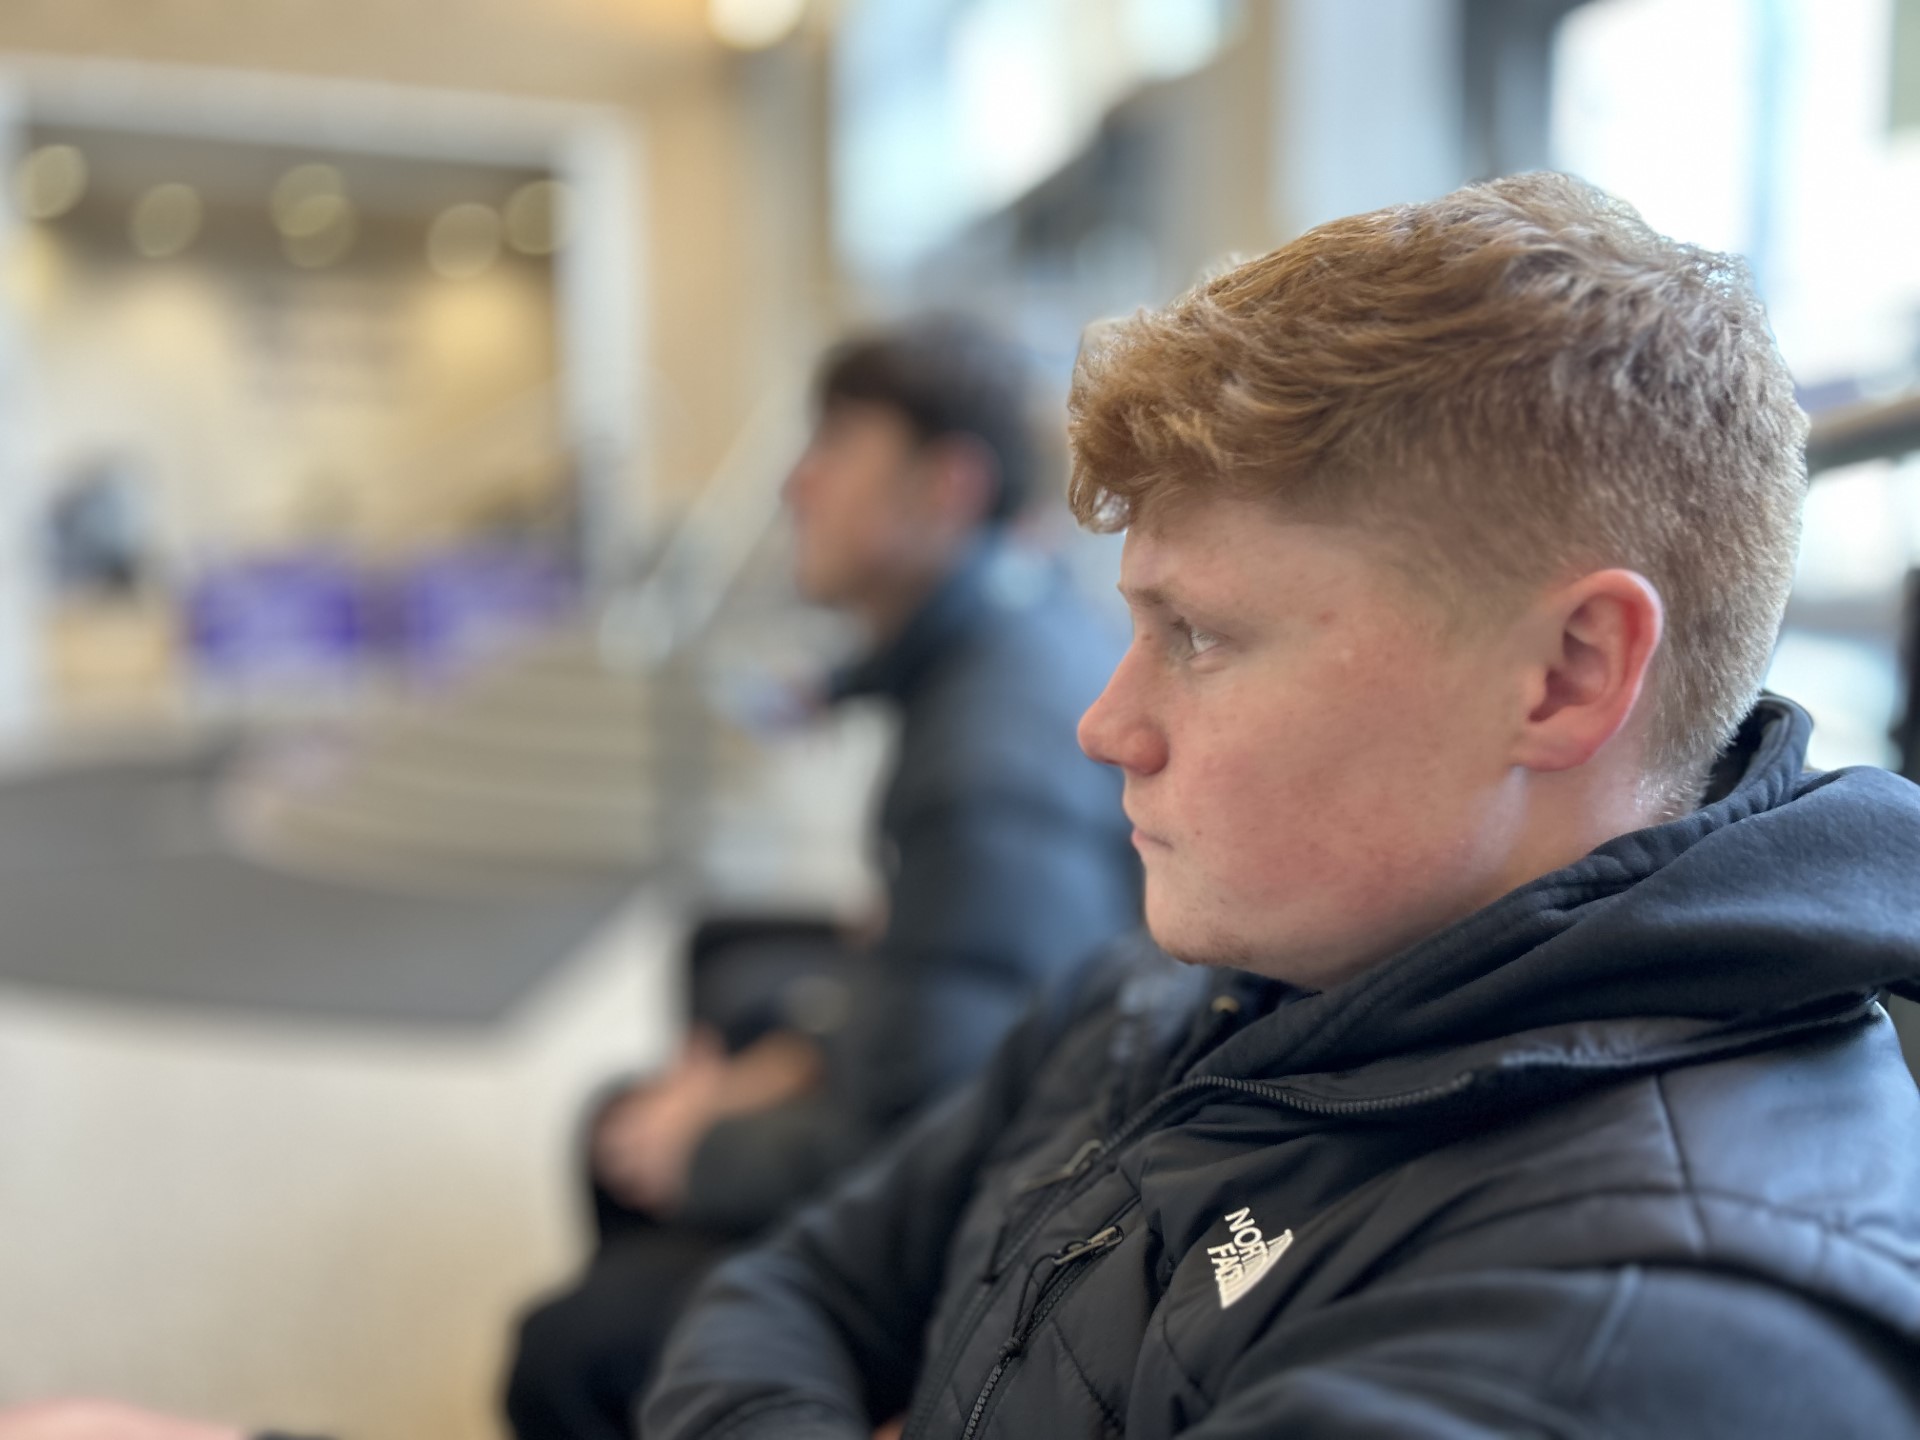
F-stop low. I that F-stop for this image because I wanted to make the focus purely on Oliver in the image, to make sure that that’s what people would focus on when looking at the image.

F-stop medium. This is the image has a middle ground in terms of F-stop. This means that the focus is still entirely on Oliver but in the background you can start to make out different people and objects. I wanted to do this to compare and contrast the difference between the three photos I took with Oliver in this position.

F-stop high. This image captures Oliver still but the writing on the shop behind is now readable and the people are a lot clearer. This has quite a contrast to the first image where you can’t make out the shop or people in the background at all. There’s still quite a difference to the second picture where you can’t make out the writing on the shop.
I personally think the first photo in F-stop low is the best one. In the others it doesn’t look quite as good and the focus on the first photo on Oliver’s better than the others. The background itself isn’t that interesting so you don’t miss out on much when you put F-stop on low.

This photograph, whilst not the most interesting in the world, has three different objects in focus. I took this picture whilst the F-stop was on medium meaning that you can make out clearly what the three objects are and read any lettering on them.
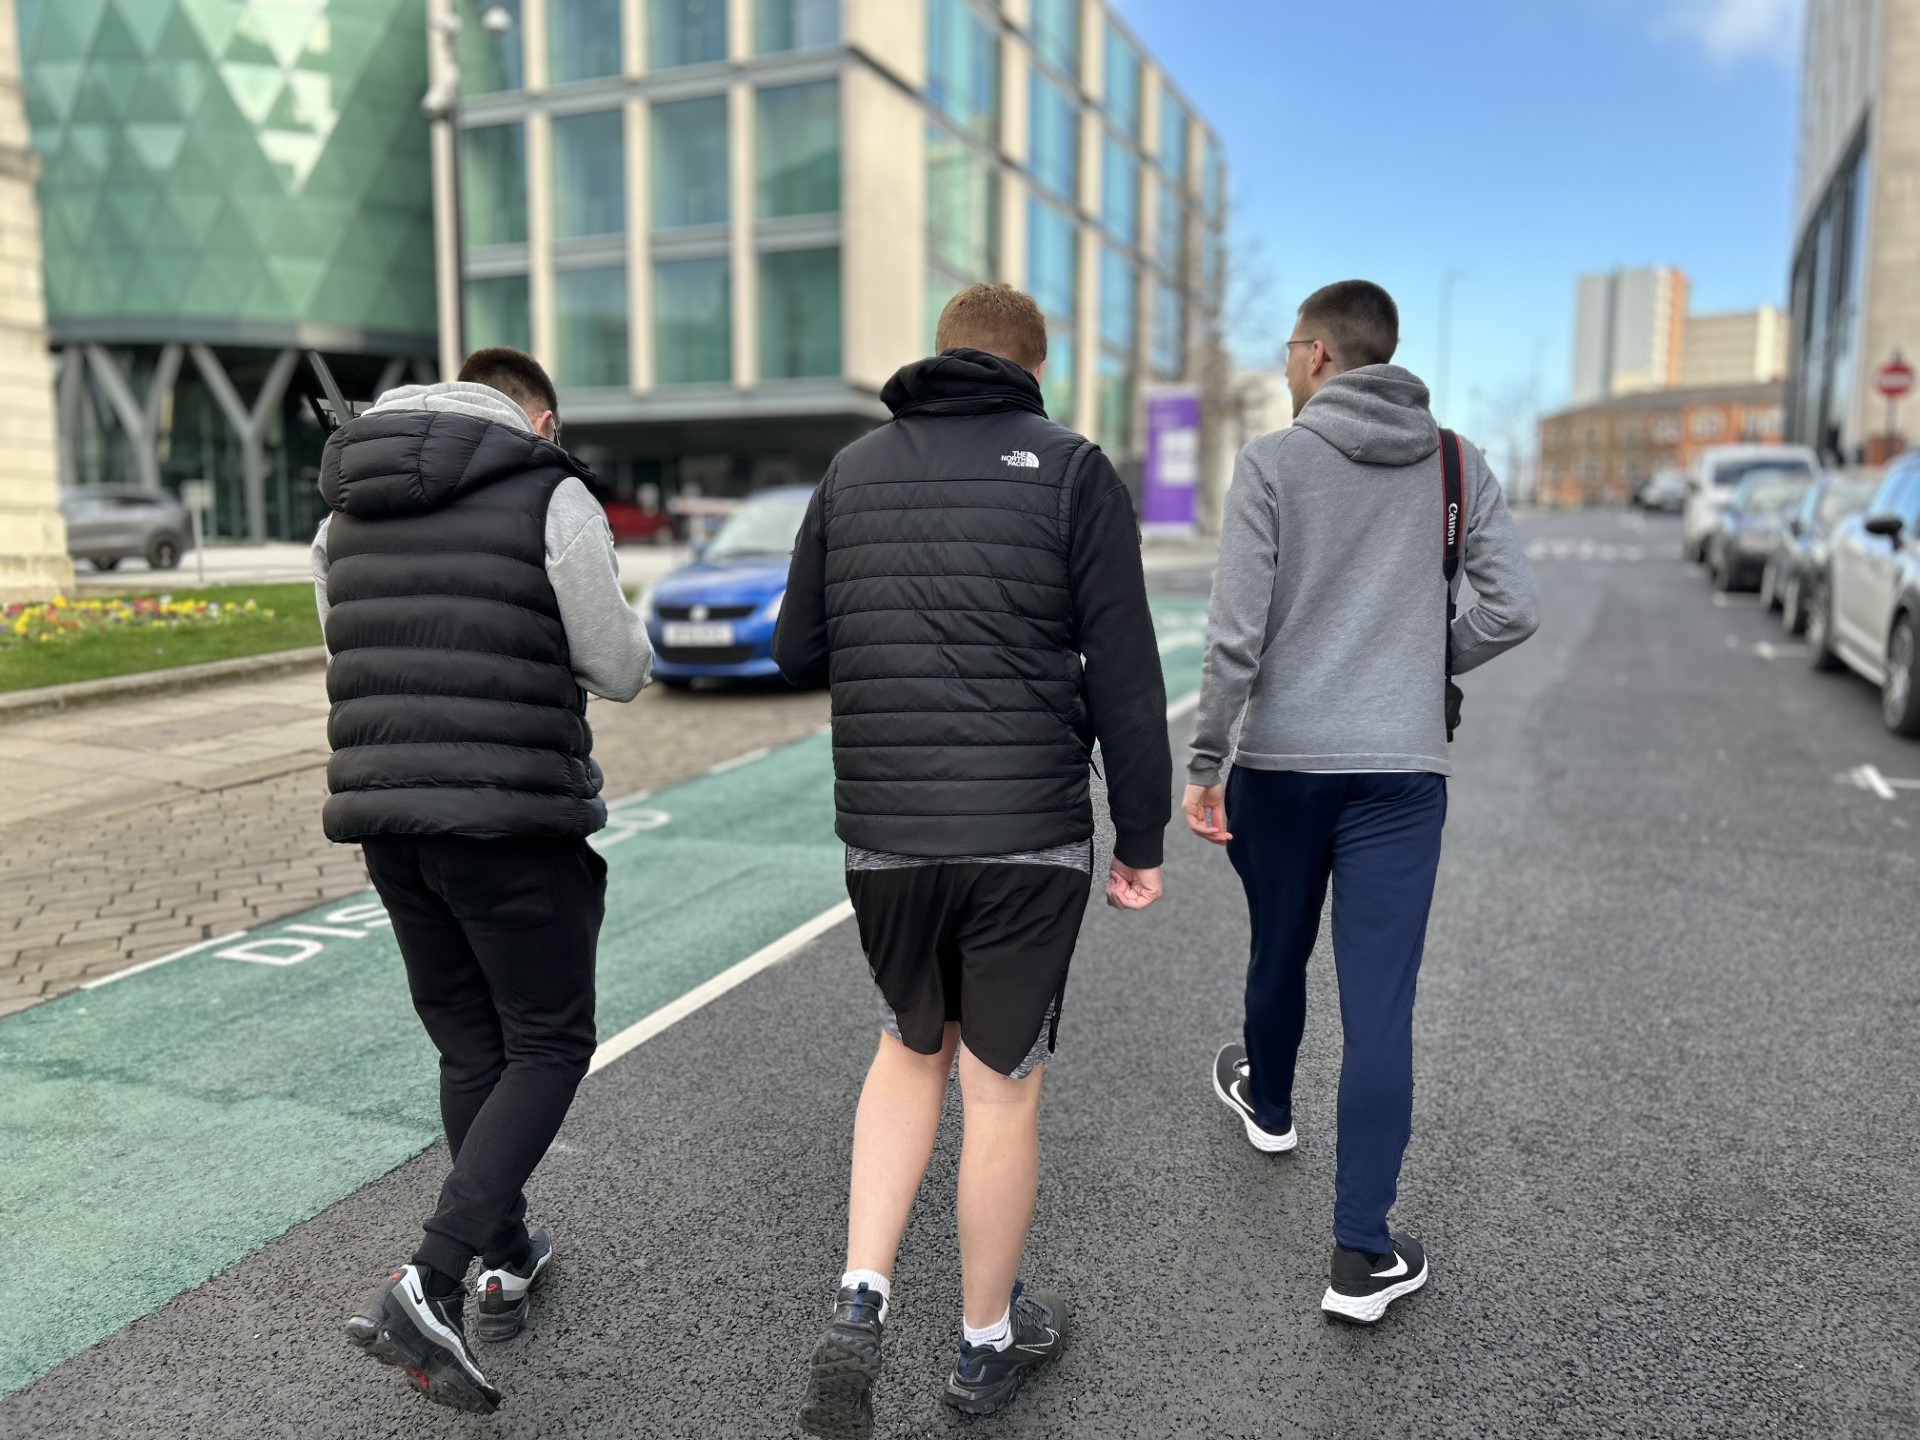
Similarly to the previous photograph, this image has all three people in focus and the background out of focus, drawing your eye to the three people. This picture was taken in low F-stop instead of medium F-stop like the previous picture.
This picture contrasts to the two previous as one person in the foreground is in focus but you can still see someone in the background despite them being out of focus and blurry. This was taken with a low F-stop.

This photo is another case of having low F-stop, making the person the focus of the image and the monument in the background blurry.

You must be logged in to post a comment.