Research on shutter speed and ISO – Week five

After learning more about the impact that shutter speed and ISO has when taking an image. After learning this for my final project I think both could be vital to my work. This is because if I take action shots of players playing football the higher the shutter speed the better the image may look as I could capture the ball in shot as well as the player. But also a slow shutter speed could allow me to have other players in action blurred in the background whilst the main subject is still. The ISO could also be important if I wanted to capture shots inside the tunnel or the changing rooms.

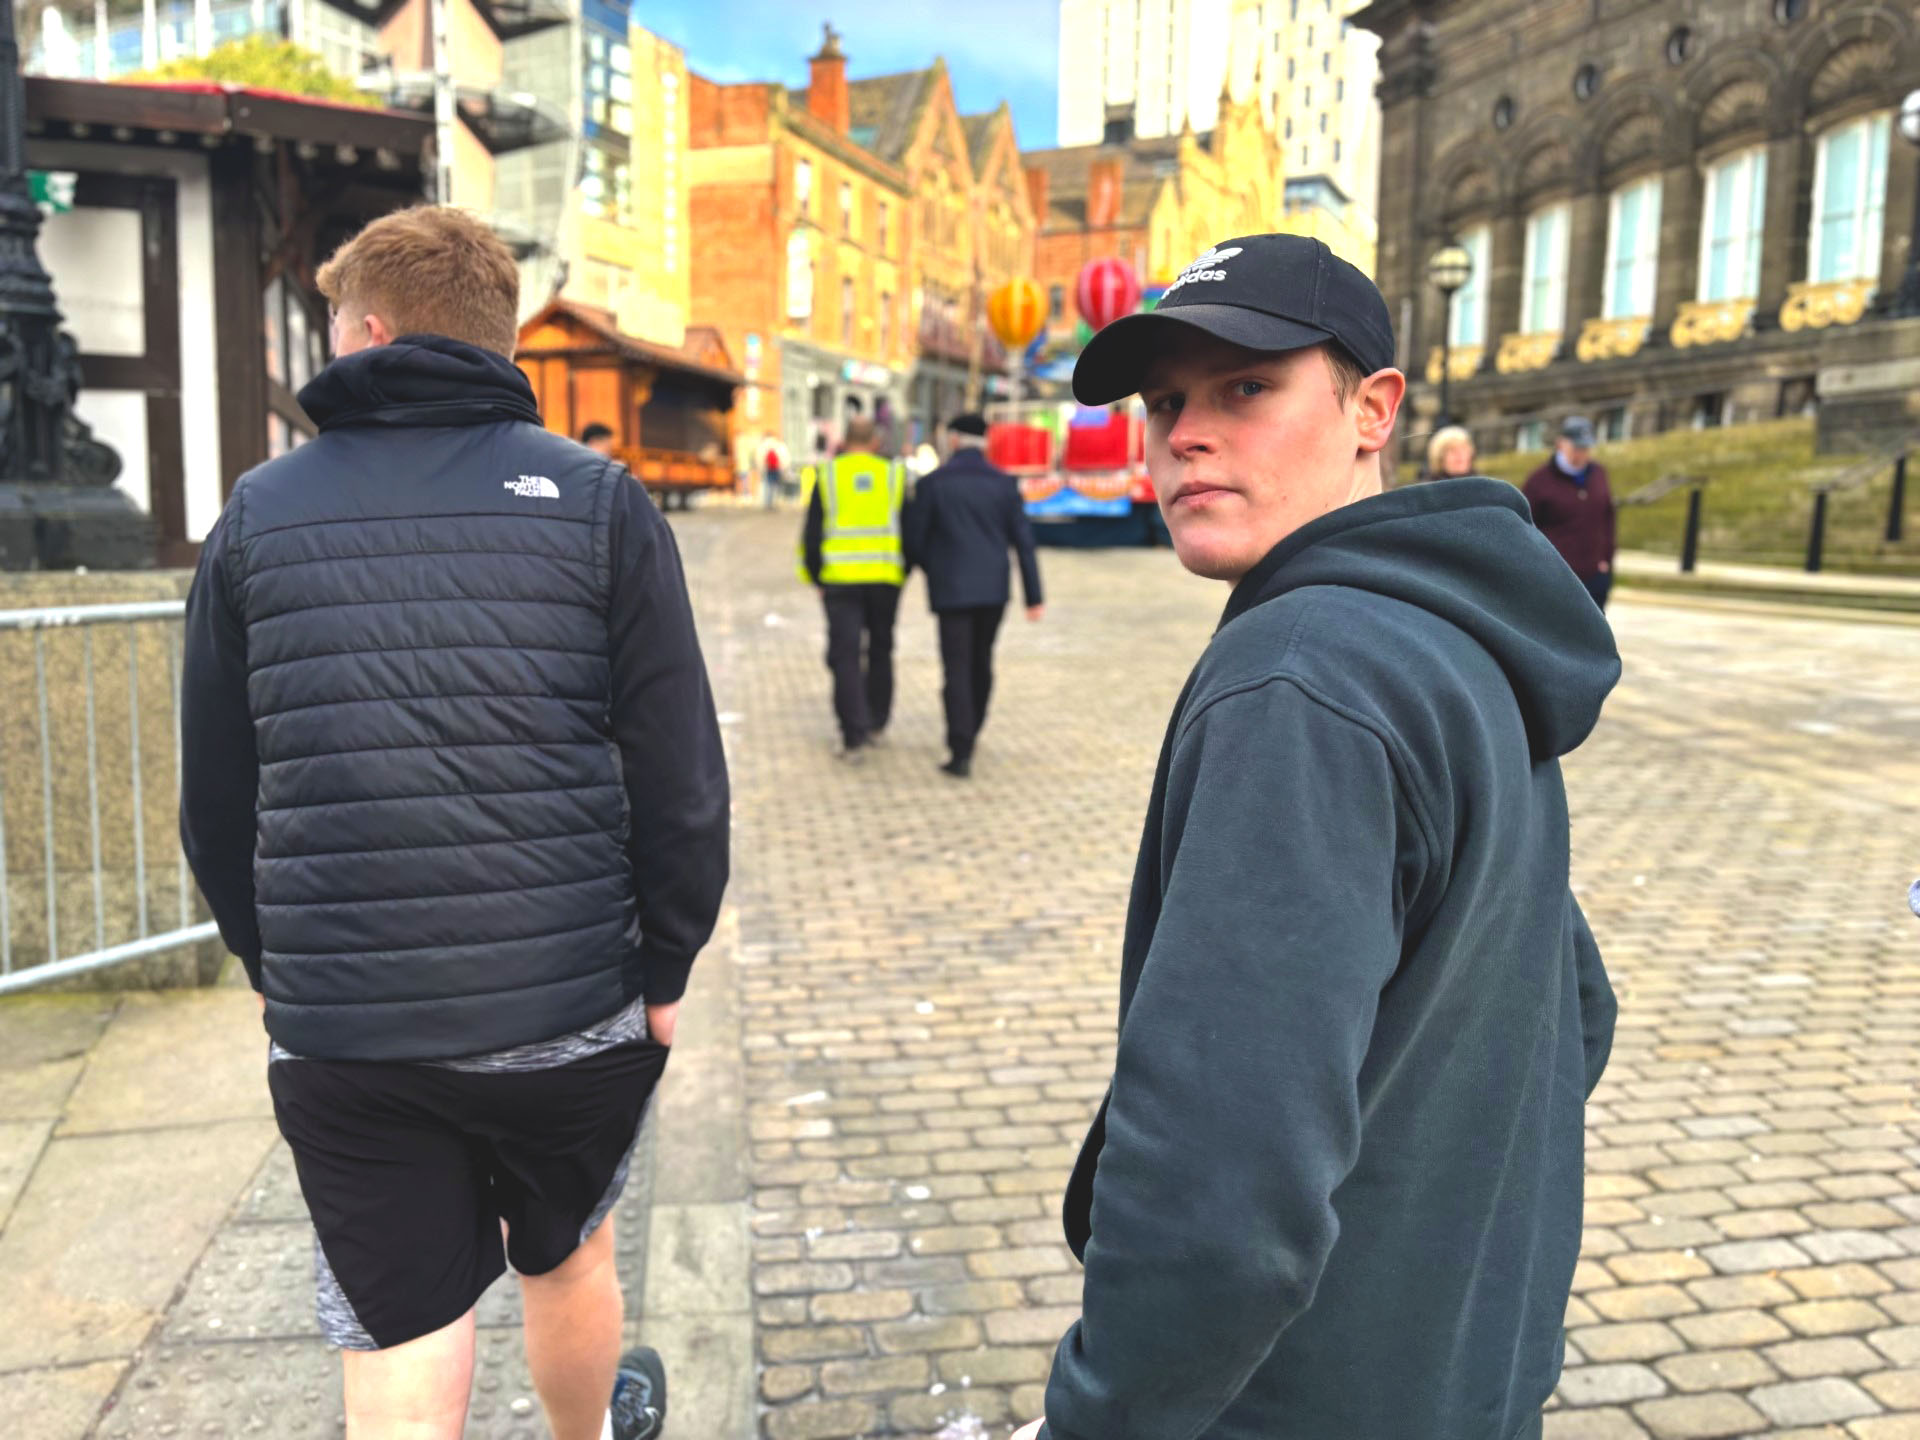
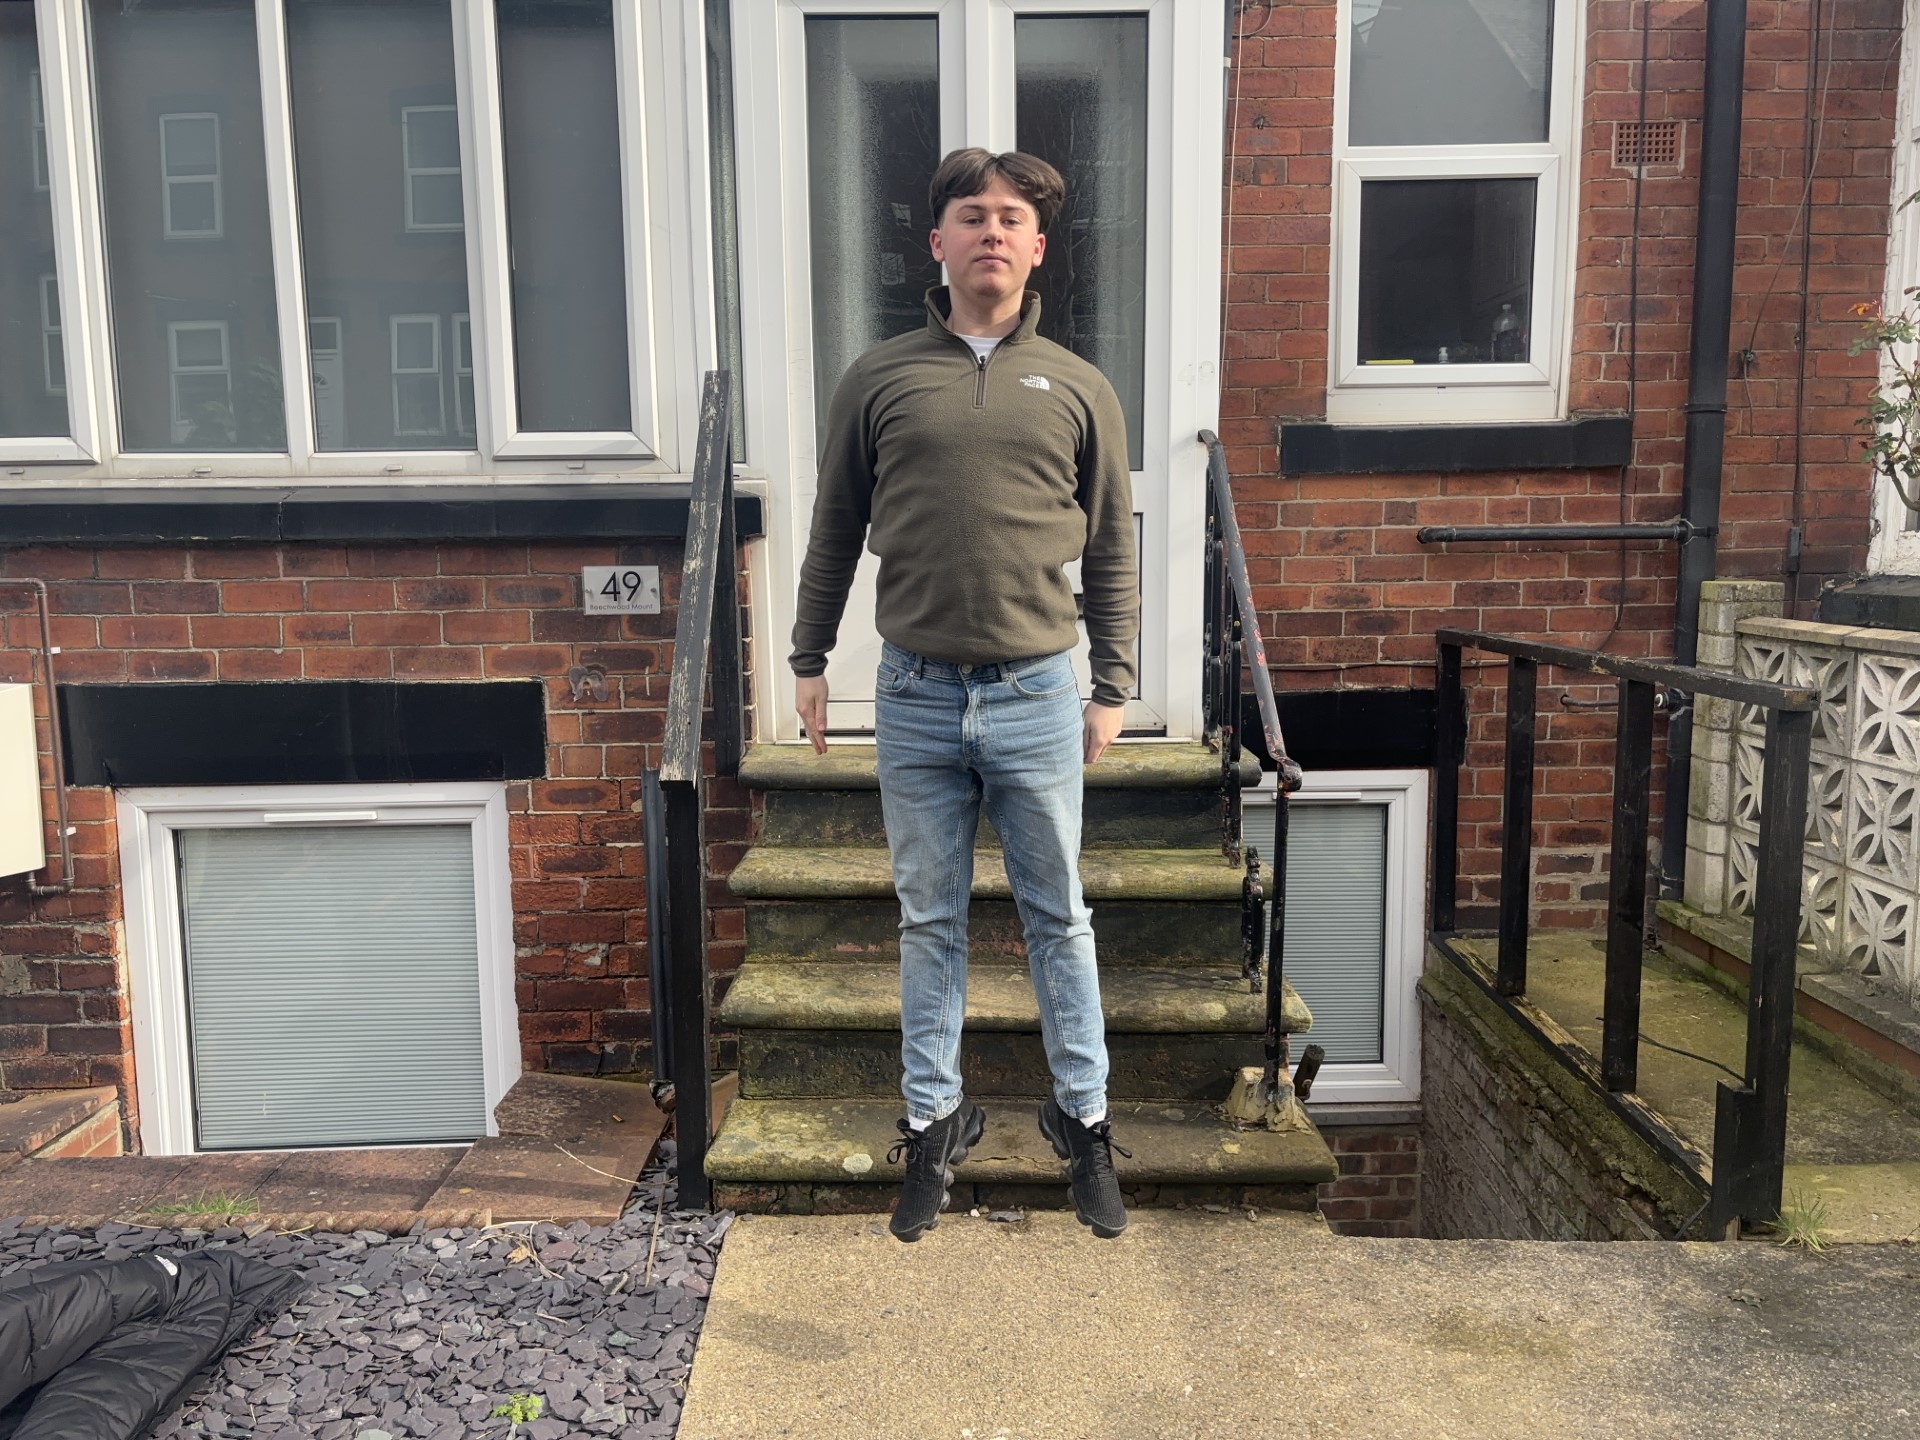
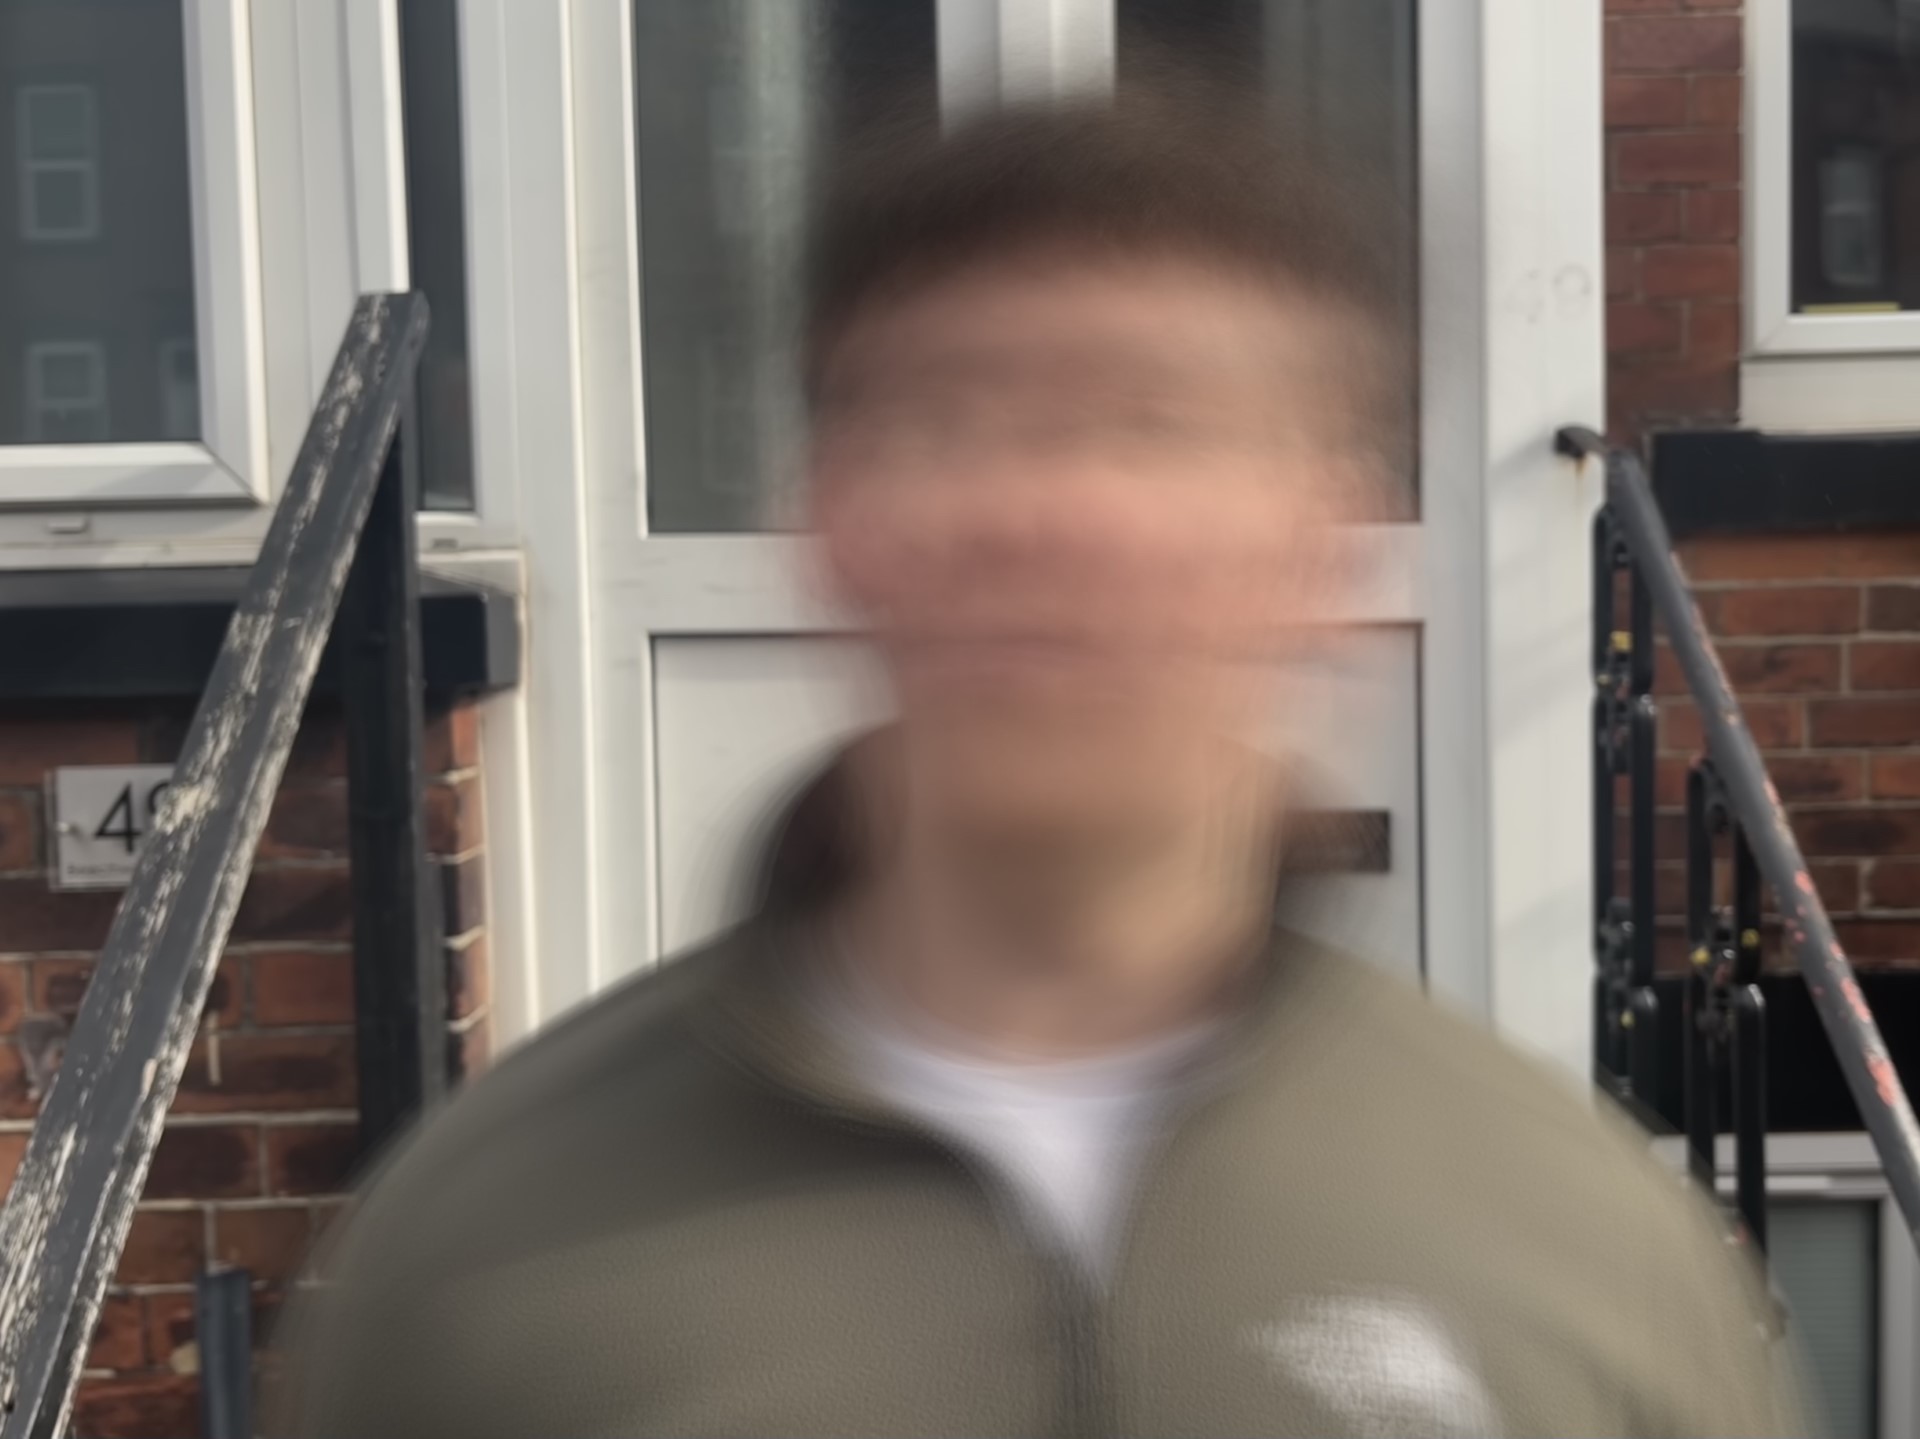
After looking into the shutter speed more I found that the best setting to get the best images is 1/1000 as this will allow the action shot to be frozen but in order to do this having good lighting is key in order for the image to remain crisp if it is not good lighting then the shutter speed should be lower. Although most sports photographers use a high shutter speed having a low shutter speed could also be used. This is in the case of cycling in order to give a blur to the image which could ultimately highlight the speed that the athlete is travelling. So using this I could also use a slower shutter speed to create a motion blur in football to capture the speed the players move.

Week eight reflection

For this week it was about understanding RAW images and how to deal with them and create a workflow that works best for me. After discovering that RAW images maintain better quality but are a bigger file size than the JPEG files. So in terms of my project this has made me consider shooting with RAW images as the quality would be better.

For the task this week my phone didn’t allow me to shoot in RAW so I used the photo that was given to us. After downloading the image I saved it as something that I would be able to find in my files easy. Then once I began editing the image I started with the exposure and brought this down as the image was too exposed. I also experimented with the contrast and found that it worked best when the contrast was increased slightly as it made the model appear less pale and enhanced the colours. This was also the case when experimenting with the highlights as it dulled the background slightly and enhanced the model.

After editing RAW images for the first time I do feel more confident in using RAW images and will be considering it when producing images for my project.

Week seven – Reflection

This week was all about the post production of images and using more editing tools with photoshop. This was a helpful exercise I am not the most confident with photoshop so being able to get used to the software helps me feel more confident with the tasks.

Firstly, I had to choose two images to use for this task. I decided to pick images that I know I would be able to edit the background and the main focus of the image. So the first image that I choose was someone tying laces on a running shoe. I wanted to make the shoe much brighter than the background and stand out. So in order to do that I selected the objection selection tool and highlighted the shoe and the sock only. This then allowed me to make the focus of the image much brighter whilst also maintaining a dark background.

For my second image I choose an image of poppy wreaths as I had the idea of making the background black and white and keep the wreath’s red. To do this I had to use the eraser tool to erase the background and then I used a new layer tool for the wreaths to make the saturation slightly more red. I also created a copy of the background as a new layer and made this black and white to create this effect. After doing this task I do feel more confident using photoshop as I was able to experiment with it.

Post production – Week seven

I decided to choose these images to edit because both originals because I knew I was able to adjust the background and the main focus of the image.

A Nike running shoe up-close and someone with gloves on tying their laces.
Before
A Nike running shoe up-close and someone with gloves on tying their laces.
After

For this image I was able to select just the shoe and his sock and added a brightness layer. I then made his shoe slightly brighter and also changed the contrast which enhanced the shoe. I also made the brightness of the background much duller in order to highlight the show more.

Two poppy wreath's in a plant pop with the background of the image blurred and the main focus on the poppy's.
Before
Two poppy wreath's in a plant pot with the background of the image blurred and in black and white with the poppy's still in red.
After

For this image I wanted to make the background black and white in order to add a dramatic effect. I did still want the wreath’s to be red as it is a very symbolic and stands out compared to the rest of the image.

Extra credit

A man looking back at the camera in the middle of the city with other people walking around him.
Before
A man looking back at the camera in the middle of the city with other people walking around him.
After

For this image it was more of a candid shot and was able to capture an expression. The original was a pale image so in photoshop I increased the contrast and the vibrance to add more colour to the subject and the background.

Week six – Reflection

For this week it was an online tutorial about our progress with my project and the workshops tasks. Firstly I was all up to date with the workshop tasks and have grown in confidence with the process of taking photos.

In terms of my project, this week was productive in terms of talking with both Karl and Ruth about my idea and getting a more solid idea. I initially wanted to cover Leeds United Women tam but was unsure on a particular angle. After speaking I was able to narrow my angle down to the positives of playing for such a big club but also the pressures that come alongside playing for a club like Leeds United. I also found that for the story I am covering getting more action shots will work better for the story as it is all about playing for Leeds United.

Week five reflection

In this week’s workshop it was slightly different as it was online. After learning more about shutter speed and ISO I feel like shutter speed is going to impact the way my project will be. As it allows you to capture moving objects without being blurry and as I’m focusing on sport this will allow me to capture the players running but also attempt to get the moving ball in the picture too. Also the use of ISO will be key as if I’m shooting outdoors I should have the ISO between 100-200 in order to get the best lighting.

When completing the task set this week I got my subject to jump in the air and I used the burst mode to allow me to select the photo where he was in the air. At first when I was taking these images my subject was jumping out the frame so I took a step back and was then able to capture his full jump.

For the next photo I used the live photo feature to take a portrait of my subject shaking his head fast. I tried a couple of times from a different distance to see what worked bets. After finding the right distance I took a live image and then added the long exposure to it after the image was taken. I think this gave a good result of the speed he was shaking his head as it added a blur however I would have liked the rest of the image to be in focus so next time I will aim to try that.

Week five – Mobile task shutter speed

When attempting to capture the model mid air I used burst mode on my phone so that I had a series of images that I could choose from in order to capture him mid air with a steady shot.

A man in the middle of a jump his feet are off the ground and he is jumping in front of a house.
A man mid jump. Photo by Oliver Mould
This is a blurred image of a person who is shaking hi head fast in front of a door.
Someone shaking their head. Oliver Mould

Rather than capture a still image the aim of this was to capture the speed of someone moving. I decided to get the model to shake his head and using the live photo on my phone I was able to create this image. It doesn’t give as good a result as a camera might but it still captures the movement using the long exposure effect on my phone.

Week four reflection

In this week’s workshop the main topic of the lesson was on the focus and aperture on a camera and also a phone. Prior to this I didn’t know about the aperture and what it actually did when taking a photo.

So after discovering that the higher the F stop the more light it lets in meaning that the image will capture more in focus whereas a lower F stop will blur parts of the image and only focus on what you would like it to focus on.

We were then given a task to go outside where there is natural light and try change the aperture on our cameras in order to capture one with the highest, lowest and middle setting. As I have never used this before I took multiple photos of objects and models around the town. After struggling at first to get the right distance and angles for different shots I then felt comfortable to get the three images that the task required.

When I was taking these images I used the burst mode on my phone so that I could select the best image after and did this for the different F stop settings. I think in the images I was able to focus on the model well and capture his expressions by blurring the background but then using the higher F stop setting this captured everything.

F stop – Week four task

An image with a war memorial in the background but the memorial is blurry and the main focus is on the model stood in front.
Jude with a narrow depth of field

For this image I had the model stand infront of a war memorial stand with poppy wreaths laid out. I used a low F stop in order to focus on the model and his expression whilst the memorial was blurred but you can still make out what is in the background.

An image with a persons arms folded and a war memorial slightly blury in the back with poppy's laid out.
Jude middle depth of field

For this image I had the model stand in the same position but this time changed the F stop to 6.0 in order to capture more of the background as the depth of field was slightly wider but the main focus was still on the model rather than what was in the background.

A model with his arms folded and a war memorial in the back with poppy's laid out.
Jude long depth of field

Finally for the last image I used a larger F stop so that the whole image was in focus including the war memorial and throughout these images I attempted to use the rule of thirds with the model to one side in order to capture everything in the background and this technique is particularly important when there is a wider depth of field as it is focusing on the whole image.

Extra credit

A poppy wreath in a pot of soil with crosses standing up in the soil and car passing by in the background that are blurry
Small F stop
A poppy wreath in a pot of soil with crosses standing up in the soil and car passing by in the background that blurry but the main focus is on the wreaths
Medium F stop
A poppy wreath in a pot of soil with crosses standing up in the soil and car passing by in the background
High F stop

For this task I chose the wreath as the main object and through the three images I altered the F setting on my phone in order to change the focus of the image but thought this image was more interesting than some of the other images of objects that I got.

Week three reflection

Within this week the aim was to understand some elements of photoshop, mainly focusing on the process of cropping but also looking at the correct process on uploading onto WordPress.

We were able to learn about the different formats that photos are in and the impact that each of these have such as the differences in quality between a GIF and a JPEG. After discovering JPEG is the most common to use we learnt how to edit images in photoshop which was beneficial as I have never used photoshop so going into the task I wasn’t confident using photoshop.

The task was to change an image from portrait to landscape using the images provided. I decided to use the image of someone cycling as I could see a good landscape crop that I could use. Doing this I felt confident using the crop tool and making sure the ratio was the right size. I was then able to upload this onto WordPress along with a descriptive Alt text and caption. Learning this particularly helped as in the first week task my images were portrait so I was able to edit them in photoshop for the second part of the task. The photos didn’t particularly crop into landscape amazing but I was able to find a crop in order to make them landscape and then apply them to my article with a caption.