Week 9 and week 10
In week 9, I started planning detailed steps for my project. I created a to-do list and specific timeline for each task, including:
- Finding interviewees and sending interview requests (week 9)
- Interviewing and writing a feature (week 9 and week 10)
- Creating storyboard and mood board for shots (week 10)
- Shooting and editing photos (week 10 and week 11)
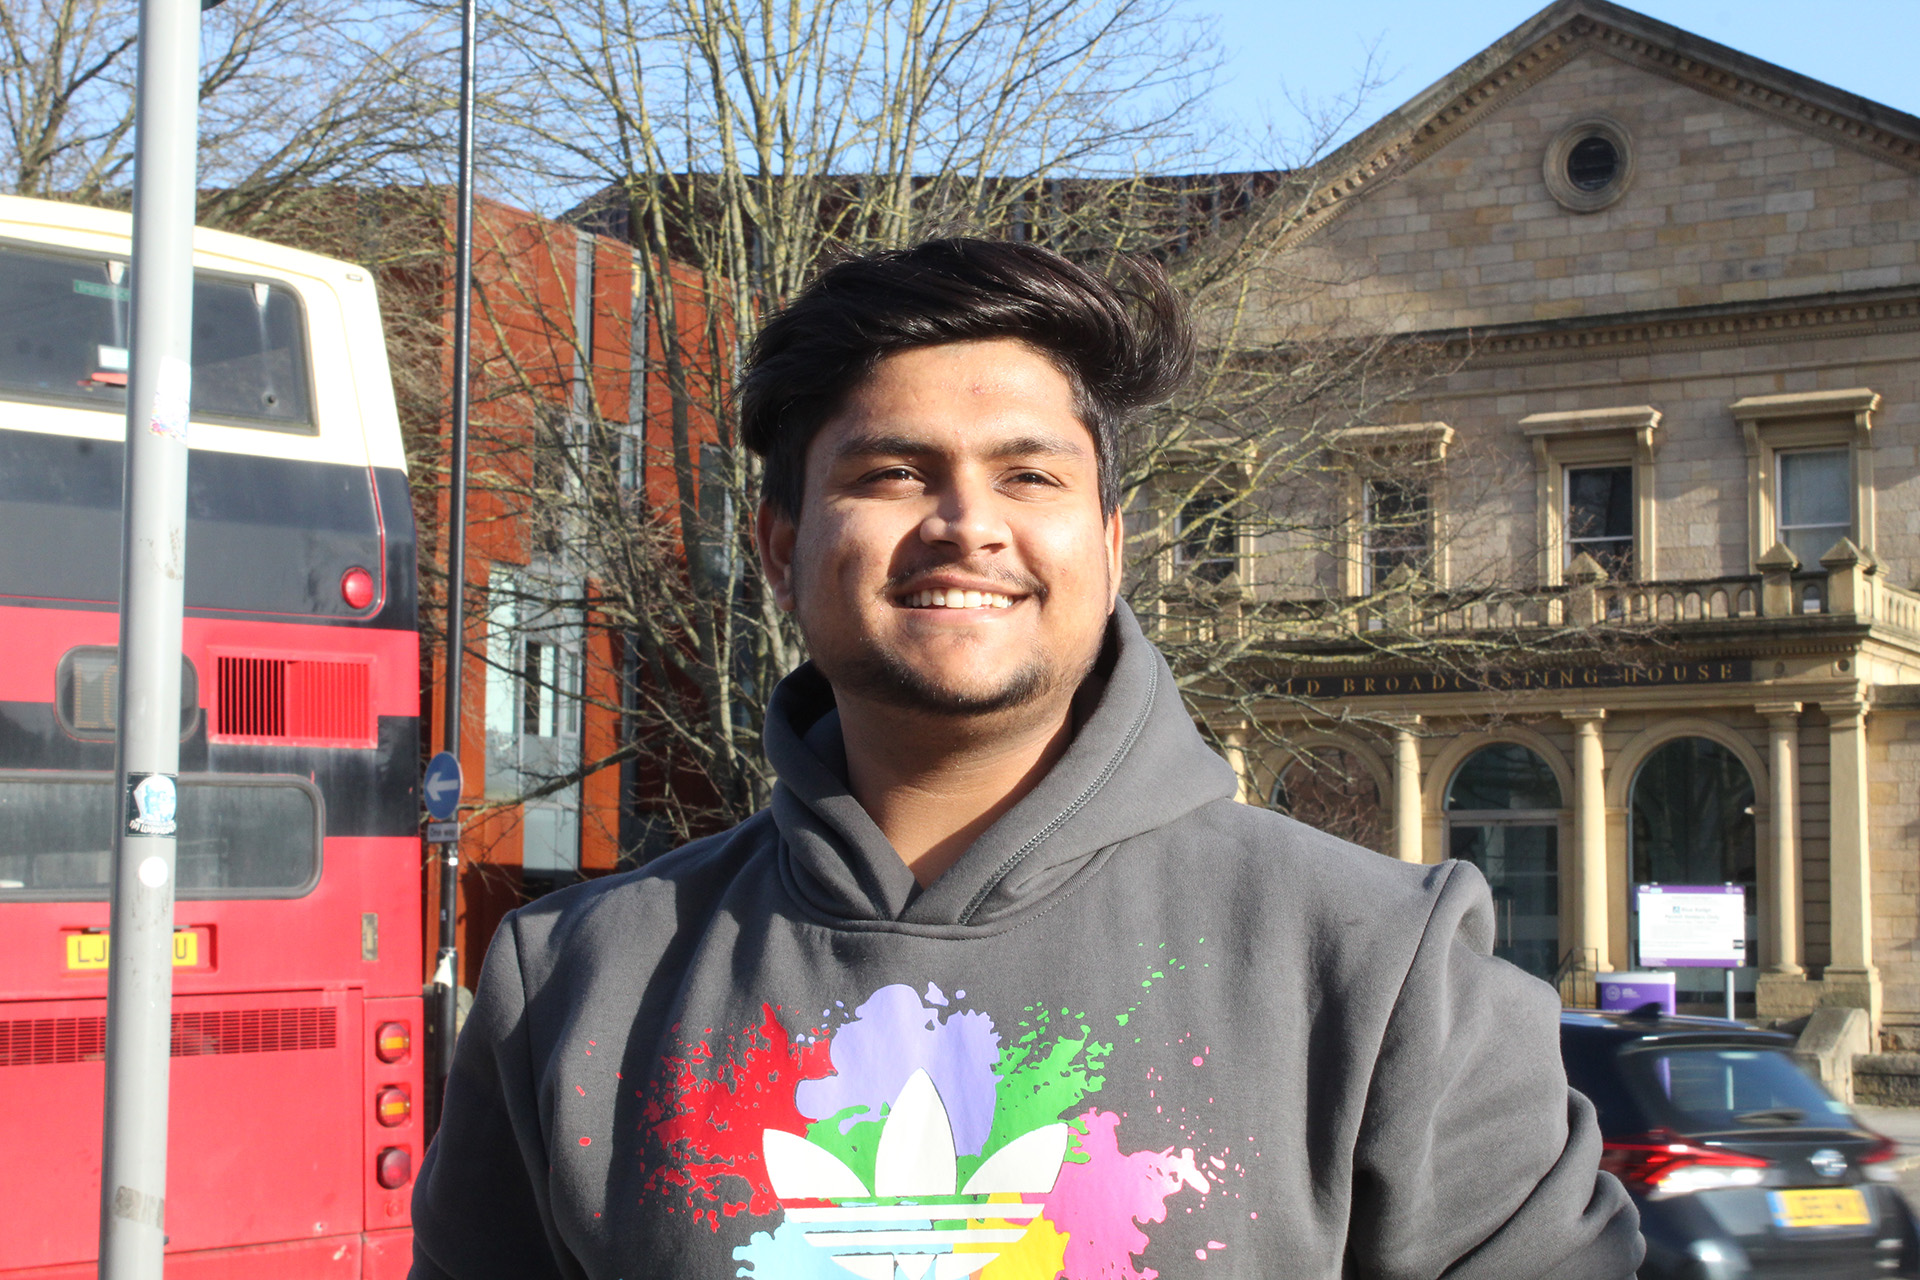
I started finding students who dropped out of the courses at Leeds Beckett University through my connections. I sent some of them my requests. However, my classmate suddenly introduced me to her friend studying at Leeds Trinity University. She had enrolled in the University of Leeds then she dropped out to study Broadcast Journalism at Leeds Trinity. I thought it might be a good idea to interview her as she had experiences at two different universities so she could provide more interesting insights. I then contacted her and we had a long conversation through Teams.
As her story was very unique and interesting, I decided to write a feature solely about her. For my piece, I got in touch with Leeds Trinity University. I found interviewing a university spokesperson to be the most challenging. I had to remind them several times a day because the institution needed a lot of information and promised to provide me with written responses to my inquiries via email. Eventually, though, I received a lengthy written response from them answering my interview questions. However, the spokesperson did not allow me to reveal their name, so I simply referred to them as “a spokesperson from Leeds Trinity University”.
Similar to the situation of the Leeds Trinity representative, the two councillors I reached out to were preoccupied with election preparations. I had to phone the office as a result, and happily, one council member accepted my request for an interview. Following these two incidents, I concluded that persistence and determination are essential for effectively approaching potential individuals for interviews. I then started writing my article and overall, I did not face big challenges while writing as I was used to feature writing.
Week 11
After three interviews and finishing the article, I started to think carefully about the way my images would look like. I decided to only do illustrative photography since candid photography requires a lot of skills and is a bit risky. I found inspiration from the Internet and then created a sample mood board and storyboard before the actual shooting day. Me and the student from Leeds Trinity had planned to have the photoshoot this week. However, she was feeling unwell during the day and she was busy with her study so we had to move it to week 12.
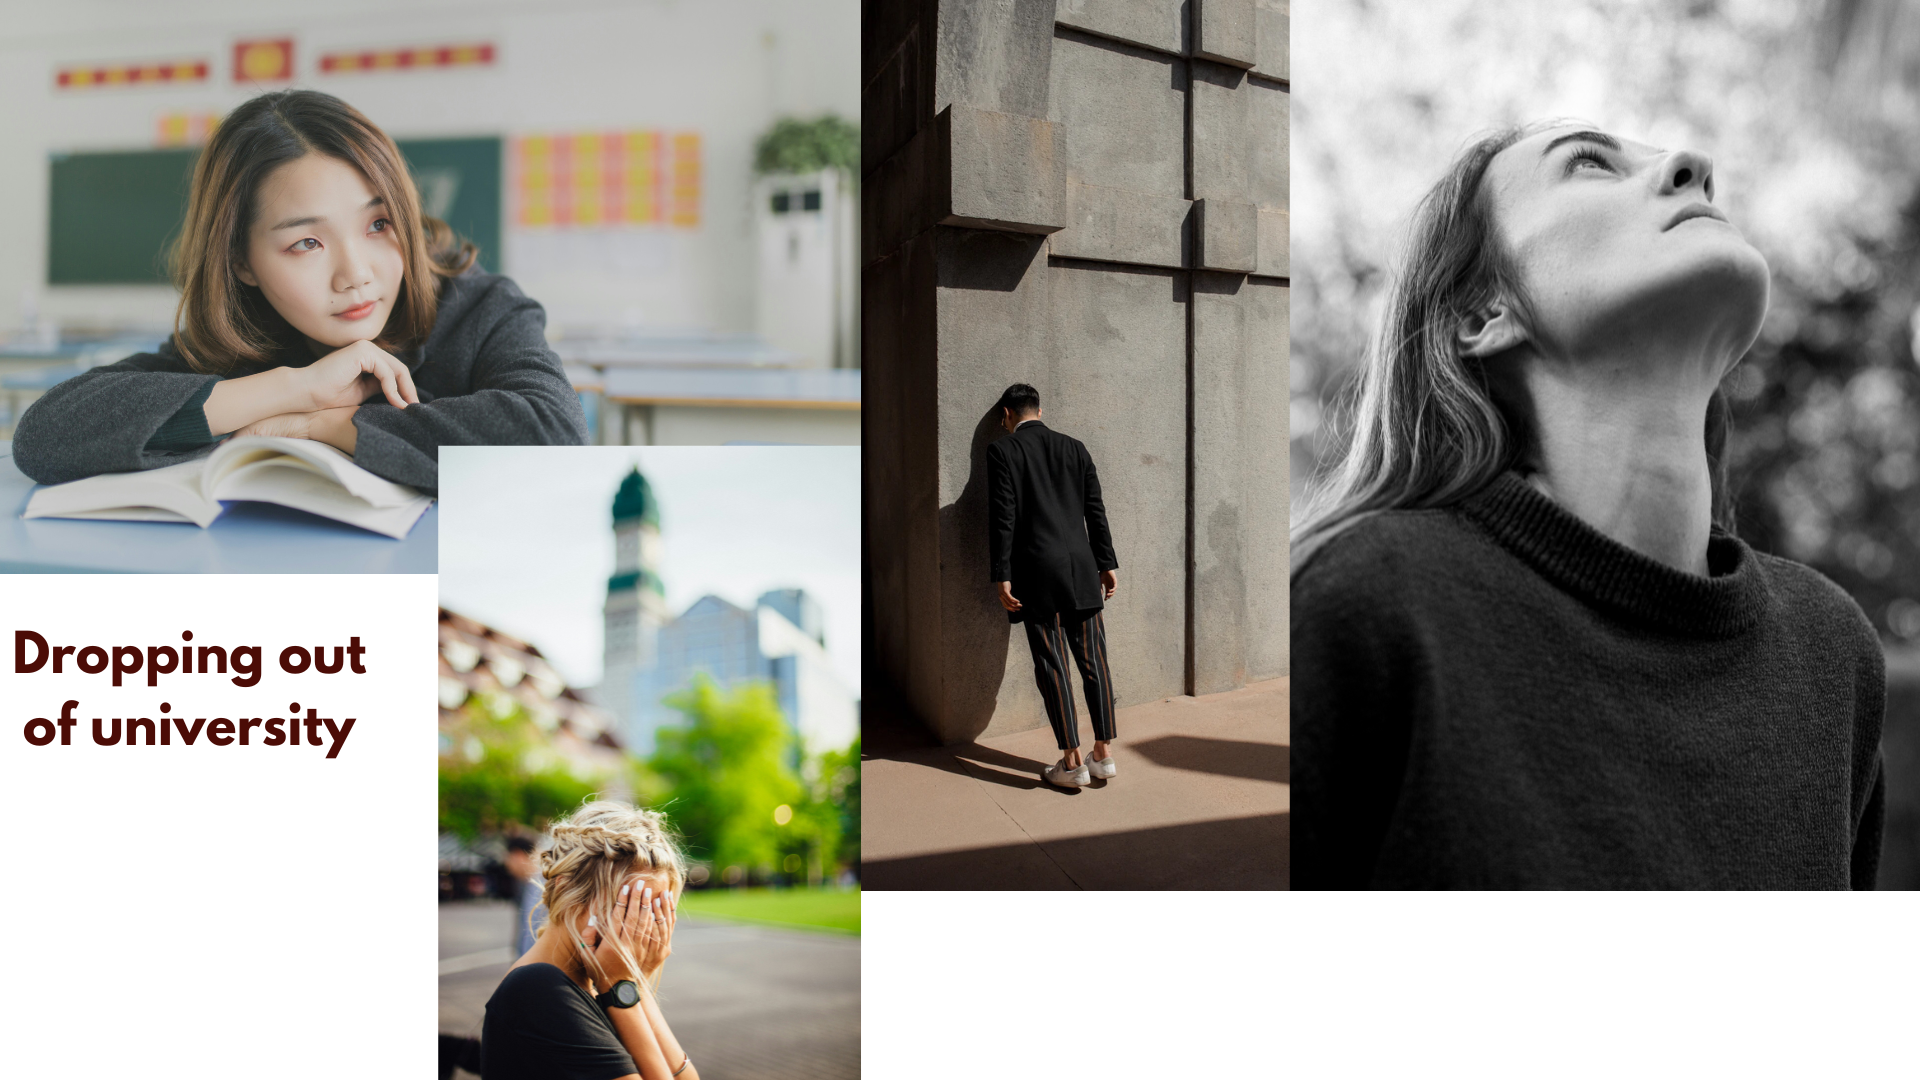
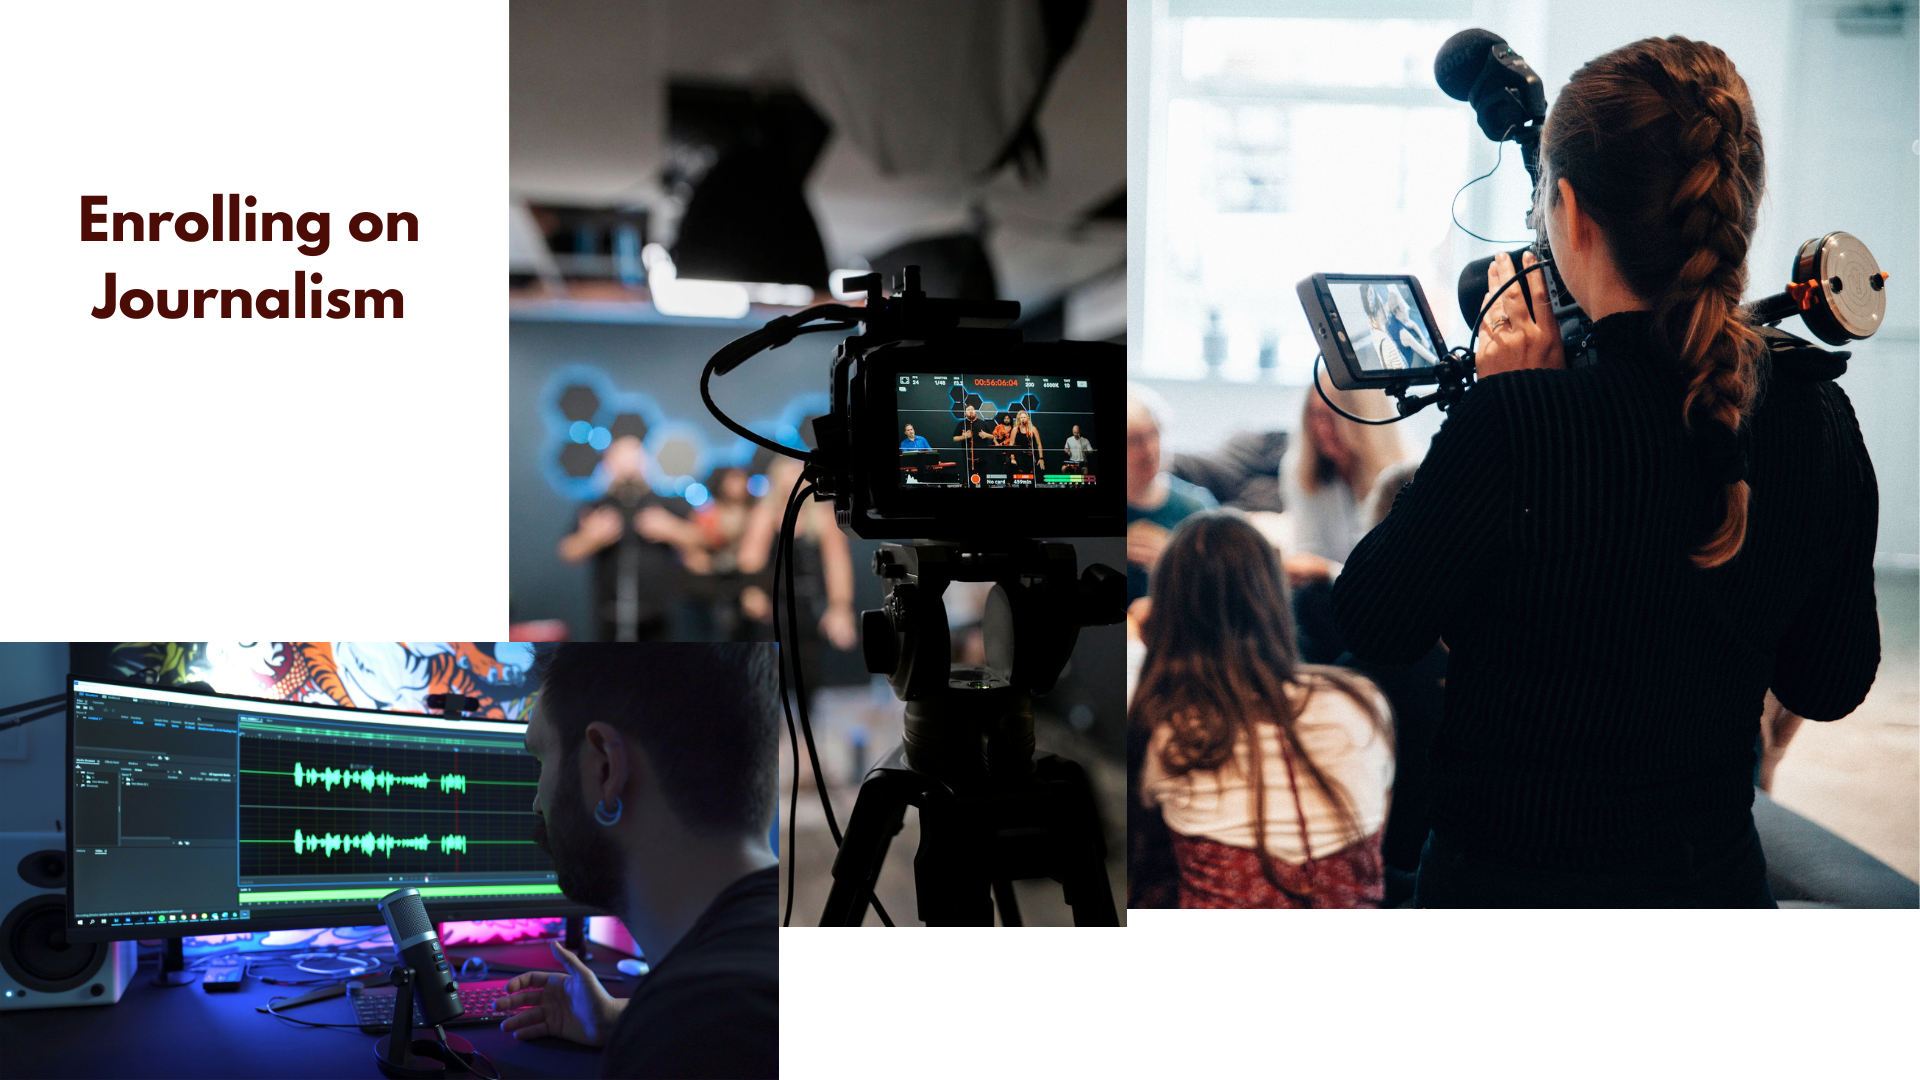
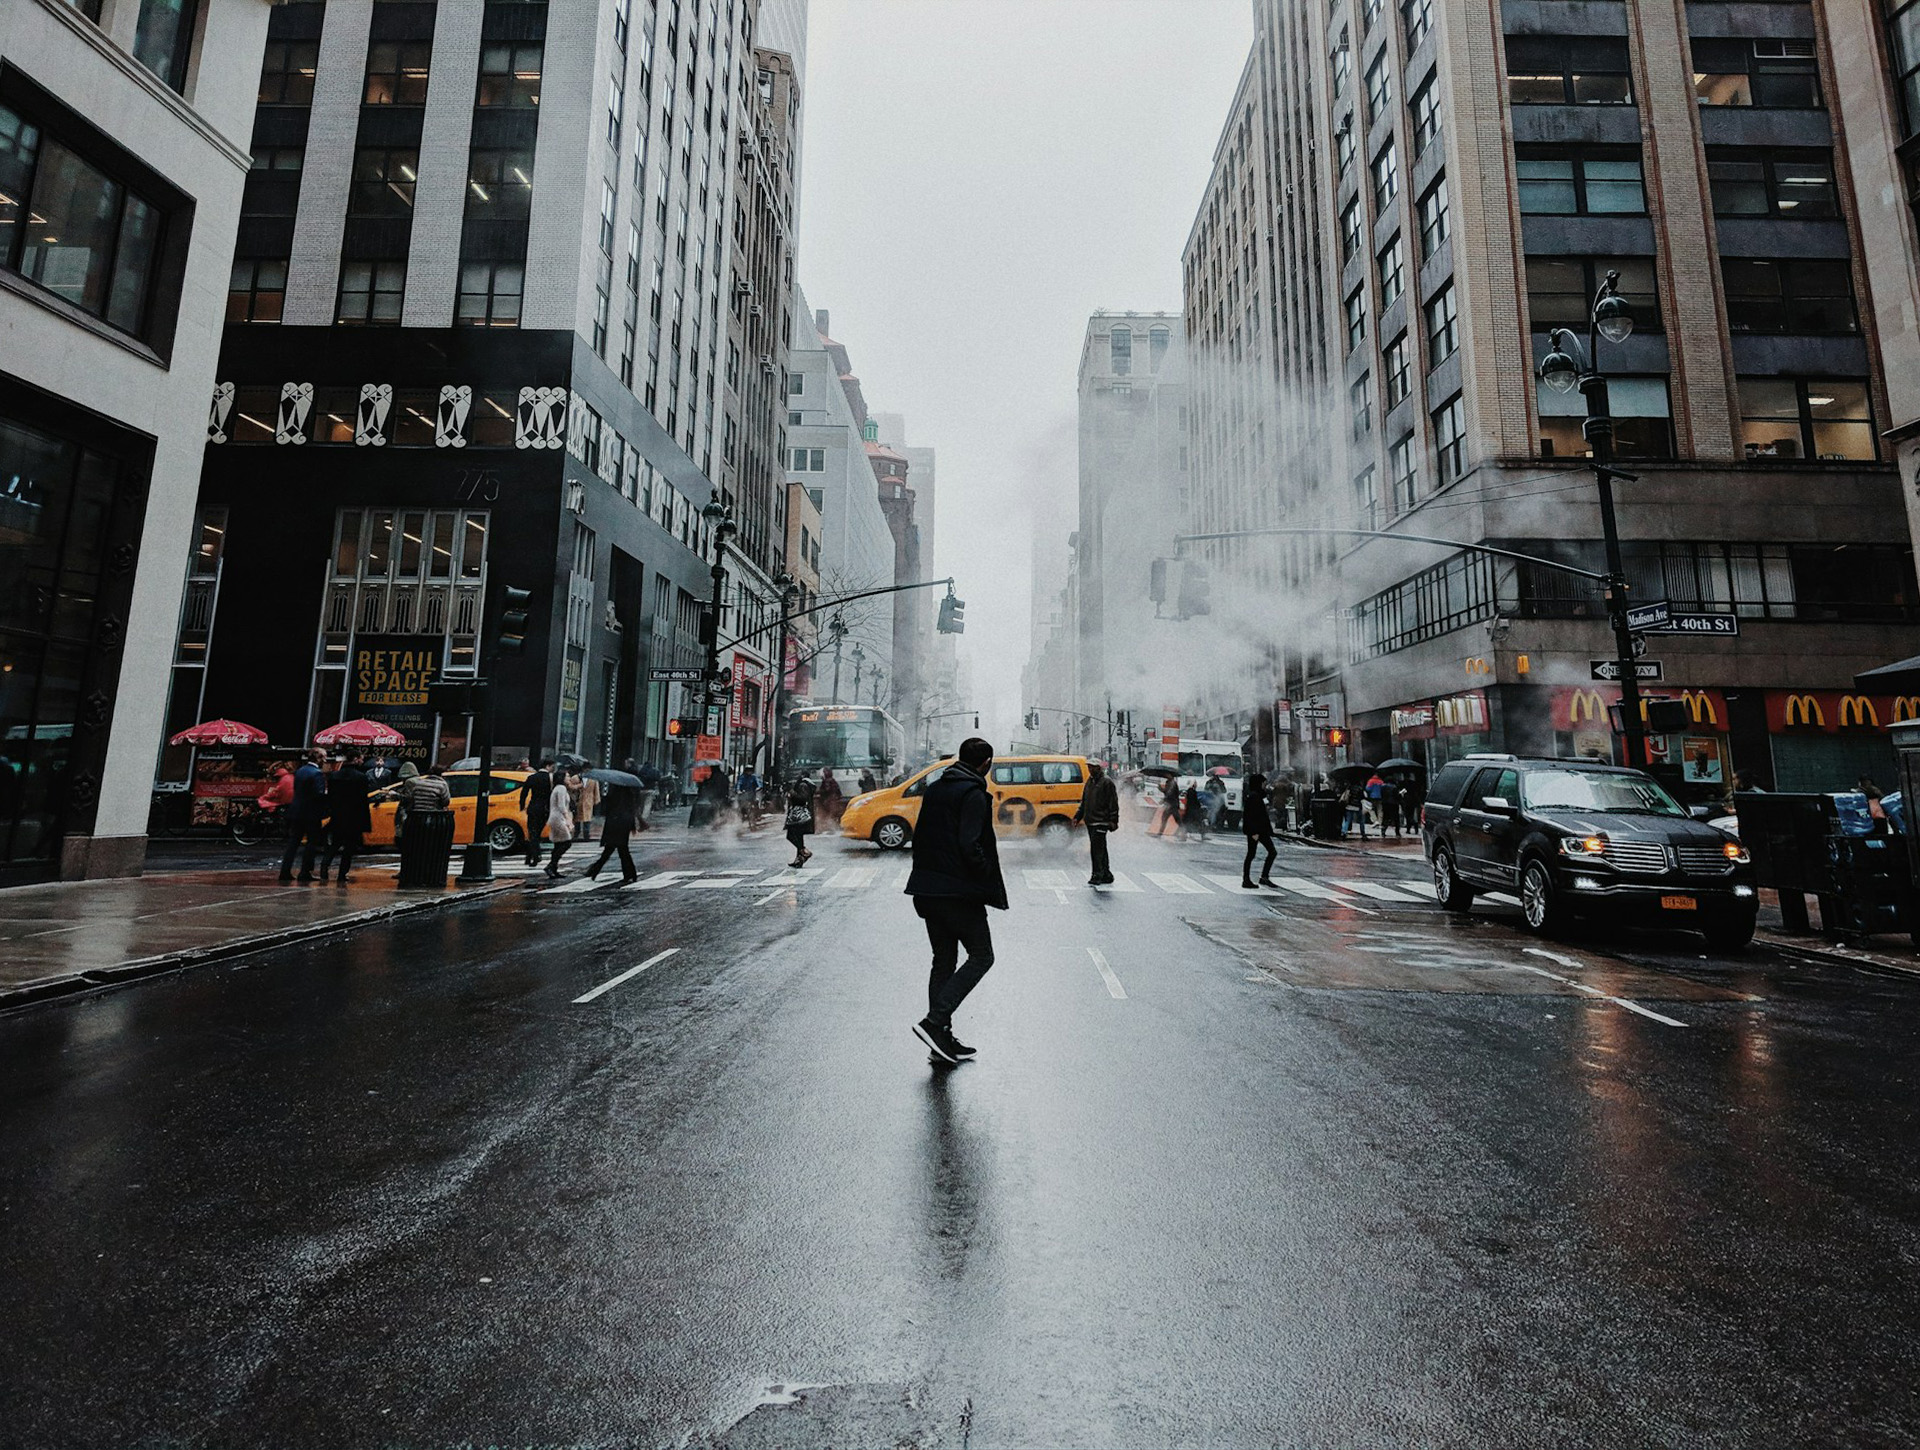
My mood board (All the photos in this mood board are copyright-free and taken from Unsplash)


Camera techniques research
- High F-stop aperture level: To make the background clear and visible, adding context to the photo.
- Low F-stop aperture level: To add more focus to the subject such as the expressions of the subject.
- Slow shutter speed: To create an effect to show the confusion during the stage of finding the right path
- Lighting: Natural lighting
- Medium close-up shot: This shot is often above the elbow. The upper part, if there is a head gap, is also very small.
- Close-up shot: The shot is close to or into the details of the subject. It is used to emphasize, or direct focus to enhance the topic and remove excess details from the frame.
- Extreme close-up shot: It focuses on specifying a part of the body such as the eyes, hands or a part of an object. Enlarge details to clearly show the intent of filming, and show the climax of the event.
- Low-angle shot: The camera is placed below a character or spot, showing the character’s power and dominance.
Week 12
Photoshoot
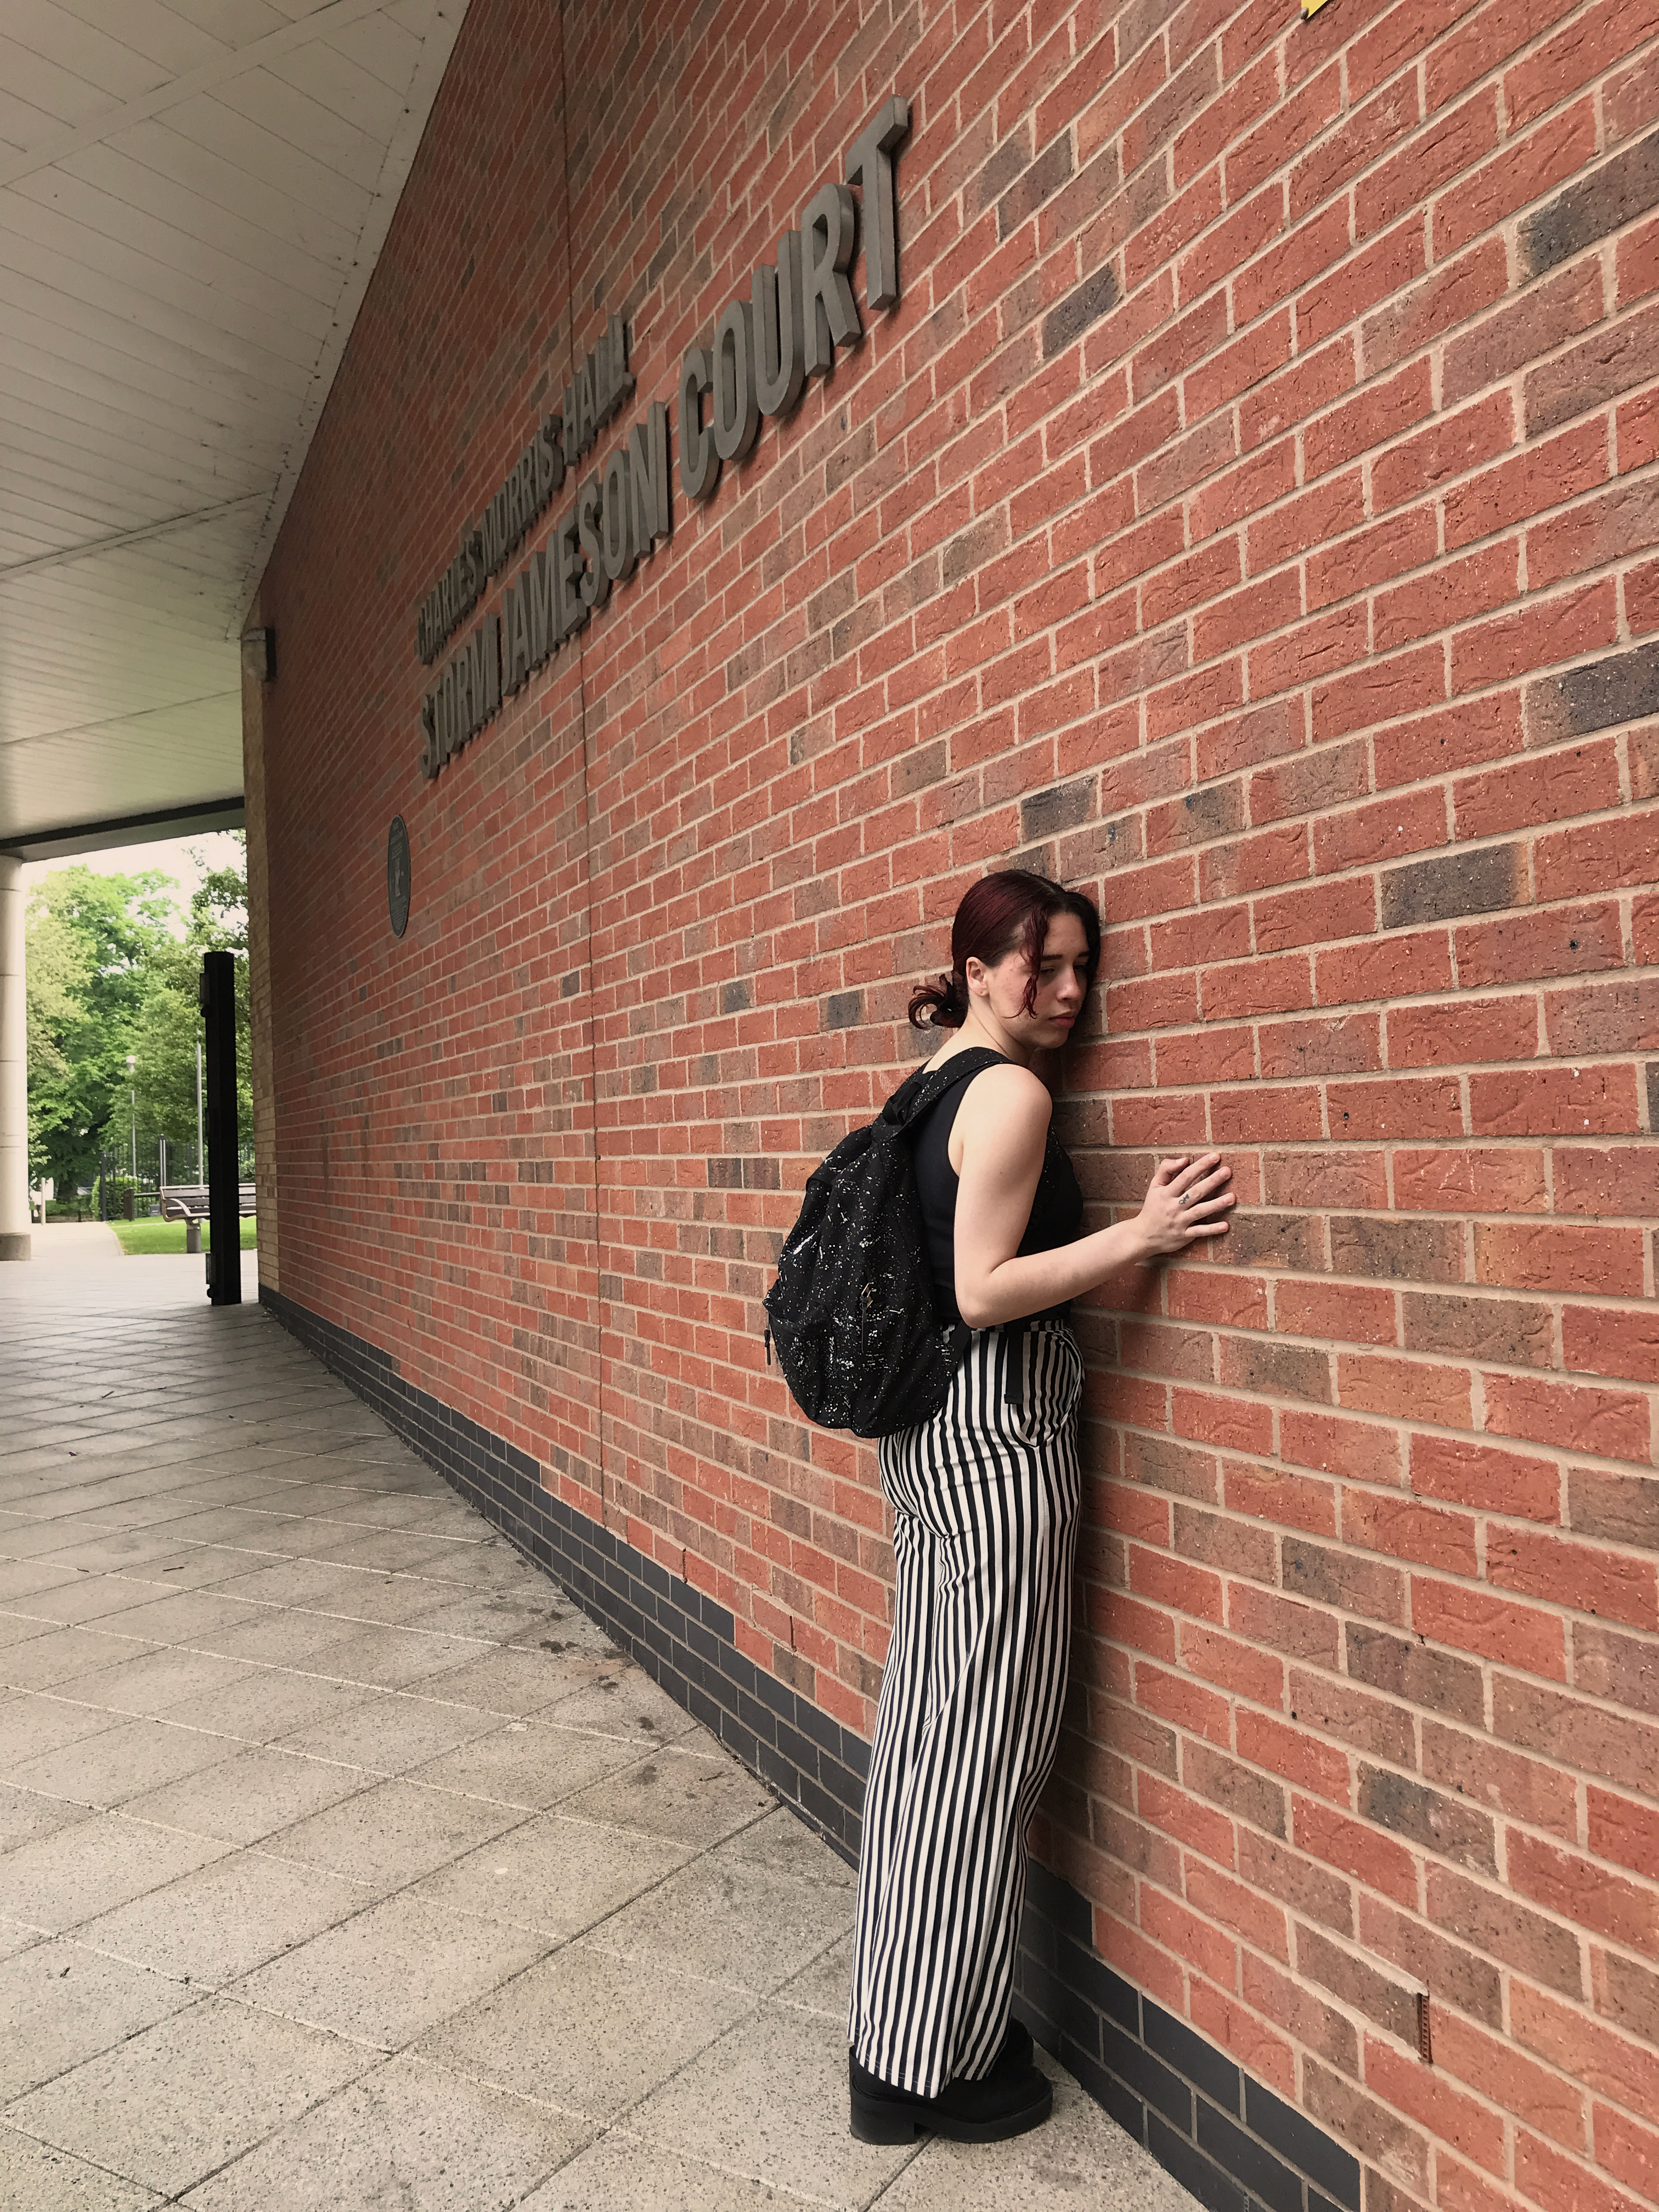
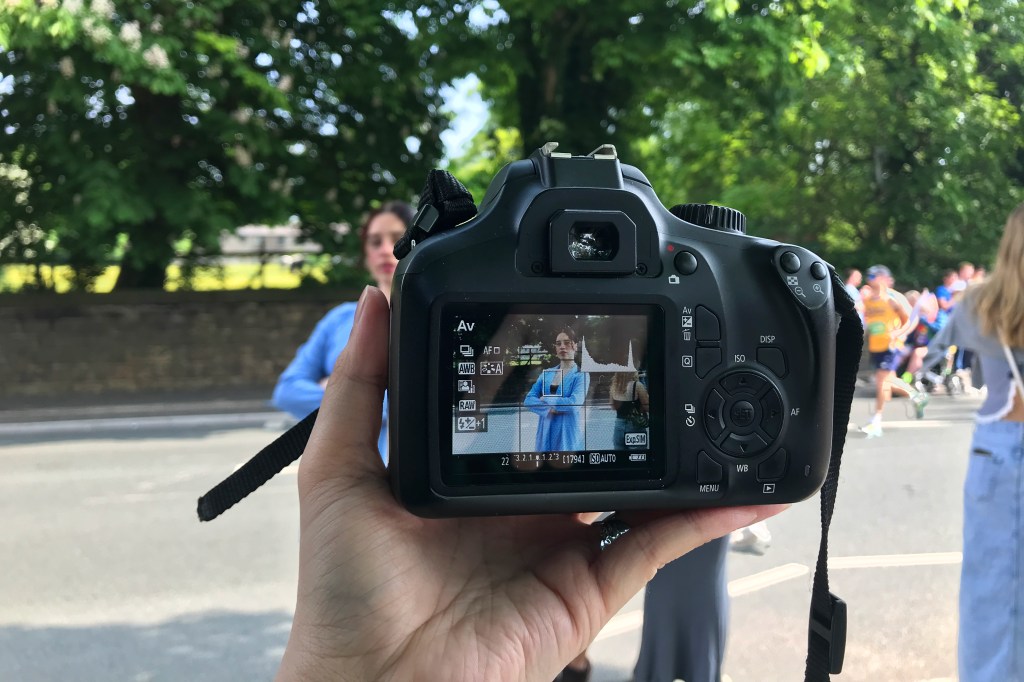
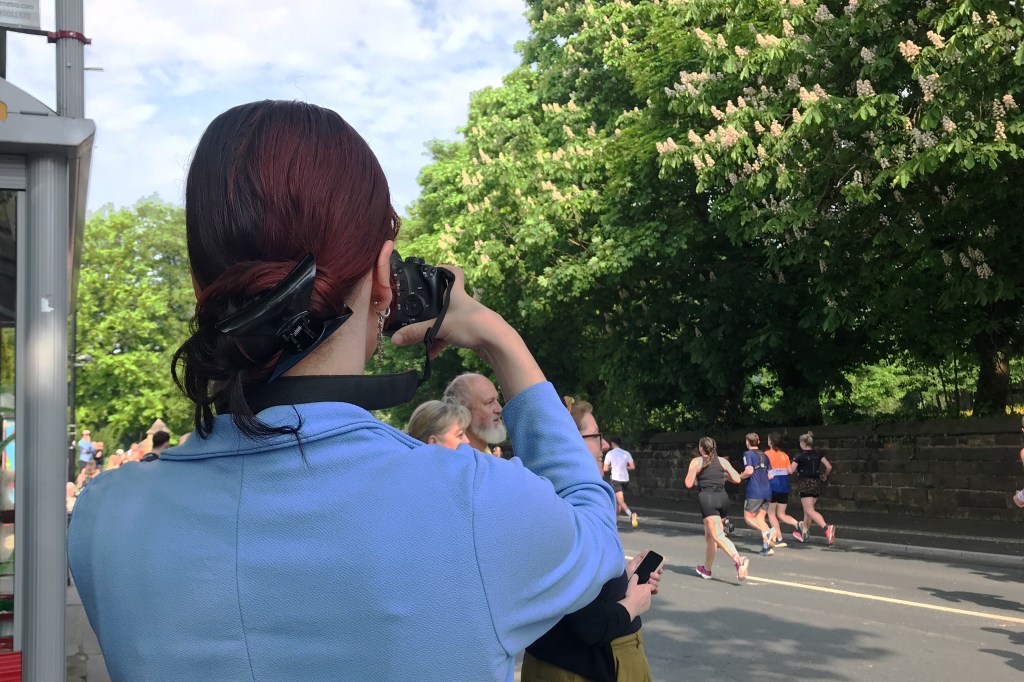
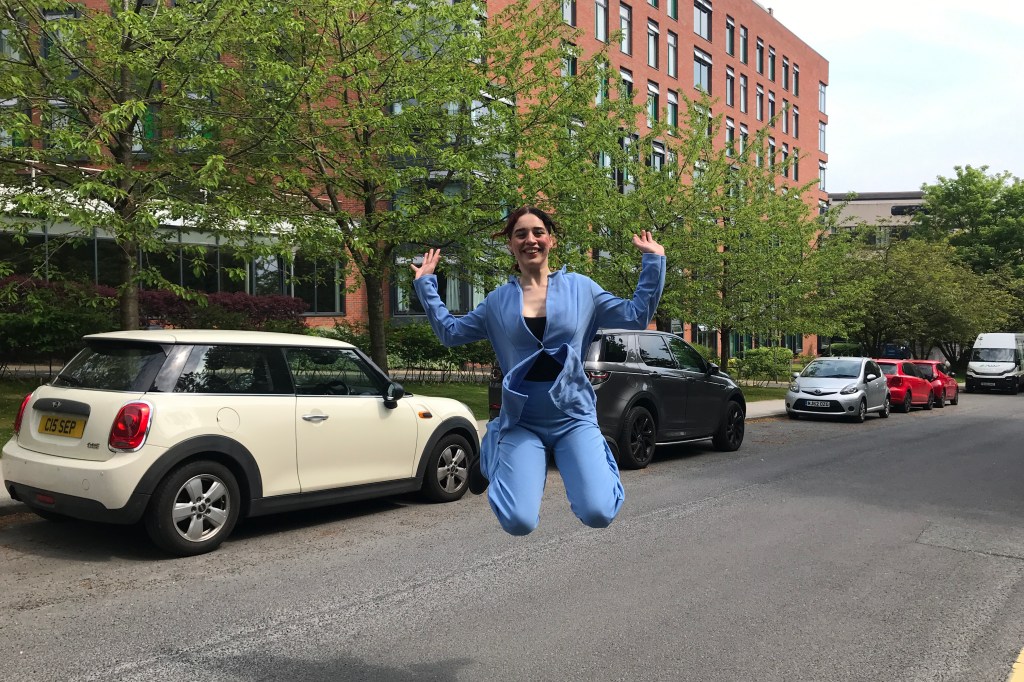
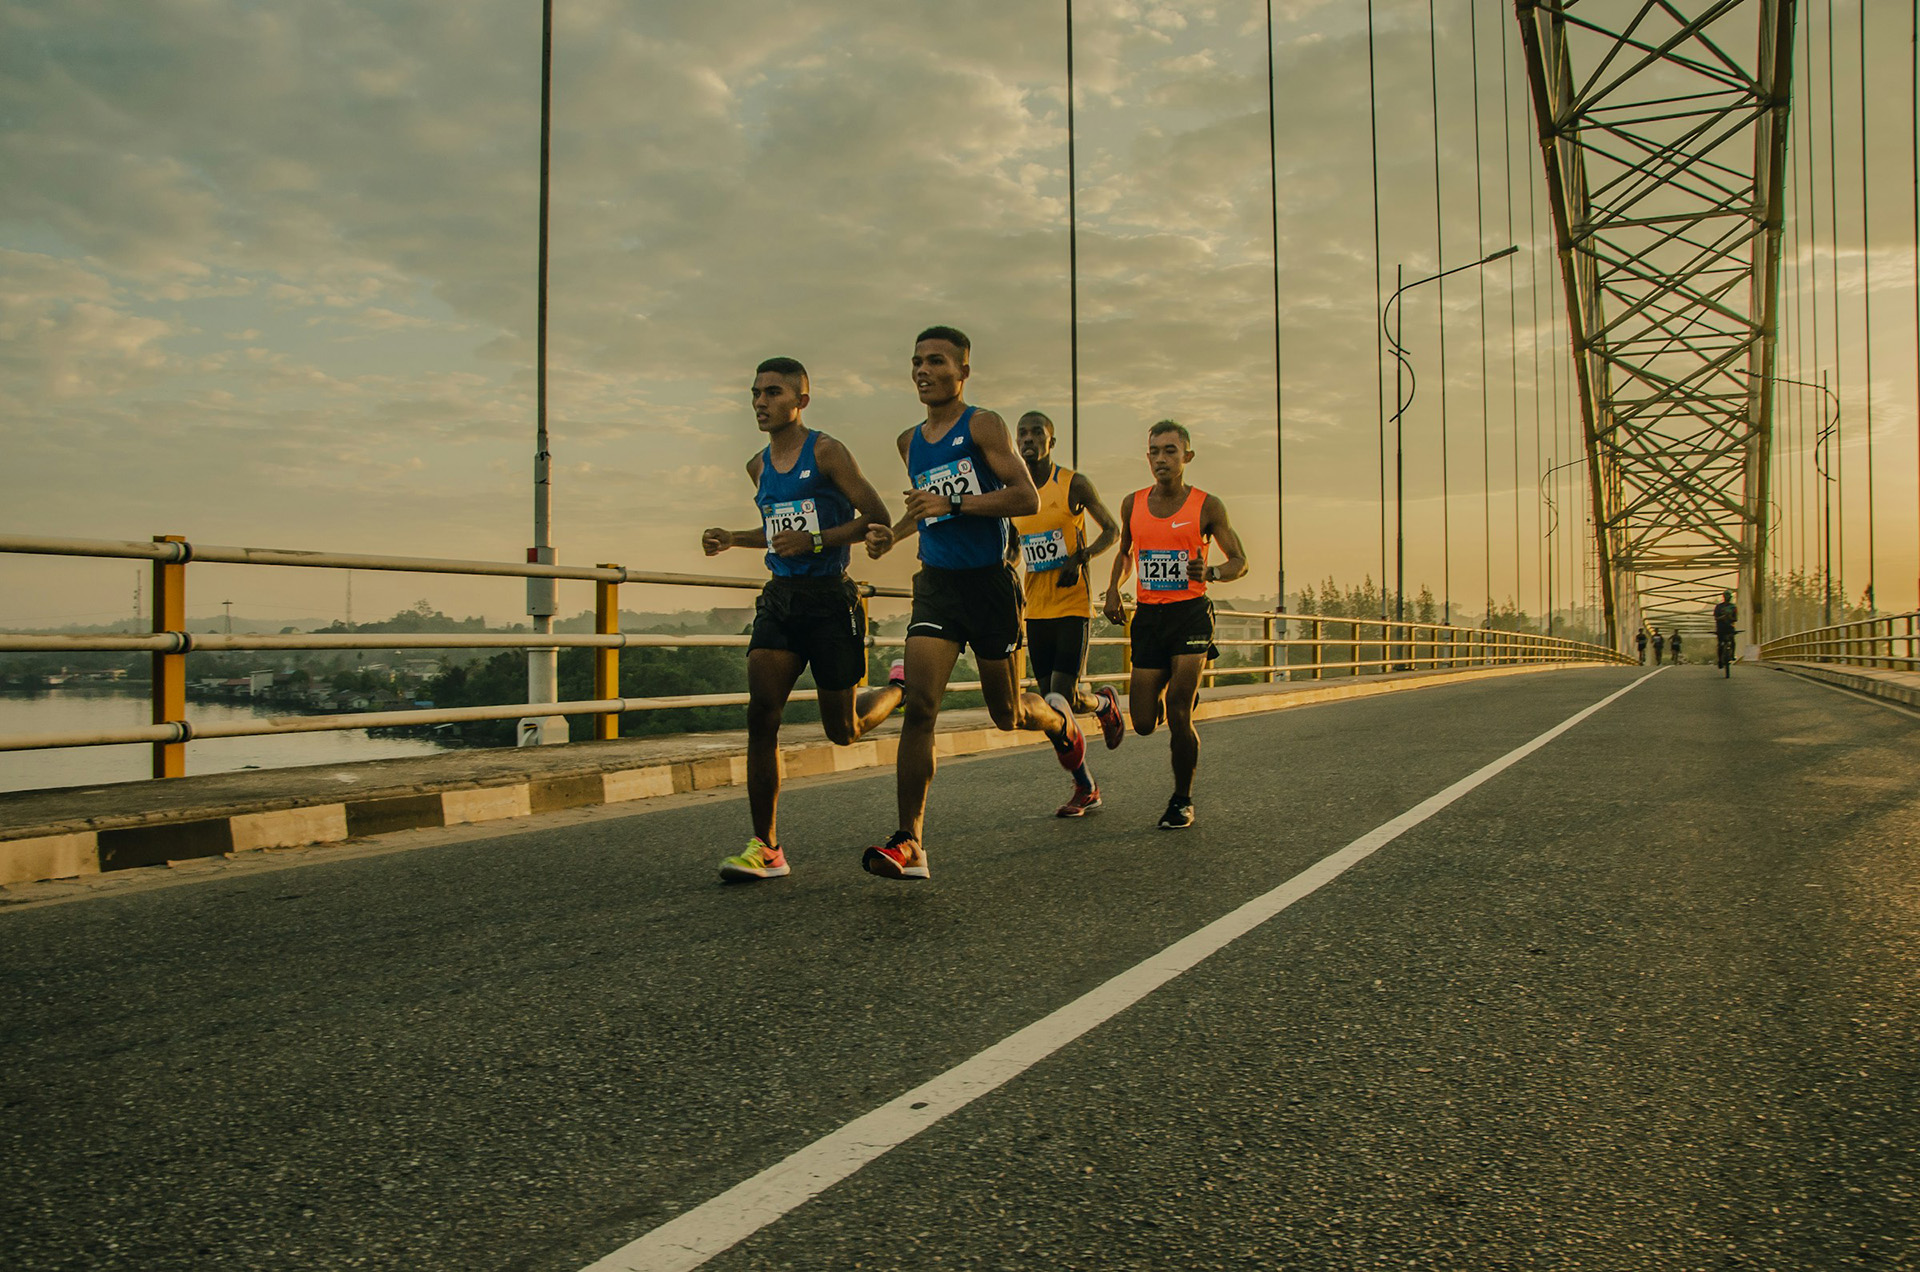
This week me and my interviewee went on a photoshoot for the project. As there was a marathon happening near the interviewee’s house, we decided to take photos of her reporting the event outside instead of inside the broadcast studio.
I asked my tutor the previous week if I could include the images that the interviewee sent to me while she was working at the media studio. However, since the photos taken by someone else will not be counted toward my final marks, I decided not to include them in my project.
We took all the images following the mood board that I created. The process was smooth as we worked together effectively and gave each other inputs to improve the photos after the test shots.
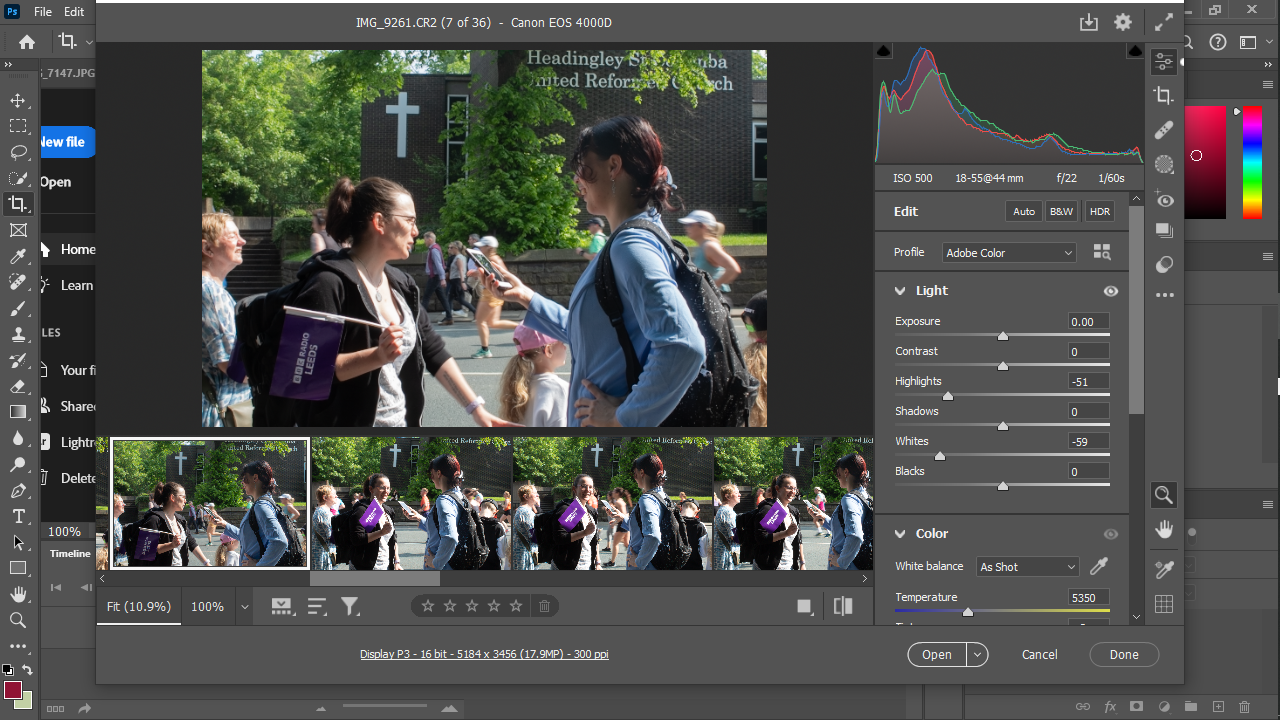
The main problem that occurred during the shoot was the camera not functioning properly. There were images that could not be taken as the camera did not save the images after shooting. Thus, I had to shoot the photo on my phone after using the camera to back it up.
Post-production
Researchers from the psychology department of the Faculty of Arts & Science at the University of Toronto, together with their partners, have validated studies finding persistent correlations between specific colours and lines, and specific emotions, in a new study published in the Journal of Vision.
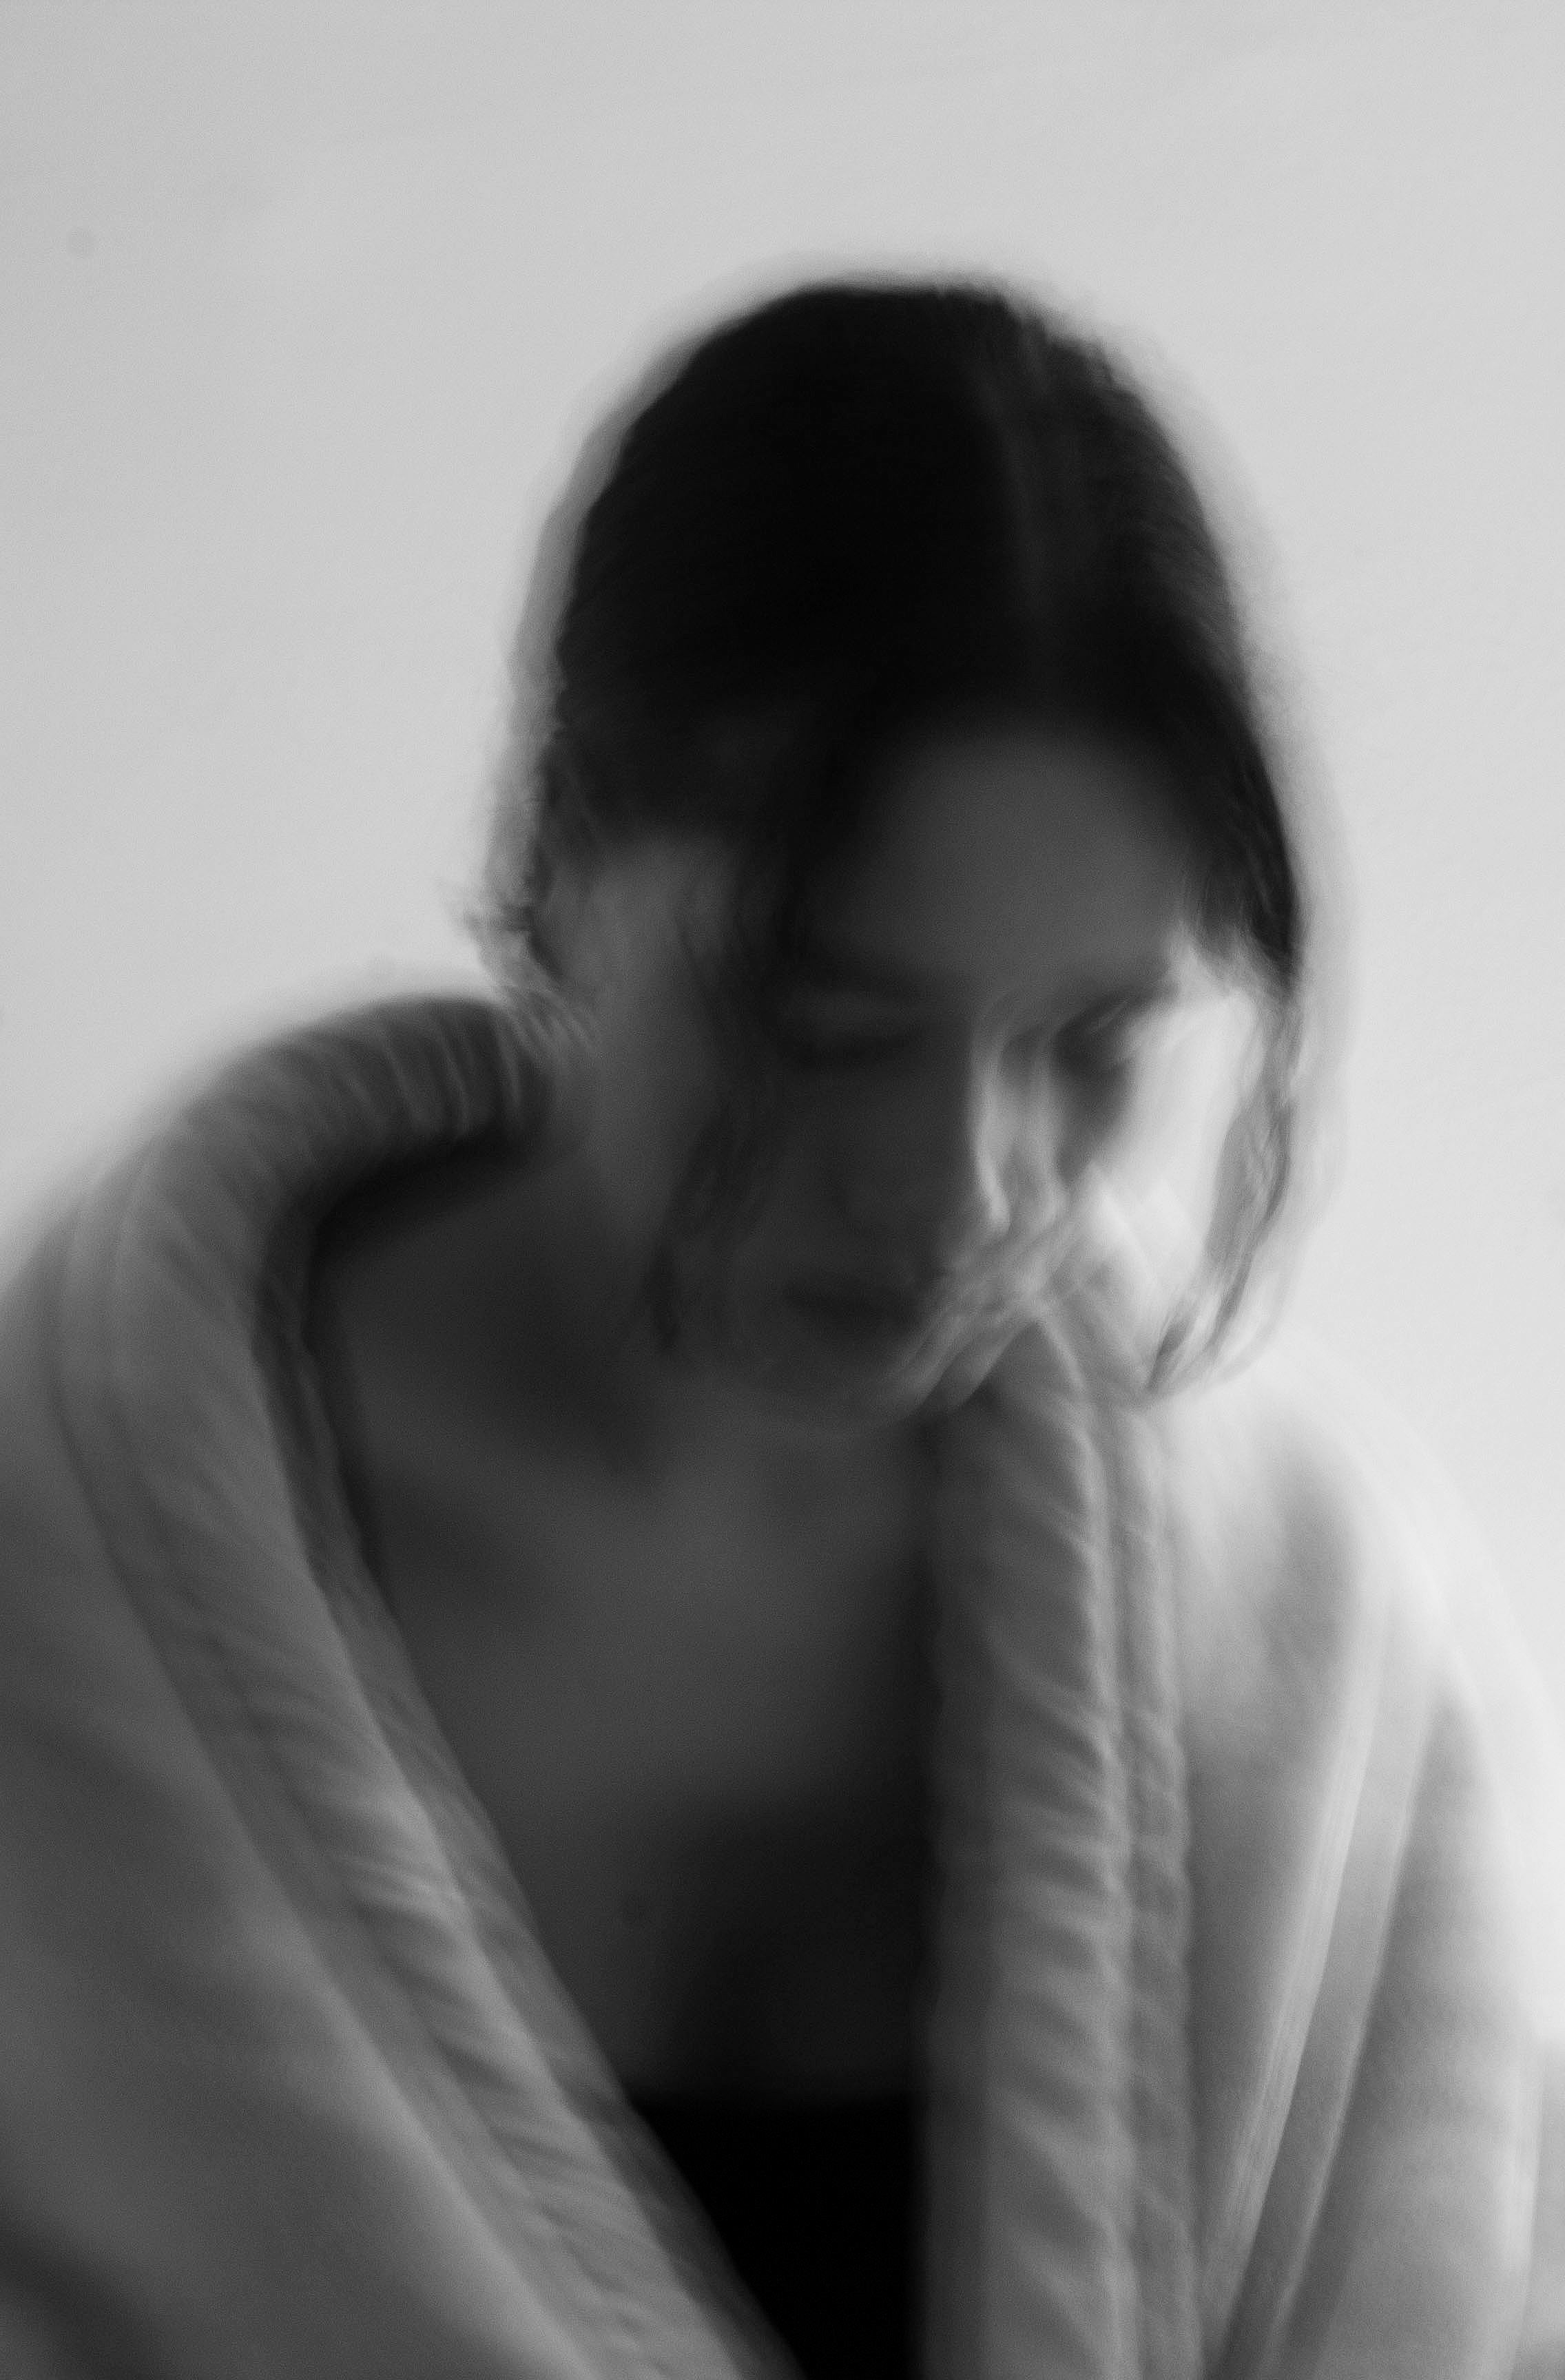
In an article on Adobe, the author wrote: “Darker neutrals, like black paired with white and sepia tones, communicate heavier emotions.” Therefore, for the stages of dropping out of university and gap year, I decided to use sepia colour as the photo filter to show sadness and disappointment. I also used black and white colour for images that displayed the student’s confusion. In addition, I reduced the brightness level when she felt stuck and doomed.

In contrast, during the stages of her enrolling on the journalism course and working as a student journalist, I increase the vibrance and saturation level of the image, as well as the brightness.

Because the photos were taken on a very sunny day, the light is brighter than usual. The exposure of some images was too bright so I had to reduce the highlights and whites value in Photoshop.
After editing all the photos, I started arranging them into orders. I also played around with the layout and different image display styles in WordPress to see which one I liked the most. Then, I decided for the vertical images, I would put them into a gallery or tiled gallery. The one exception was the last verticle photo which I set in full size, to show clearly the happiness of the student after gaining back the confidence and purpose in her life.


There is always room for improvement. In this specific project, if I had the chance to do it again, I would definitely pay more attention to the lighting settings of DSLR cameras. I was not used to the settings at the time, so I would do thorough research on the lighting and shutter speed settings to make my photos look better.
Overall, I feel satisfied with the final outcome of my photojournalism project. There were challenges during the production process, such as the delay of the photoshoot and the waiting time for the interviewees to reply back to me. However, I sorted it out and managed to finish on time. I had the opportunity to publish my first proper photojournalism feature and learnt many new skills while doing the project.


You must be logged in to post a comment.