Photojournalism Week 12

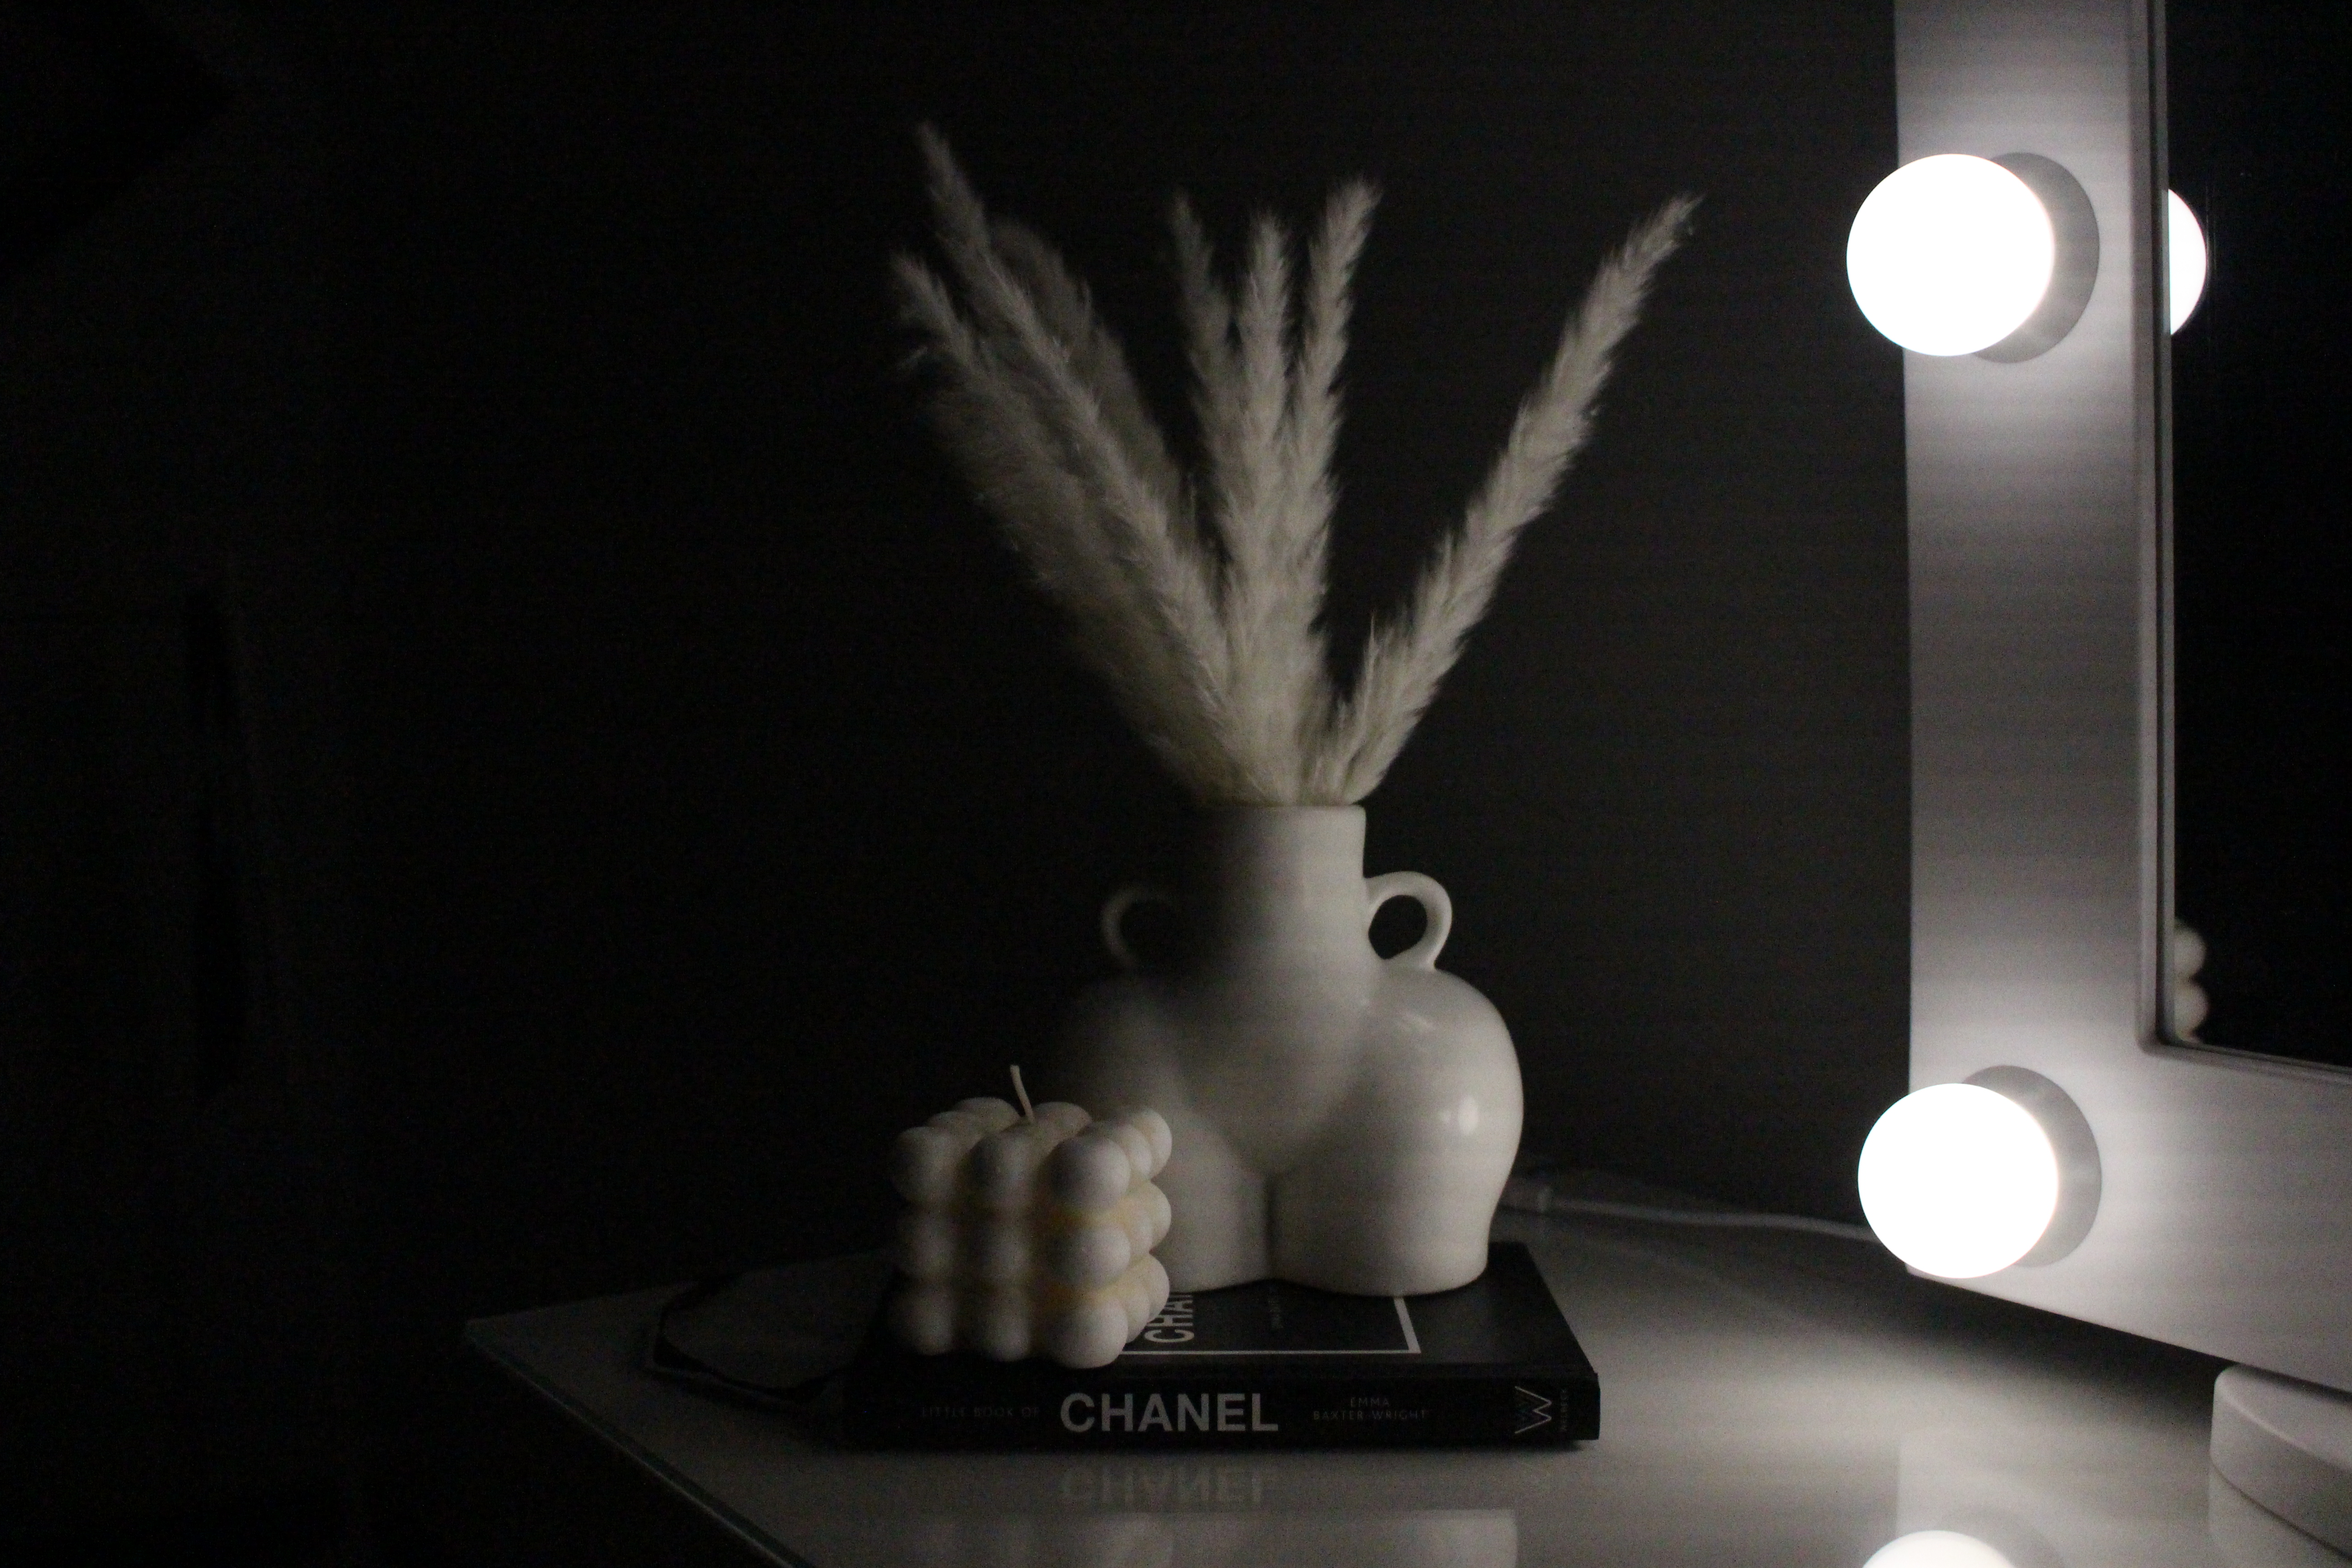
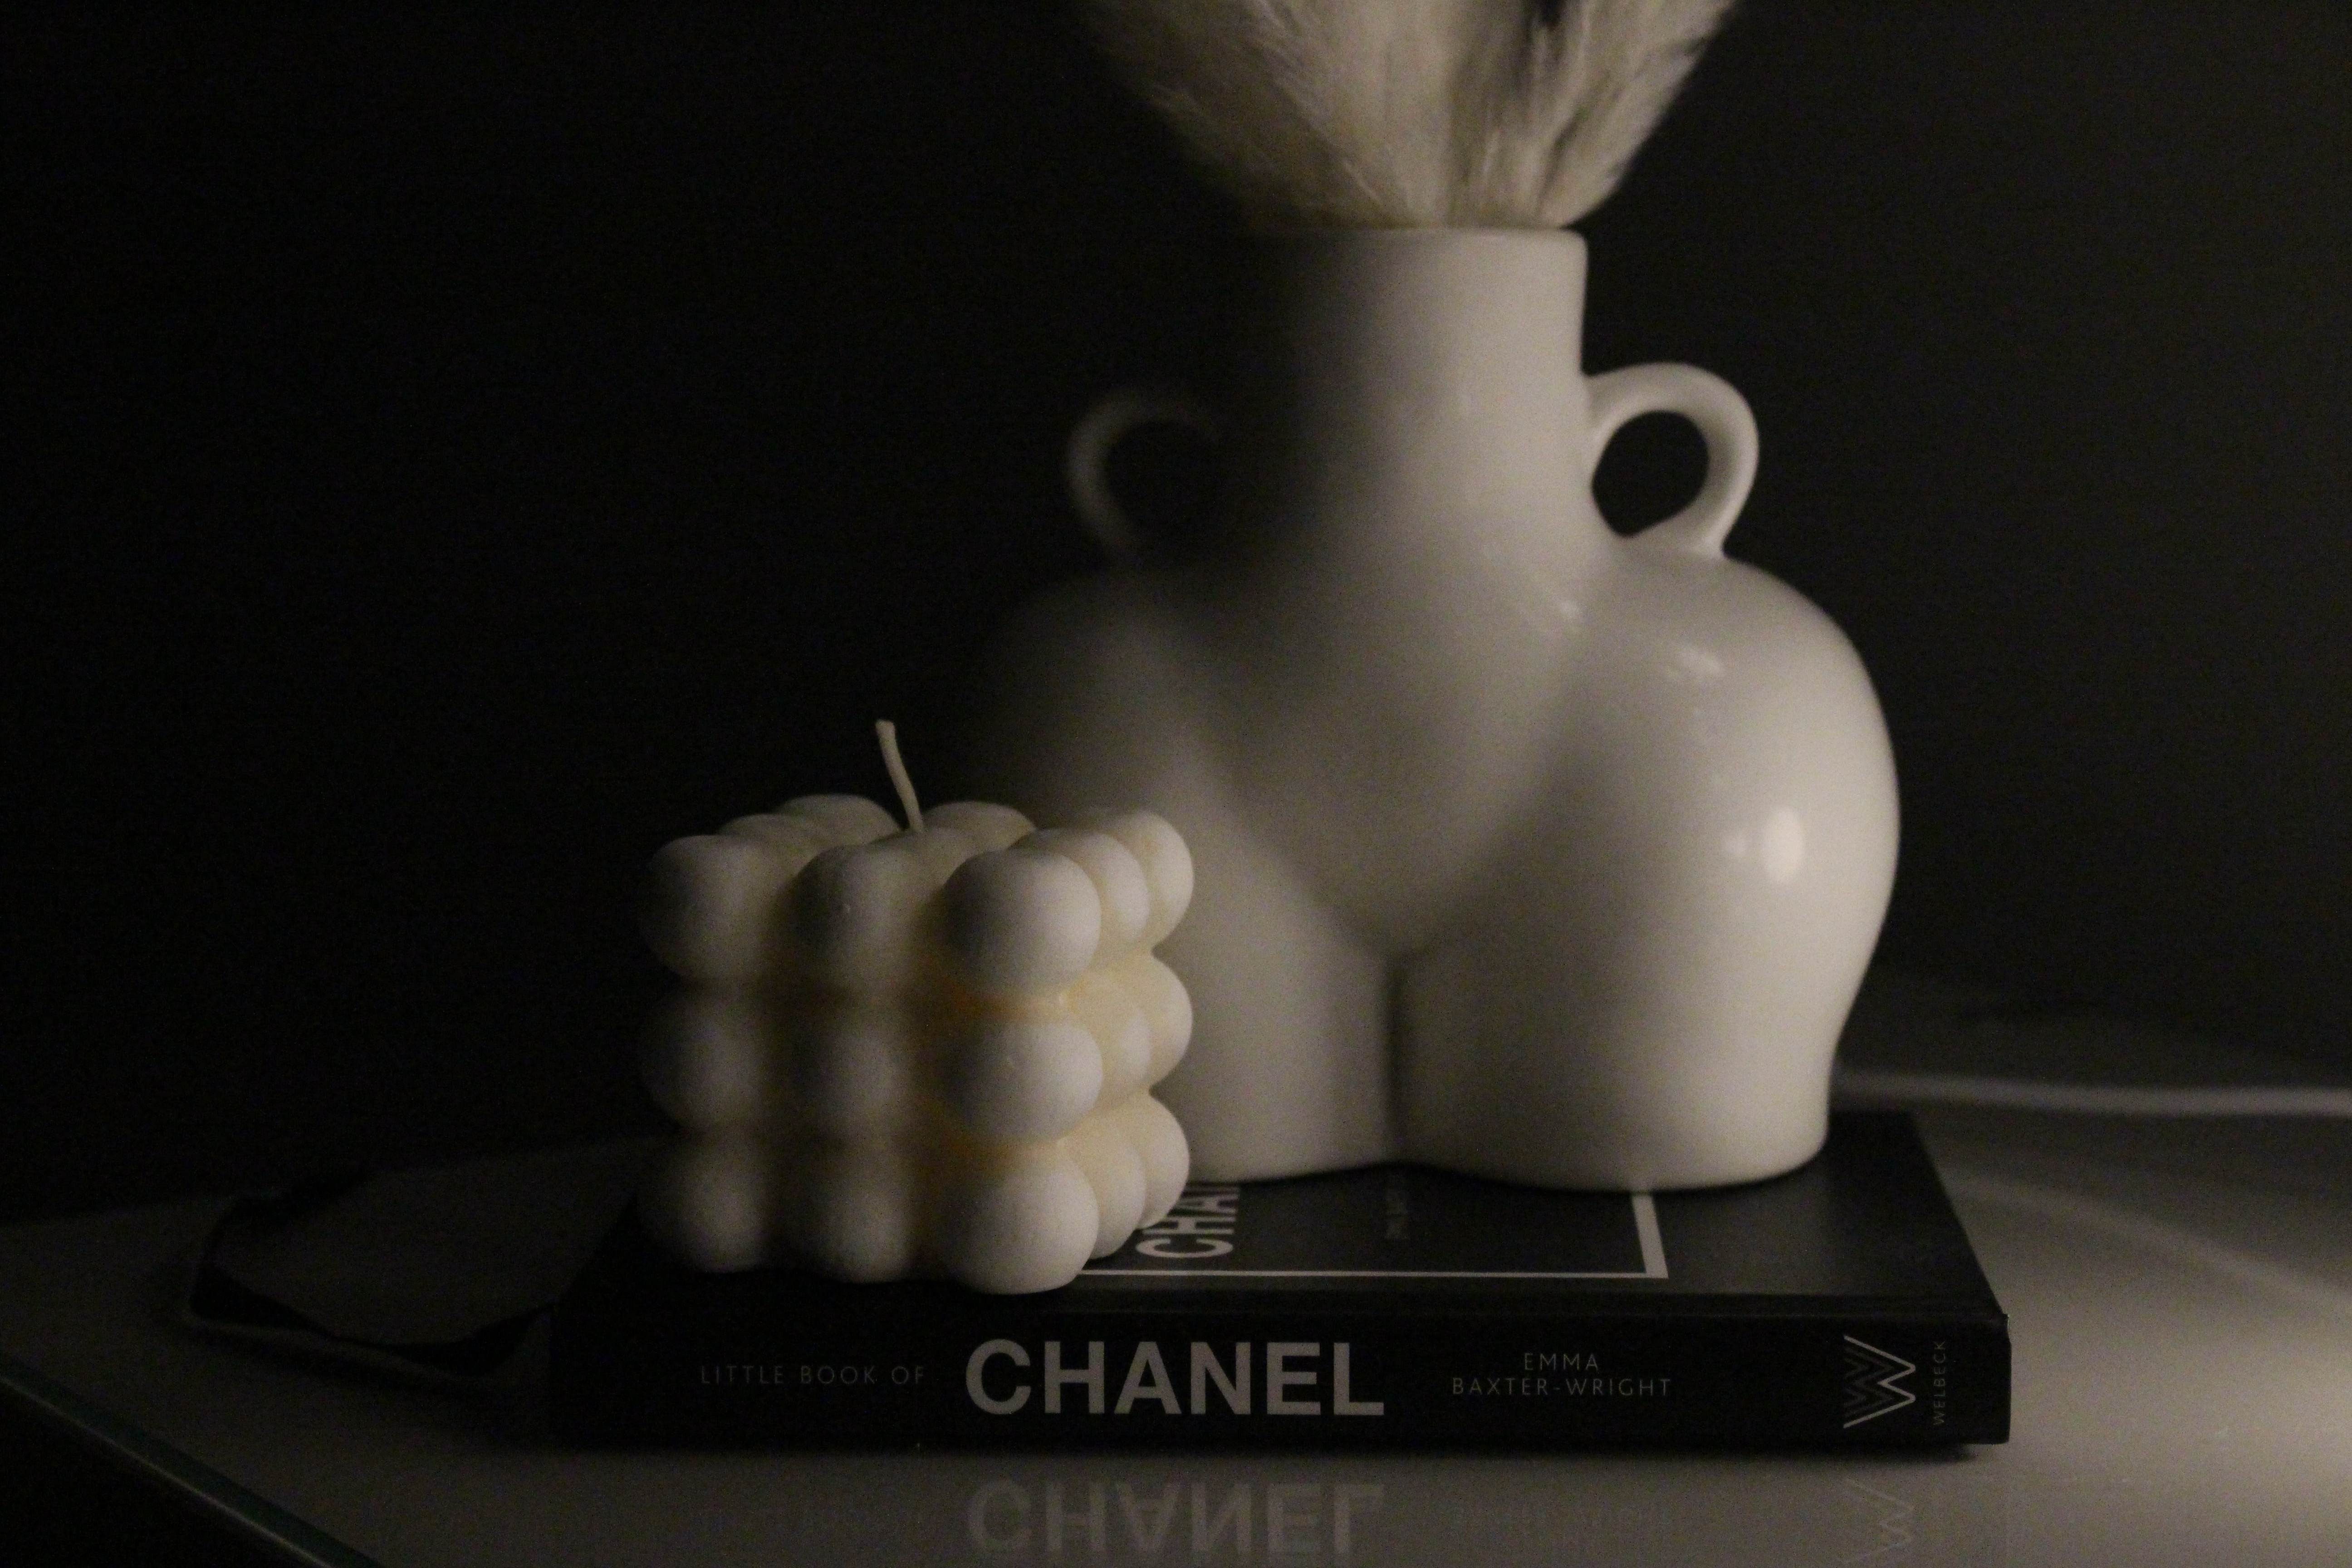
Following last week, I have finalised the pictures that I want to use and the style that I want to edit them In. I want to ensure that in all of the pictures used for the article, they are all in focus so this meant getting rid of some of the pictures which I though told a good story, like the following.

This photo is perfect for telling Dave Walsh’s side of the story but unfortunately he is out of focus slightly.

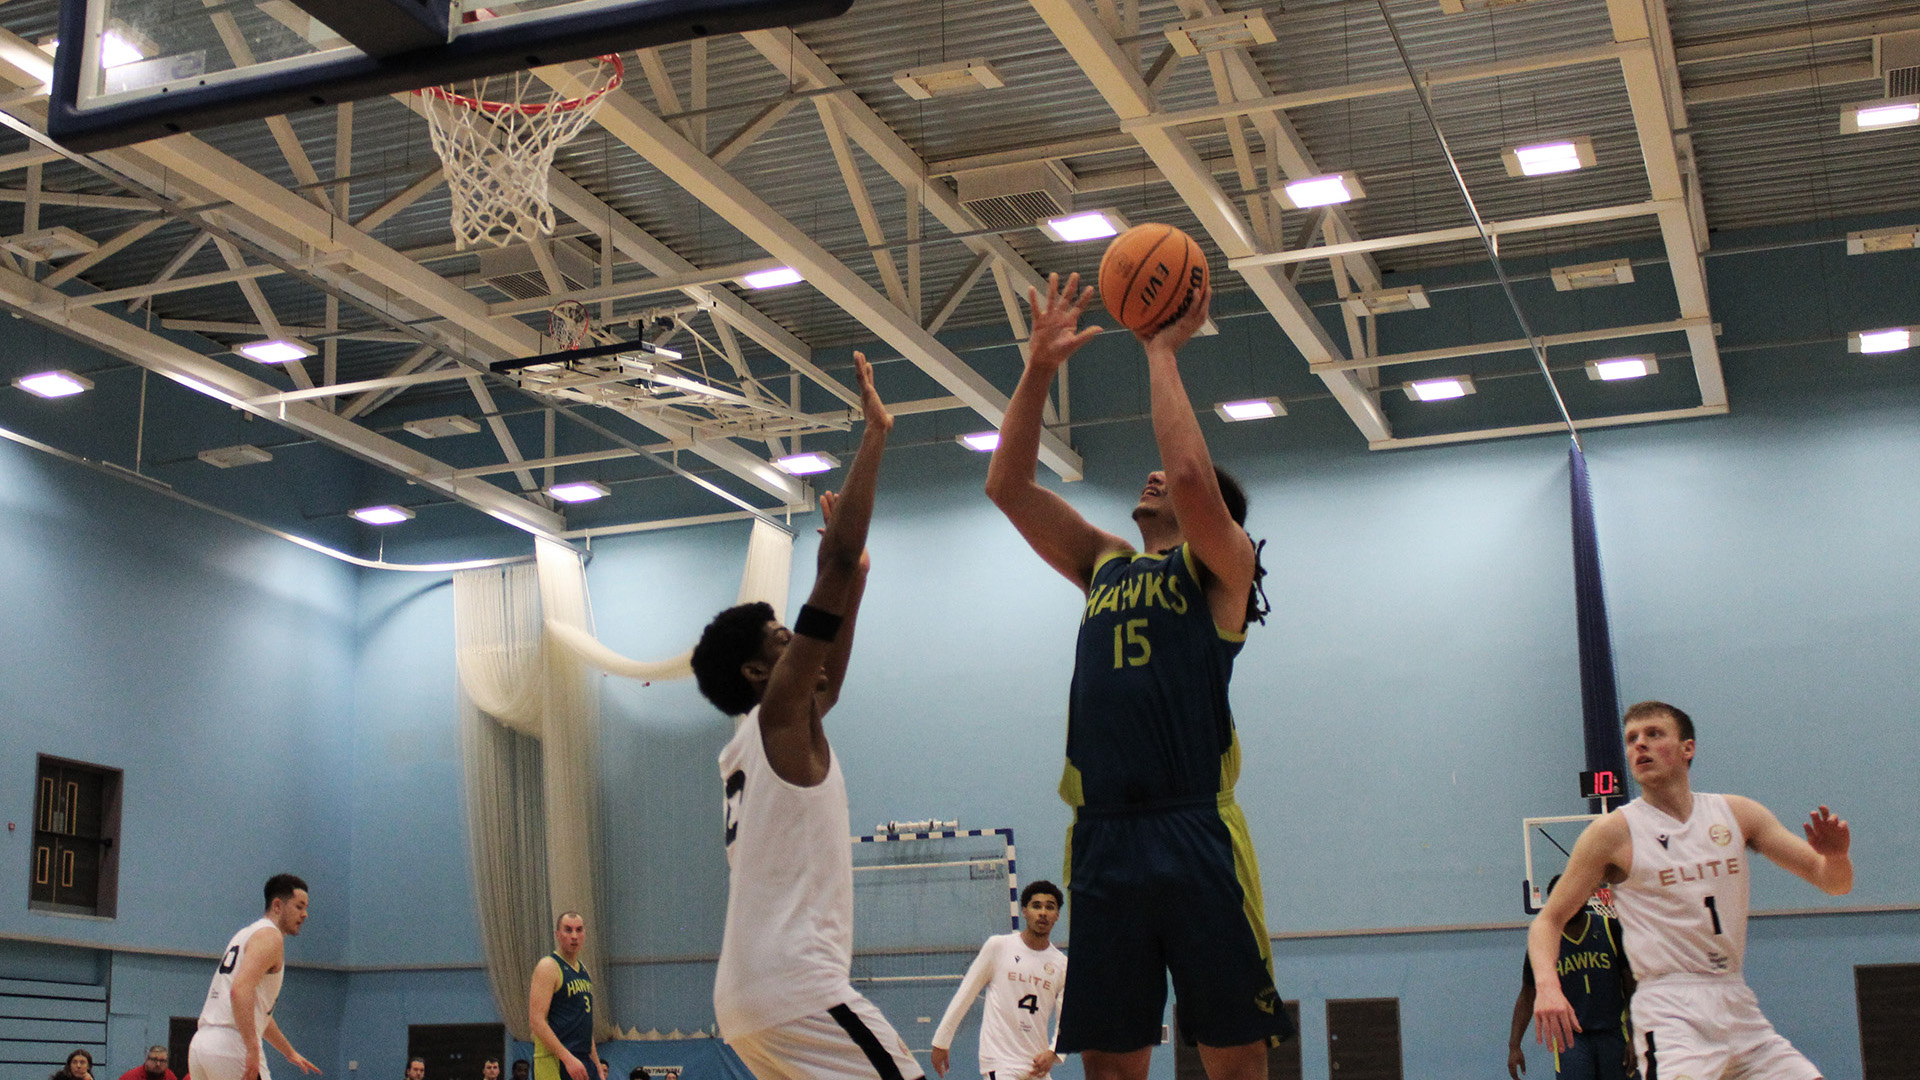
The picture above is confrontational and even has Dave holding up the three signs as he shoots three-pointers all the time. I recall Dave saying after the picture was taken that you’ve got to play up for the camera’s sometimes.

The reason Dave was out of focus was because I had the lens set to capture a certain distance from the camera. When I was sat just near the basket the players would normally be a set distance away from me when trying to score so I had adjusted the camera for this distance.

A West Yorkshire Hawks basketball player taking a shot over the top of a Sheffield Elite basketball player.
This picture turned out good, quality due to the setup of the lens on the camera.

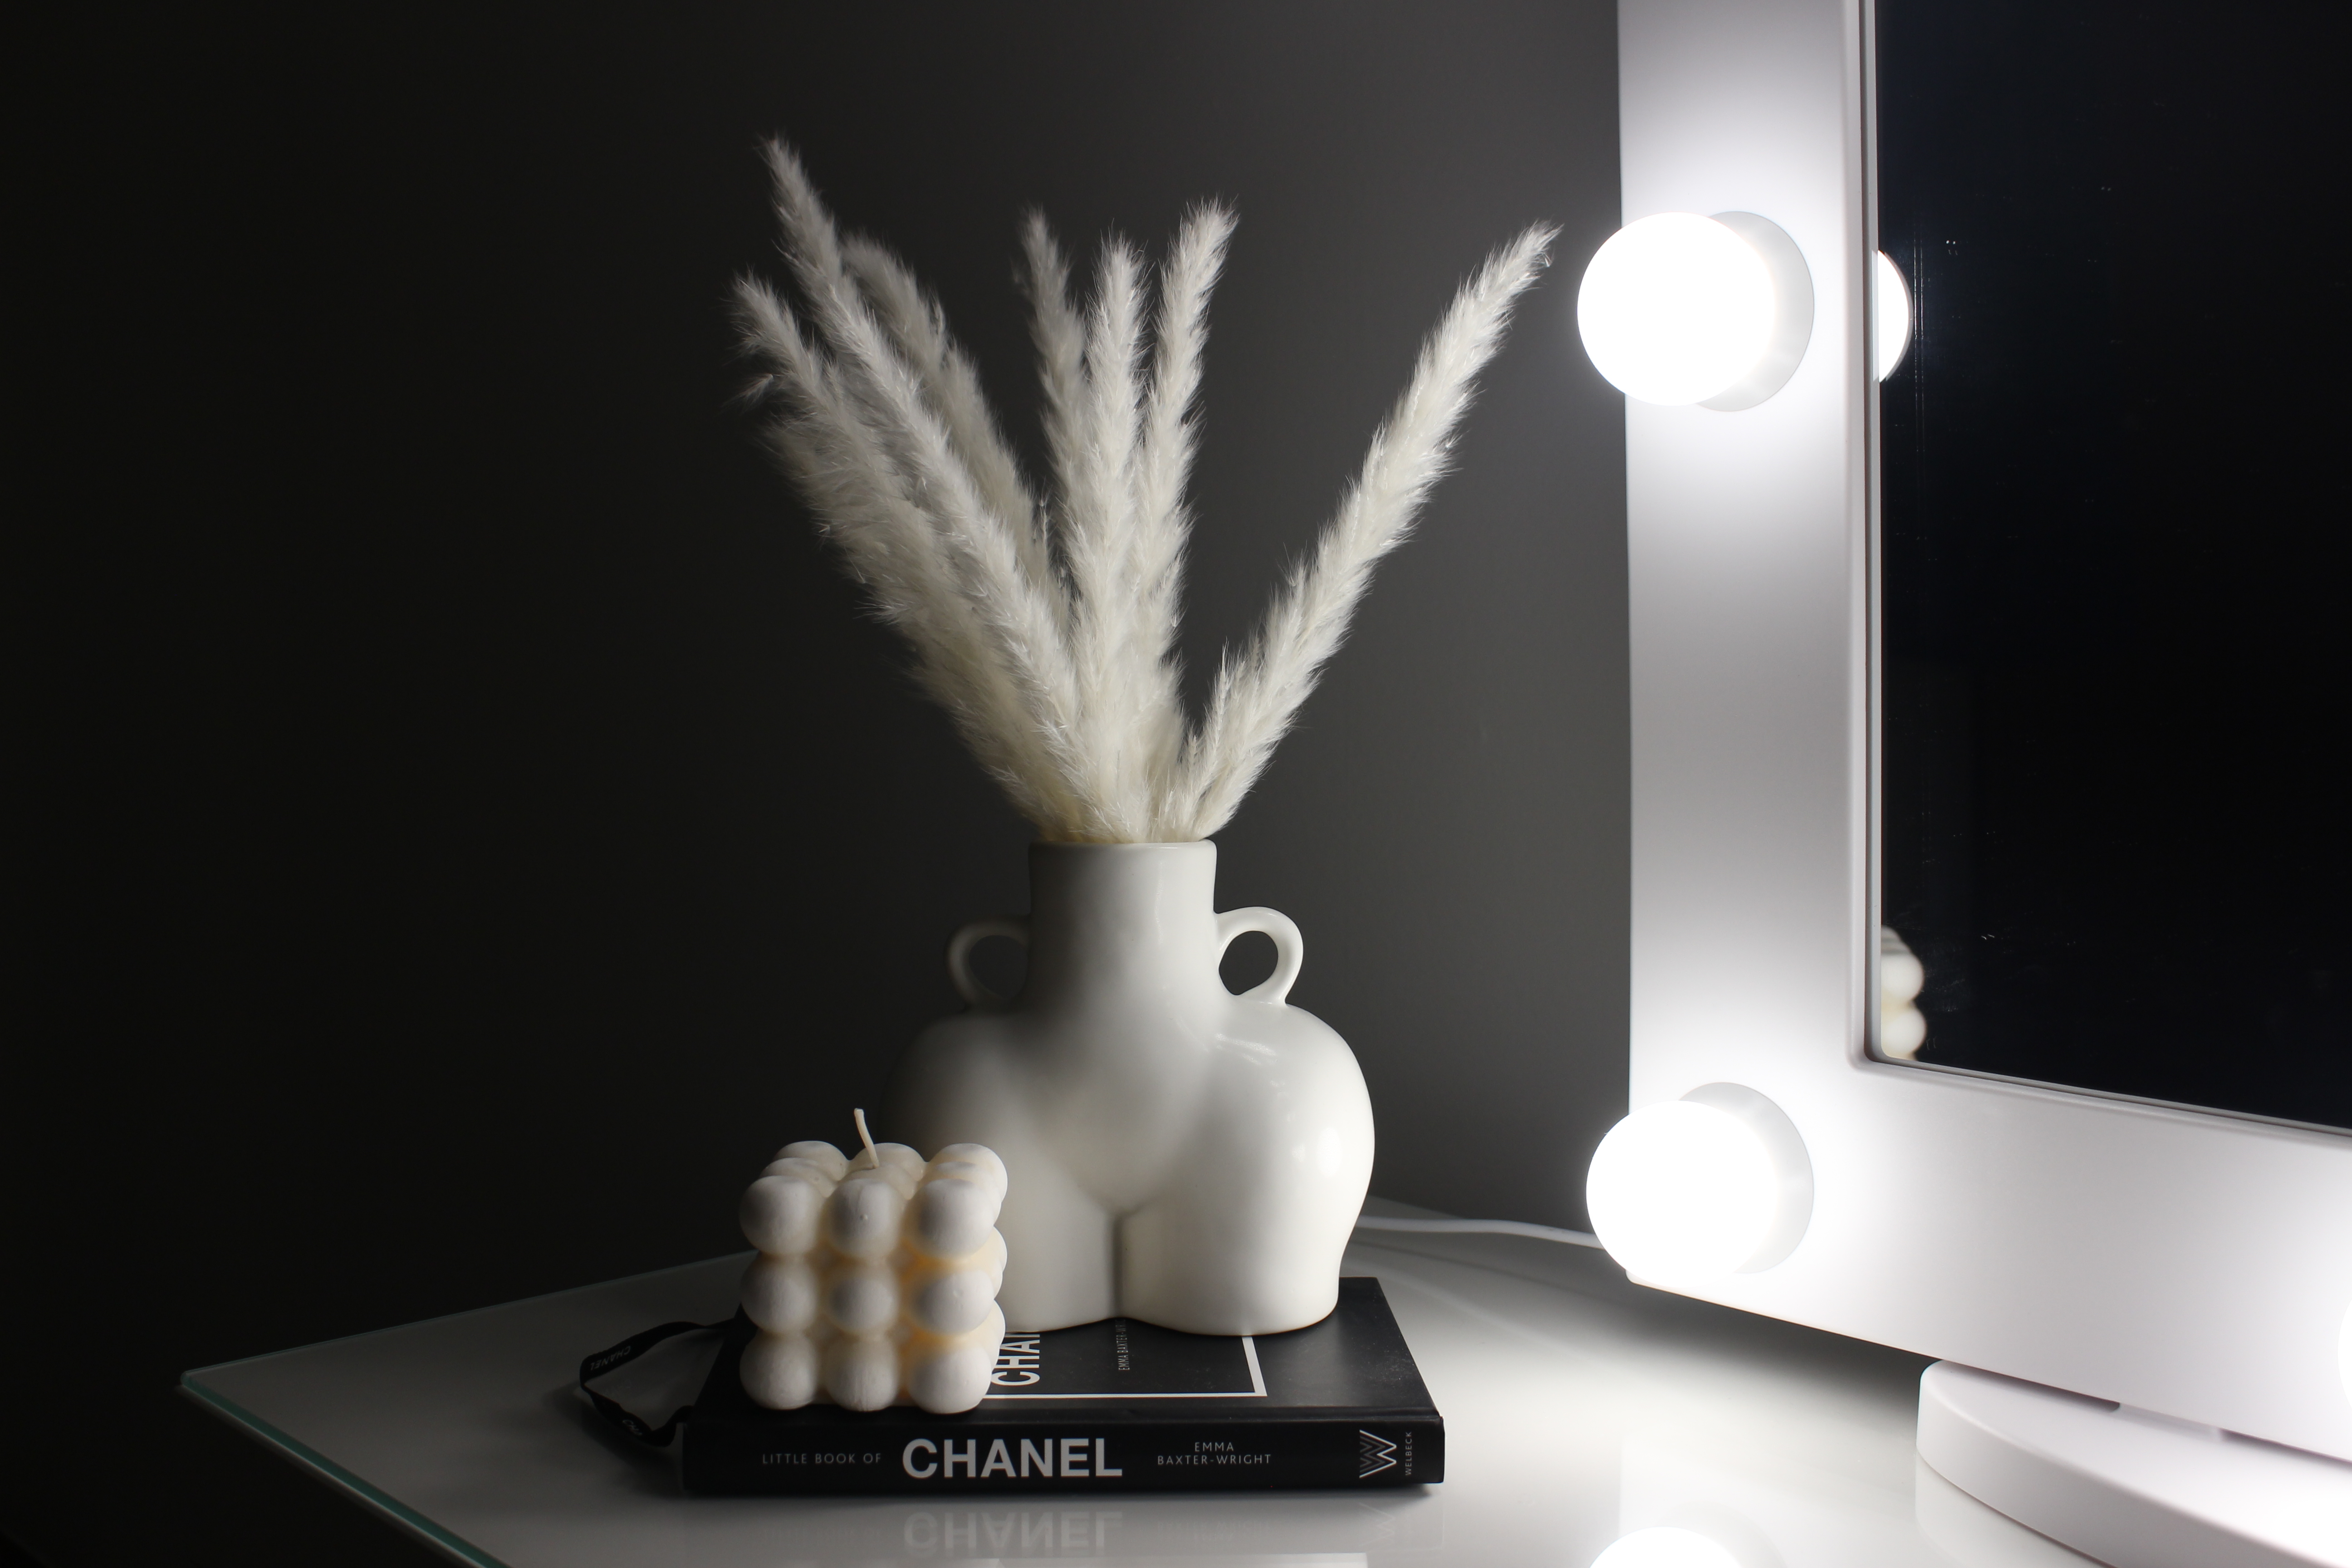
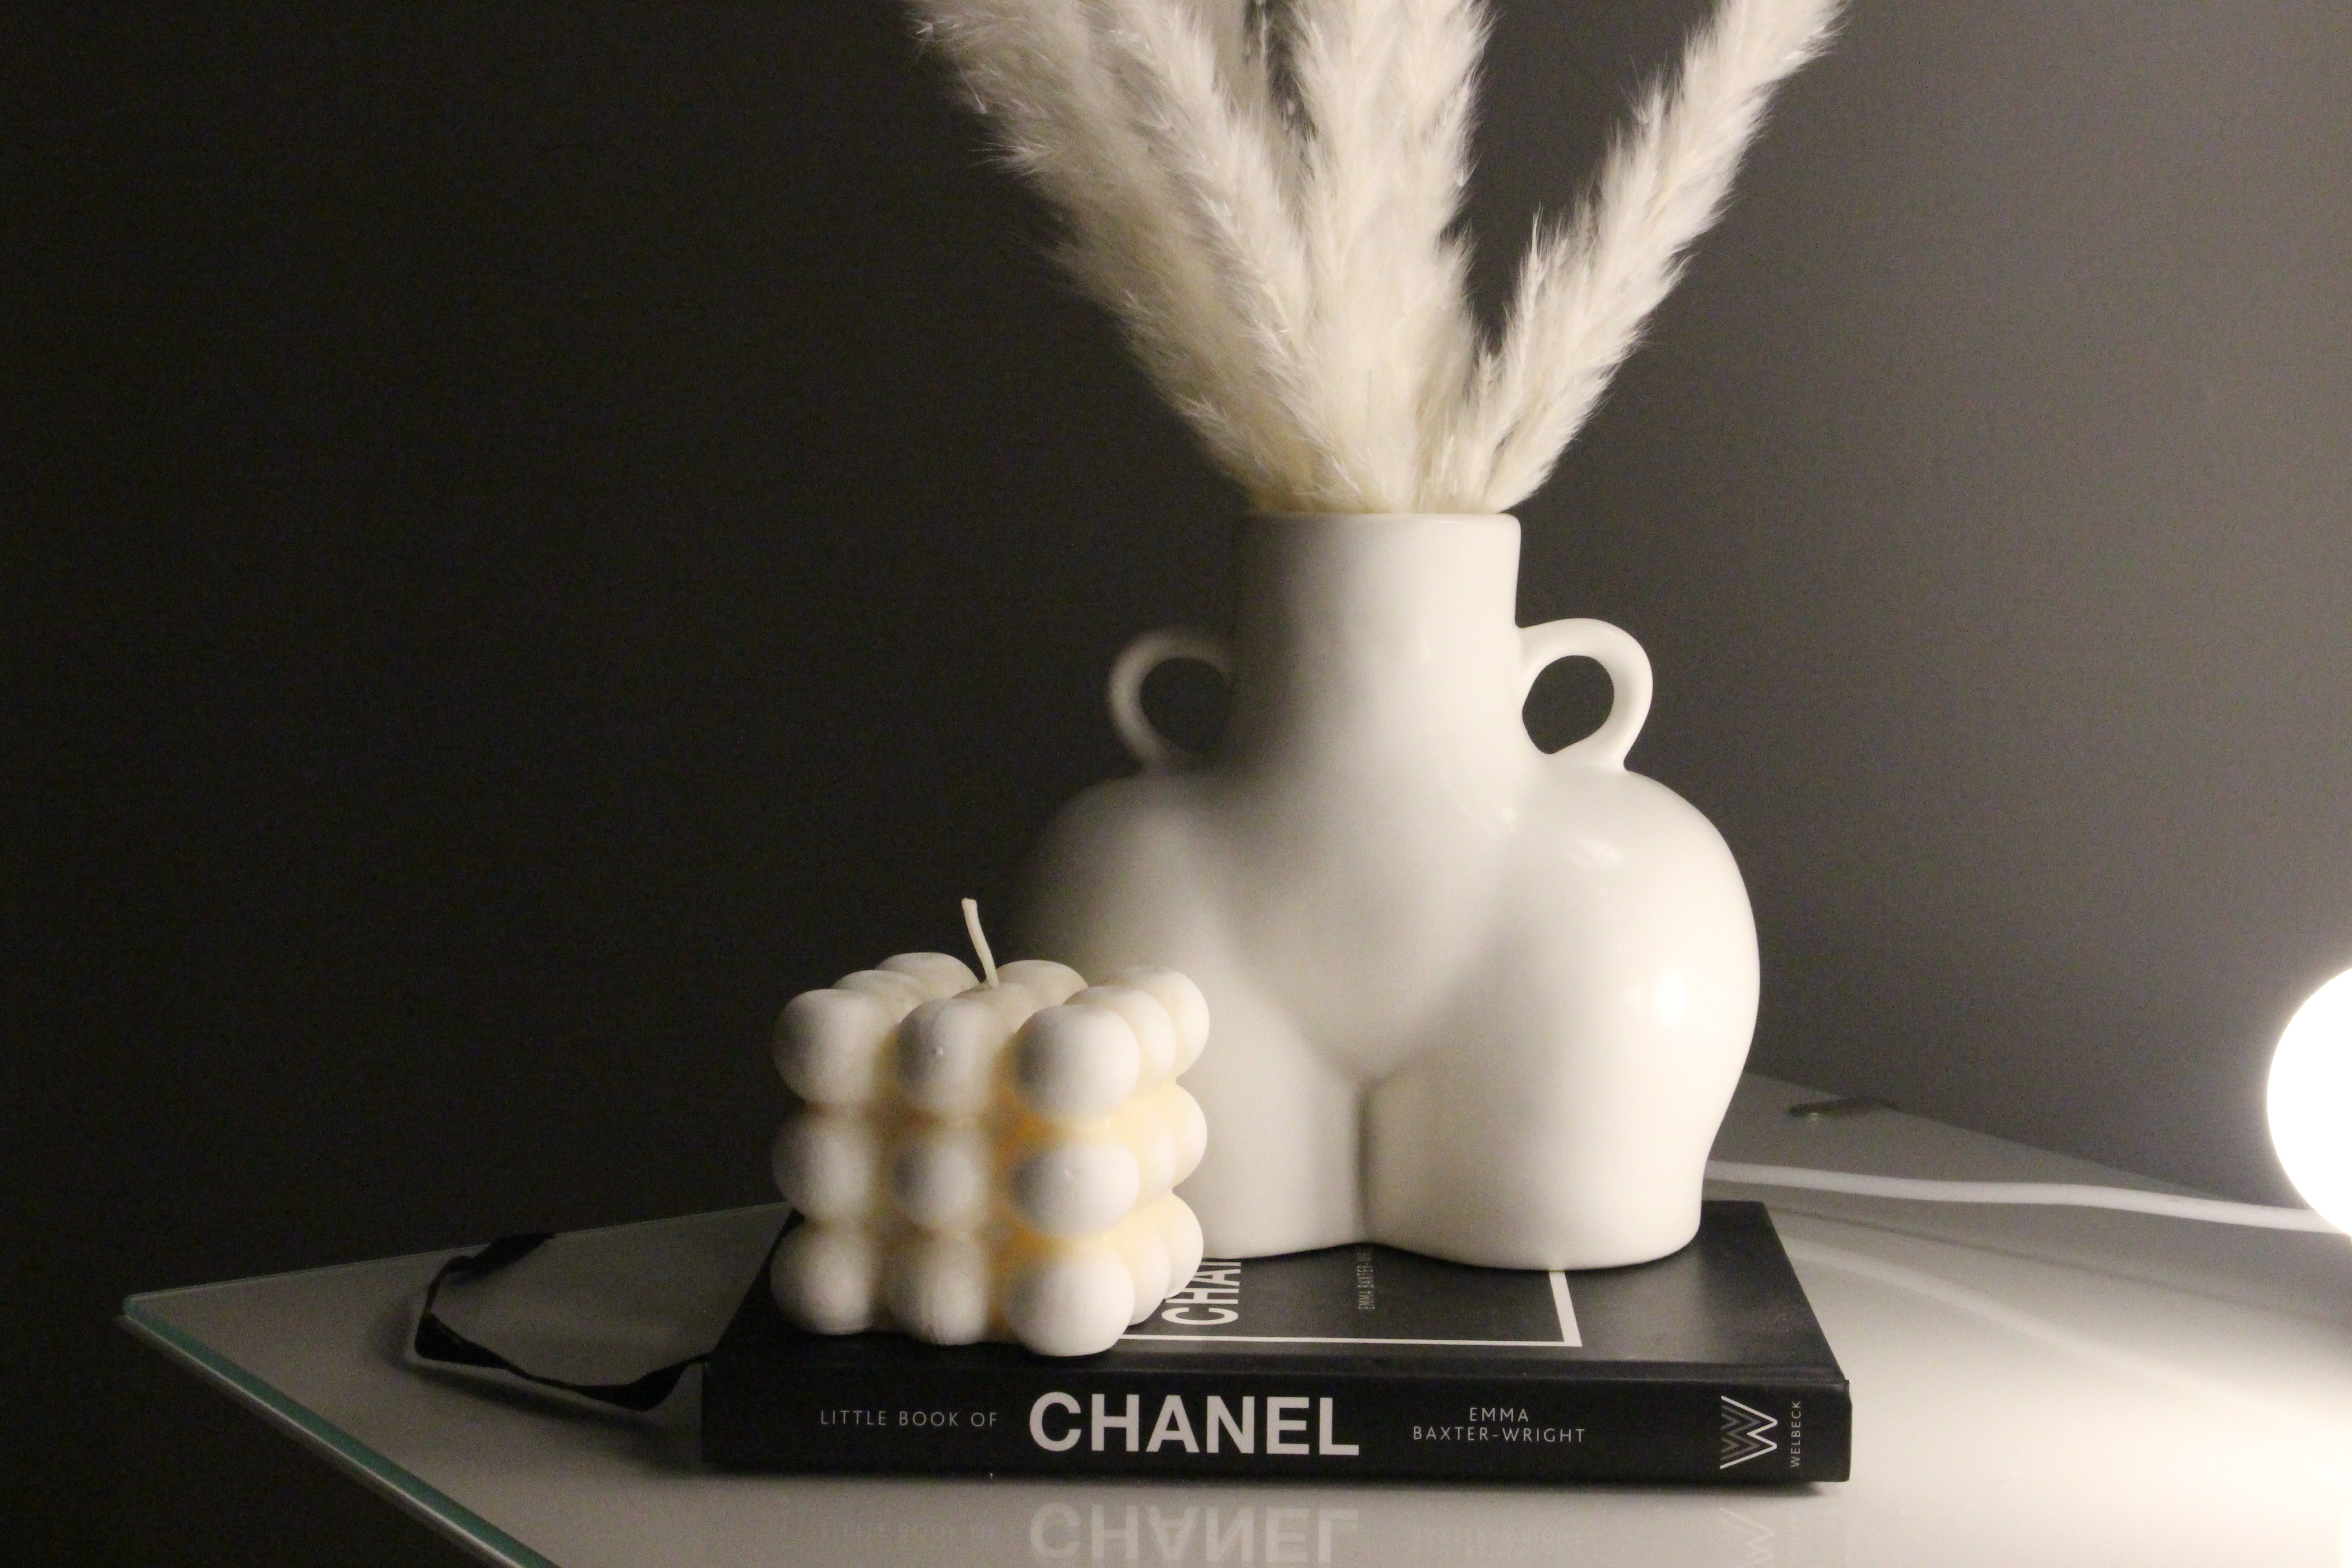
The picture above was edited in the style that I want my final piece to be like which meant turning down the contrast layer to -30 and turning the exposure to +30. This changed the colouring of the pictures slightly but shows that attention has been paid to them and will give a consistent slick look to the final piece.

Shutter speed and ISO

This week we looked at shutter speed and how they can impact the way an image looks.

First, we looked at how slow shutter speed effects an image. On an iPhone, you can achieve this result through using live phot then adding the long exposure effect.

Here is the image I took:

A girl stands infrotn of a road in Leeds as a bus drives past
Using slow shutter speed has caused the subject to be still whilst the blurred bus moves behind.

To achieve this, we ensured to take the photo in a busy area with a lot of action. The subject also stayed very still to ensure they weren’t blurred.

Next we looked at fast shutter speed.

On an iPhone, you would use the burst mode to capture an image ‘frozen in time’.

Here is what I took:

A girl is jumping with her legs out to the side over a black and yellow bollard
Using a fast shutter has meant we have been able to freeze the subject in time

By using burst mode, I could capture a clear and crisp image of the subject jumping.

Amelia – Workshop Task 5

This week was the first week I was able to get my hands on a camera, so it was really beneficial in finally being able to put what we had been taught into practice. I found that throughout the previous workshops Karl and Ruth were delivering, it was hard to fully engage and understand the crucial technical aspects without being able to physically do it at the same time, so this session was instrumental in developing my understanding.

Previously, I’d been using Proshot on my phone to take pictures. Although the iPhone quality is really great, and Proshot allows you to alter/manipulate the camera settings, I still just wasn’t getting the results I wanted. I also wasn’t fully understanding the settings – I had focus confused with aperture which can be seen on my ‘Workshop Task 4’ post.

The photos above are a selection of photos taken with a high shutterspeed. As demonstrated, a high shutterspeed essentially freezes an action into one photo – perfect for capturing action shots.

These photos were examples of my exploration with aperture. They all have a lower F-stop which gives the photo a shallow depth of field. This is achieved by the diameter of the lens decreasing to avoid lots of light reaching the image sensor, so the camera will focus on clearly on one thing. I like the effect this has and will definitely apply it to my final project. rogre

Amelia – Understanding the basics

I feel the most important thing before I plan to do my final shoot is to know that I really have a good understanding of the basics of my camera so on the day, I don’t have to be overly concerned with whether I’m utilising the camera properly to get the most out of the shot, but rather I can concentrate on what shots will be the most captivating. I’d like to try and get near the point were adjusting the settings on my camera become like second nature so to ensure the shoot is as stress-free as possible.

Before I took these test shots I revisited the powerpoints that Karl and Ruth provided to familiarise myself with ISO, aperture and shutter-speed.

The selection of photographs below, although all very similar, were taken with the intention of exploring the exact effects of ISO, aperture and shutter-speed to see and further understand the different creative outcomes. With every picture being arranged the same, it allows to me to really easily compare and see the differences in light, clarity and depth of field.

You can see where I have allowed too much light in on pictures 1 and 3; in comparison to picture 4, they have more ‘noise’ which comes from having a high ISO. Picture 4 is a much crisper image. Picture 2, however, needs a lot more light – I could’ve achieved this by either lowering the F-stop or increasing the ISO.

I thought pictures 8 and 9 were good examples of a shallow depth of field. They contrast picture 10 which has a higher aperture meaning more of the photo is in focus.

The test shots above are further examples of my exploration with aperture. Pictures 18 and 19 are really clear examples of the difference that a high or low F-stop can have.